THE
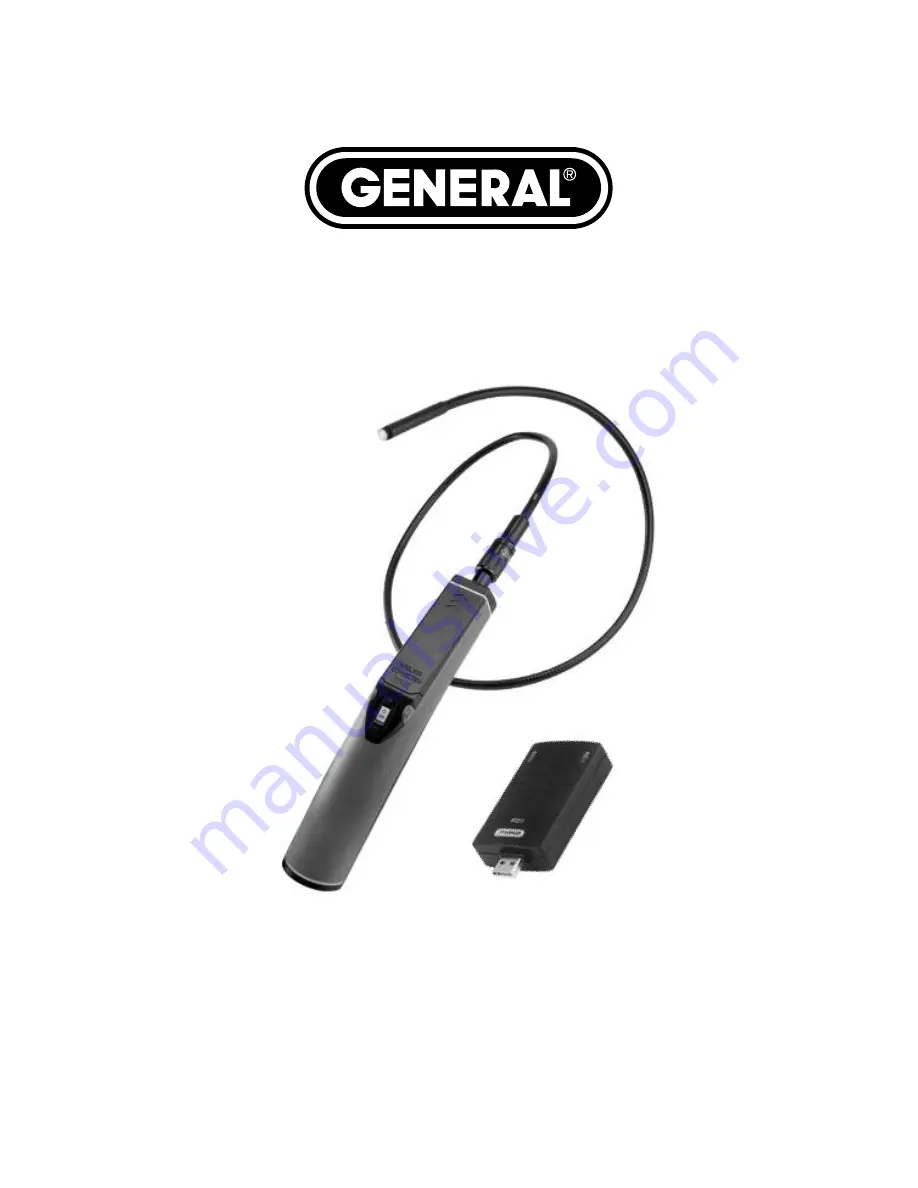
S
EEKER
™
100
USER’S MANUAL
DCS100
WIRELESS USB
VIDEO INSPECTION SYSTEM
Please read this manual carefully and thoroughly before using this product.
Page 1: ...THE SEEKER 100 USER S MANUAL DCS100 WIRELESS USB VIDEO INSPECTION SYSTEM Please read this manual carefully and thoroughly before using this product ...
Page 2: ...B Video Receiver Components 6 3 Anatomy of the RCV100 6 Setup Instructions 6 10 Install the Software 8 9 Install and Sync the Hardware 9 10 Operating Instructions 11 14 Normal Operation 11 13 Wired Option 13 Using Skype 1 to Stream Video 14 Shutting Off the Grip 14 Specifications 15 Maintenance Tips 16 Replacement Parts 16 Warranty Information 17 Return for Repair Policy 17 ...
Page 3: ...or technicians mechanics contractors and repairmen as well as the home DIY user to visually inspect inaccessible or hazardous areas and thus diagnose hidden system problems without the need for a complete disassembly or teardown TWO MAIN COMPONENTS One component is a compact ergonomic grip that mates with a high strength flexible obedient 1m 3 28 ft long 12mm diameter camera tipped probe with adju...
Page 4: ...ideo over the internet The RCV100 has four 4 wireless selectable channels to maximize video quality 320 x 240 pixel camera resolution and two adjustable intensity LEDs yield crisp clear video camera s minimum focal length is 4 in 102mm Compatible with Windows 7 2 Windows Vista 2 and Windows XP 2 operating systems Flexible and strong 1 meter long 3 28 ft 12mm 0 47 in diameter camera tipped probe re...
Page 5: ...obe comes fully assembled in a custom carrying case along with the following components The RCV100 Wireless USB Video Receiver and its components and user s manual A 5 5VDC adapter for a 110 VAC power supply A set of three 12mm probe tip accessories a mirror a magnet and a pick up hook This user s manual 5 ...
Page 6: ...ds to channel numbers from 1 to 4 E Video in jack SETUP INSTRUCTIONS Before using the Seeker 100 make sure it is assembled and fully charged If the 1m probe is not already attached to the grip connect the two components by inserting the keyed end of the probe into the connector at the front of the grip making sure that the alignment key at the end of the probe lines up with the flat on the connect...
Page 7: ...efly flash red This indicates that the system is not yet ready for use Keep the grip plugged in If the LED just to the right of the jack on the bottom of the grip continues to glow red the battery still needs charging Keep the adapter plugged into the power outlet until the LED on the bottom of the grip turns green This may take as little as 15 to 30 minutes or as much as four hours Once the Seeke...
Page 8: ...lowing the path Start All Programs ScopeView Uninstall ScopeView and clicking Enter to confirm the uninstall 2 Read the End User License Agreement and accept its terms by checking the box at lower left and clicking Next 3 On the Custom Setup screen that appears next note the advisory that ScopeView will be installed in the ProgramFiles folder of your computer s C drive by default This is the recom...
Page 9: ...s icon Doing so will cause the following screen to appear 2 Plug in the RCV100 Plug the RCV100 into an empty port on your computer either directly or using the supplied USB extension cable if the port has insufficient clearance Note that plugging in the RCV100 causes its Channel indicator light to begin flashing The number of flashes 1 2 3 or 4 corresponds to its channel setting 3 Sync the receive...
Page 10: ...rs in ScopeView s Device window the third item from the left on its toolbar 5 Deselect the laptop camera If you are using a laptop computer equipped with a video camera the camera is likely to be the default device Using the pulldown menu in the Device window deselect the camera select either KC362 or WDM2861 and click the tab to the right of the Device window When you click Connect the main scree...
Page 11: ...s Print pictures To perform these tasks you will use six features of ScopeView The main menu The toolbar below the main menu The Preview Pane at the left of the main window The Photos and Videos tabs of the Preview Pane The Photo Control bar at the bottom of the main window The status bar at the bottom of the ScopeView window To view live video start ScopeView power on your Seeker 100 and click th...
Page 12: ...Pane and left click the desired action By default all videos and photos captured by the Seeker 100 are stored in a folder called ScopeView that the application creates in your MyDocuments folder To change the default storage location of videos and or photos left click the Settings tab of the main ScopeView menu On the screen that appears you can also change the default format and size of photos an...
Page 13: ...ve Hardware and Eject Media icon on your computer s system tray and click on Eject USB Composite Device WIRED OPTION If the video that appears on your computer is noisy has streaks or flickering lines running through it the probable cause is an electrically noisy environment With so many electrical and electronic devices in use everywhere today many environments in which the RCV100 will commonly b...
Page 14: ...treaming the video captured by your Seeker 100 s probe over the Internet SHUTTING OFF THE GRIP To shut off the Seeker 100 grip press the CH button and hold it for five seconds If you forget to shut off the grip after each inspection session its battery will fully discharge if the grip is left on for hours or overnight and the grip will not power on the next time you try to use it even with the AC ...
Page 15: ...0 VAC 60 Hz AC adapter output 5 5 VDC 1 5 A Battery type capacity Polymer Lithium ion 1200mAh Charging time 3 hours nominal 4 hours maximum Discharge time 2 hours normal operation Operating temperature 32 to 113 F 0 to 45 C Operating humidity 5 to 95 non condensing Storage temperature 4 to 140 F 20 to 60 C at less than 85 RH Dimensions of grip 10 47 x 2 87 x 3 15 in 266 x 73 x 80mm Dimensions of r...
Page 16: ...upplied battery charger Fully charge and discharge the battery the first three times the unit is used If the Seeker 100 has not been used for more than 3 months it s a good idea to fully charge the grip Never forcibly insert or bend the probe Nor should you bend it more than 2 inches or use it like a stick to clear pathways or debris Remember to replace the camera head s protective rubber cap afte...
Page 17: ...lusive repair and replacement remedies described herein is a condition of the contract for purchase of this product In no event shall General be liable for any incidental special consequential or punitive damages or any cost attorneys fees expenses losses alleged to be as a consequence of any damage due to failure of or defect in any product including but not limited to any claims for loss of prof...
Page 18: ..._________________________________________________ ____________________________________________________ ____________________________________________________ ____________________________________________________ ____________________________________________________ ____________________________________________________ ____________________________________________________ ________________________________...
Page 19: ..._________________________________________________ ____________________________________________________ ____________________________________________________ ____________________________________________________ ____________________________________________________ ____________________________________________________ ____________________________________________________ ________________________________...
Page 20: ...3567 PHONE 212 431 6100 FAX 212 431 6499 TOLL FREE 800 697 8665 e mail sales generaltools com www generaltools com DCS100 User s Manual Specifications subject to change without notice Not responsible for typographical errors 2011 GENERAL TOOLS INSTRUMENTS 1 1 11 ...