Chapter 3. Installation and Start-up: Rack-based and RX7i Embedded Interface
24
PACSystems* RX7i & RX3i TCP/IP Ethernet Communications User Manual
GFK-2224Q
3.2
Module Installation
For general information about module and system installation, or if the installation requires CE Mark
compliance, refer to the
PACSystems RX7i Hardware Installation Manual,
GFK-2223 or the
PACSystems RX3i
System Manual
, GFK-2314.
Installing an RX7i CPU with Embedded Ethernet Interface
Warning
Do not insert or remove the CPU module with power applied. This could cause
the CPU to stop, damage the module, or result in personal injury.
1.
Record the 12-digit hexadecimal MAC Address from the printed label located on the rear wall of CPU
battery compartment. The label is visible when the battery is removed from its compartment. (The battery
does not need to be disconnected to temporarily remove it from the compartment.) For compatible
batteries and battery installation procedures for specific CPUs, refer to the
PACSystems RX3i and RX7i
Controllers Battery Manual,
GFK-2741.
2.
Install the CPU in the rack. Refer to
PACSystems RX7i Hardware Installation Manual,
GFK-2223 for
installation instructions.
3.
Set the PLC to Stop mode via the Run/Stop switch or the programming software.
Installing an RX7i Ethernet Interface Module
1.
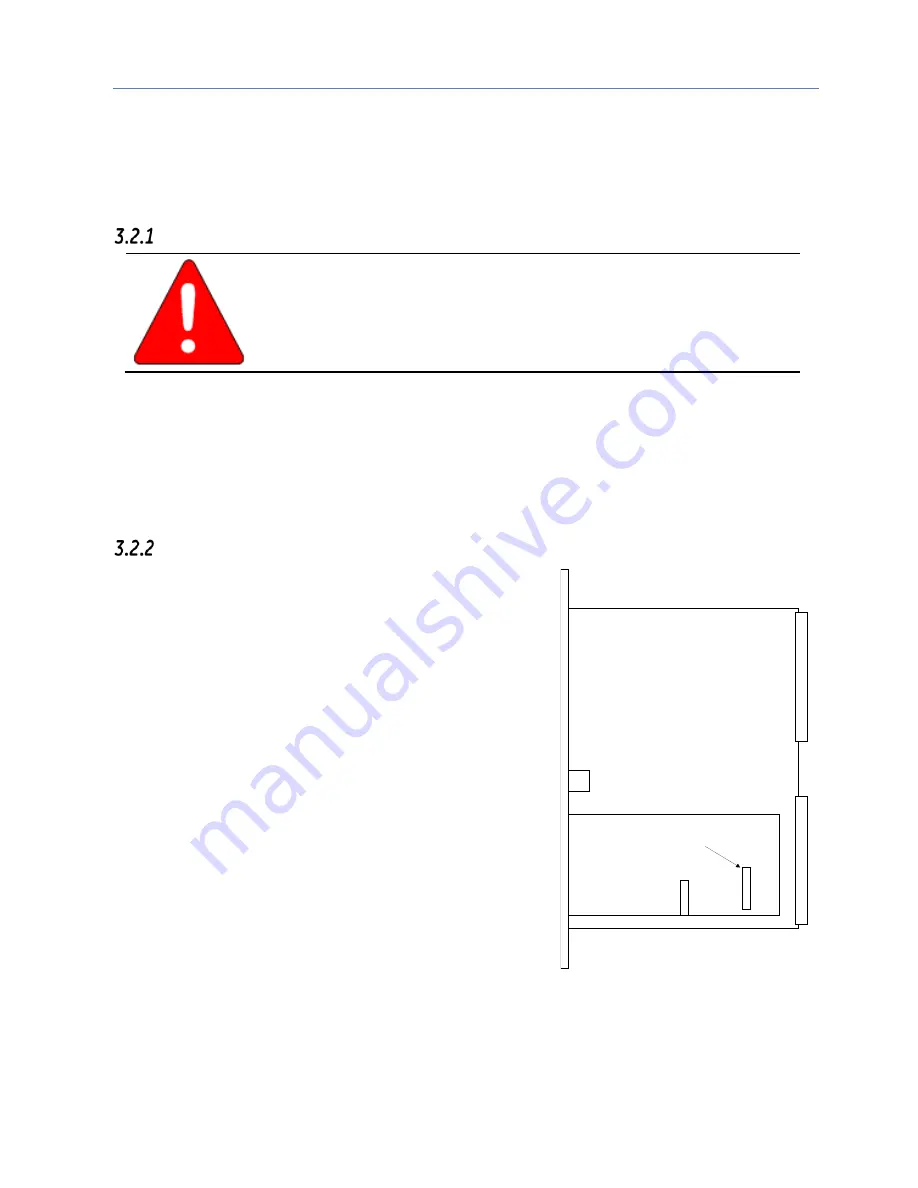
Record the 12-digit hexadecimal MAC Address from the printed
label on the Ethernet Interface. The label is visible only with
module out of the rack.
2.
Be sure the rack power is OFF.
3.
Slide the module into the slot for which it was configured in the
system. (Must go into main rack.)
4.
Press the module firmly in place, but do not force the module.
Tighten the screws on the top and bottom tabs.
5.
Connect one or both of the network ports on the Ethernet
Interface to the Ethernet network.
6.
Turn on power to the PACSystems rack.
7.
Set the PLC to Stop mode via the Run/Stop switch or the
programming software.
MAC Address Label
Figure 7: MAC Address on RX7i
Summary of Contents for PACSystems RX7i
Page 45: ......
Page 80: ...Chapter 4 Configuration GFK 2224Q January 2017 67 ...
Page 81: ......
Page 122: ...Chapter 6 Programming EGD Commands GFK 2224Q January 2017 109 ...
Page 147: ......
Page 211: ......
Page 262: ...Chapter 13 Network Administration GFK 2224Q January 2017 249 ...
Page 263: ......


