Maintenance
Replacing the Printhead
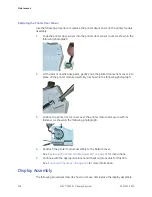
Use the following procedure to replace the print head in the printer module assembly.
1.
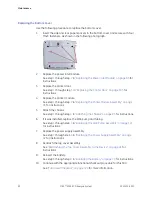
Hold the new print head so the longer ribbon cable is on the right, as shown
in the following photograph.
2.
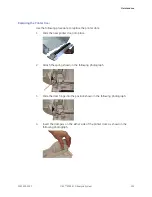
With the front of the printer module assembly facing you, gently thread the
printer ribbon cables through the printer module assembly and snap the print
head into the metallic print head holder, as shown in the following photograph.
NOTE:
Make sure the longer printer ribbon cable is on the side of the printer module
assembly with the lever and not the printer motor. When facing the front of
the printer module assembly, this would be on the right.
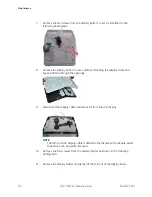
3.
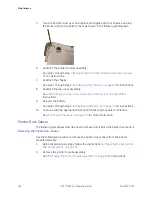
With the rear of the printer module assembly facing you, secure the print head
to the printer module assembly using the two M3x4 fasteners, as identified
in the following photograph.
4.
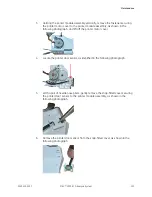
Reattach the printer module assembly to the bottom cover.
See
“Replacing the Printer Module Assembly” on page 95
for instructions.
5.
Continue with the appropriate functional checkout procedure for this FRU.
See
“Functional Checkout” on page 129
for more information.
102
MAC™ 2000 ECG Analysis System
2053535-003C
Summary of Contents for MAC 2000
Page 41: ...Product Overview 2053535 003C MAC 2000 ECG Analysis System 41 ...
Page 134: ...Maintenance 134 MAC 2000 ECG Analysis System 2053535 003C ...
Page 160: ...Parts List 160 MAC 2000 ECG Analysis System 2053535 003C ...
Page 182: ...182 MAC 2000 ECG Analysis System 2053535 003C ...
Page 183: ......


