GE M
EDICAL
S
YSTEMS
PROPRIETARY TO GE
D
IRECTION
2294854-100, R
EVISION
3
LOGIQ™ 9 P
ROPRIETARY
M
ANUAL
3-44
Section 3-16 - Installing USB Line Printer - HP970/990
Section 3-16
Installing
USB Line Printer - HP970/990
1.) Install the printer after the system has been ghosted, but before application software has been
installed. Just plugging in the USB cable is enough to install the printer.
2.) If a service key is available, enter maintenance mode and exit to the desktop. Plug in the USB cable
and the printer will install correctly.
3.) If the printer is installed while in application mode, excessive CPU time will be consumed and the
system will become very slow to unusable. Shutting down and rebooting will clear the condition.
The printer will function correctly, after this.
3-16-1
Optional USB Line Printer - HP970/990
This procedure assumes that the LOGIQ™ 9 base system software load image is installed and
application software has been installed and is functioning properly. It also assumes that the printer was
not installed directly after the Base Image Load. Disconnect any external printers connected to the
service key port (USB port) on the rear of the LOGIQ™ 9 system.
1.) Power off the LOGIQ™ 9 ultrasound system.
2.) Insert a valid service key (dongle) into the service key port (USB port) on the rear of the scanner.
3.) Power up the scanner.
4.) When the “Start Application” dialog box appears, click “Maintenance” and type the current
password and press enter.
5.) When the “Maintenance” screen appears, click “Exit to Windows”.
6.) Press CTRL-ALT-DEL to bring up the Task Manager and ensure that the “Applications” tab is the
highlighted tab.
7.) Click on the “New Task...” button in the lower right hand corner of this window.
8.) In the “Create New Task” dialog box, type: “USERINIT” and press enter.
9.) Minimize the Task Manager.
10.)Click “Start” > “Settings” > “Printers”.
11.)Remove the service key (dongle) now that you’ve gotten to the desktop.
12.)Attach the USB cable from the printer to the USB port on the back of the ultrasound system.
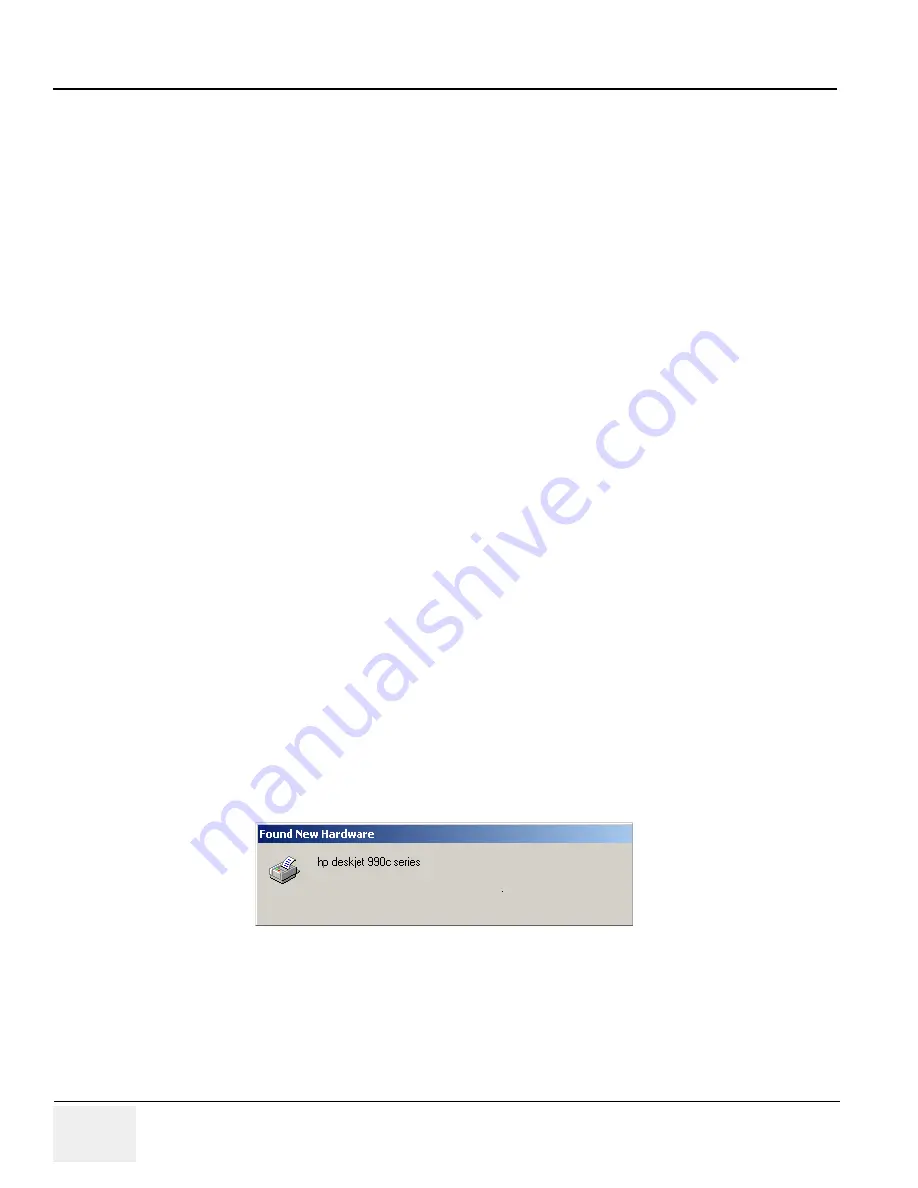
13.)If you’re attaching a HP Diskette 990Cxi or 970Cxi printer, the system should immediately recognize
the newly attached printer and automatically install and configure the printer for you without any
additional user intervention.
Print Key Assignment and Checkout
1.) Ensure that you have one of the front panel “Print” keys (P1-4) assigned to print on this new printer.
Select Utility > Adman > Connectivity > Buttons >. Choose one of the print buttons and under
“Destinations”, select “Standard Printer@MyComputer” from the drop-down list box.
2.) Press the key you just configured and you should get a printout of the screen you printed from.
Figure 3-38 Found 990Cxi Printer


