GE H
EALTHCARE
D
IRECTION
5158821-100, R
EVISION
3
E
X
PLORE
L
OCUS
SP S
ERVICE
G
UIDE
Page 216
7.5.2
Perform Verification Scans (1x1, 2x2 & 4x4 Modes)
The following procedure is used to verify the calibration settings.
Note:
The ambient temperature in the room must be stable to perform this procedure i.e. the room
temperature should not change even by 1 degree during the scanning process.
First perform verification scans for 1x1 mode using the procedure below, then repeat the procedure
in order to perform verification scans for 2x2 and 4x4 modes.
FIND THE IDEAL CENTRE OF ROTATION AT CENTRAL SLICE:
1.
Place the wire phantom in the small specimen tube, secure the phantom with foam, and mount
the tube.
2.
Ensure the filter wheel is set to
4
(or
1
for 4x4 mode)
Note:
Details concerning the following steps are found in the
eXplore Locus SP User Guide
. Refer to it
for particulars.
3.
Warm up the X-Ray Source.
4.
Once warmed up, launch
eXplore Scan Manager
by double-clicking on the desktop icon.
5.
Click
Scan New Subject
and name the subject
1x1
(or
2x2
or
4x4
depending on which
verification scans are being performed).
6.
Enter
1x1wire
in the Scan Description field (or
2x2wire
or
4x4wire
depending on which
verification scans are being performed).
7.
The
Scan Control
window opens. Select
1x1wire
from the Protocol drop-down list (or
2x2wire
or
4x4wire
depending on which verification scans are being performed).
8.
Select the
Scan bright and dark first
,
Recon after scan
and
Home all stages
checkboxes under
Options.
9.
Start
Fluoro
.
10. Click
Menu
and choose
Position Stages
from the
drop-down list.
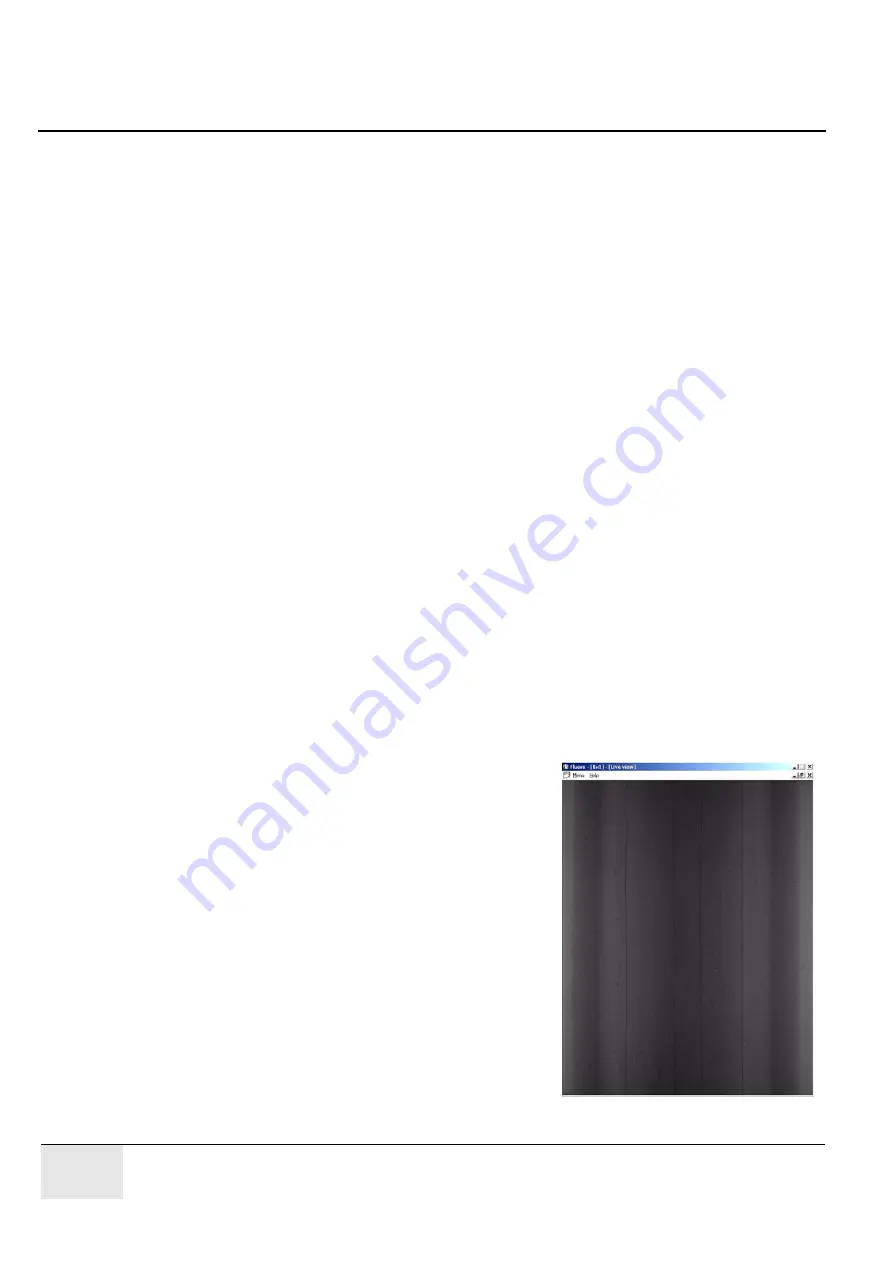
11. Adjust the elevation until the wires of the center
section of the wire phantom extend from the top to
the bottom of the screen.
12. Exit
Fluoro
.
13. Press the
Start Scan
button (the scan takes
approximately 45 minutes) and follow the prompts
to place and remove the specimen from the
scanner for the bright and dark scans.
The
eXplore Reconstruction Utility
launches
automatically when the scan is complete.
14. Click the
Set to Central Slice
button.
15. Click the
Thumbnail
button.
16. Change the Z-Size field to
5
.
Summary of Contents for Healthcare eXplore Locus SP
Page 2: ...This page is intentionally left blank...
Page 12: ...GE HEALTHCARE DIRECTION 5158821 100 REVISION 3 EXPLORE LOCUS SP SERVICE GUIDE Page 12...
Page 13: ...GE HEALTHCARE DIRECTION 5158821 100 REVISION 3 EXPLORE LOCUS SP SERVICE GUIDE Page13...
Page 37: ...GE HEALTHCARE DIRECTION 5158821 100 REVISION 3 EXPLORE LOCUS SP SERVICE GUIDE Page37...
Page 228: ...GE HEALTHCARE DIRECTION 5158821 100 REVISION 3 EXPLORE LOCUS SP SERVICE GUIDE Page 228...


