Chapter 12 - - Set Preferences
Page 287
GE H
EALTHCARE
D
IRECTION
5461425-8EN, R
EVISION
B
RIVO
XR118 S
ERVICE
M
ANUAL
5. When finished, press [Map] to save the changes.
• A message appears: “Default look settings for selected Representative Anatomical
Views will be mapped to related anatomical views.“
6. Press [Confirm] to apply the looks settings. [Confirm] will close the
message and return you to the Image Processing screen.
• [Cancel] closes the message and returns you to the Default Factory Looks screen.
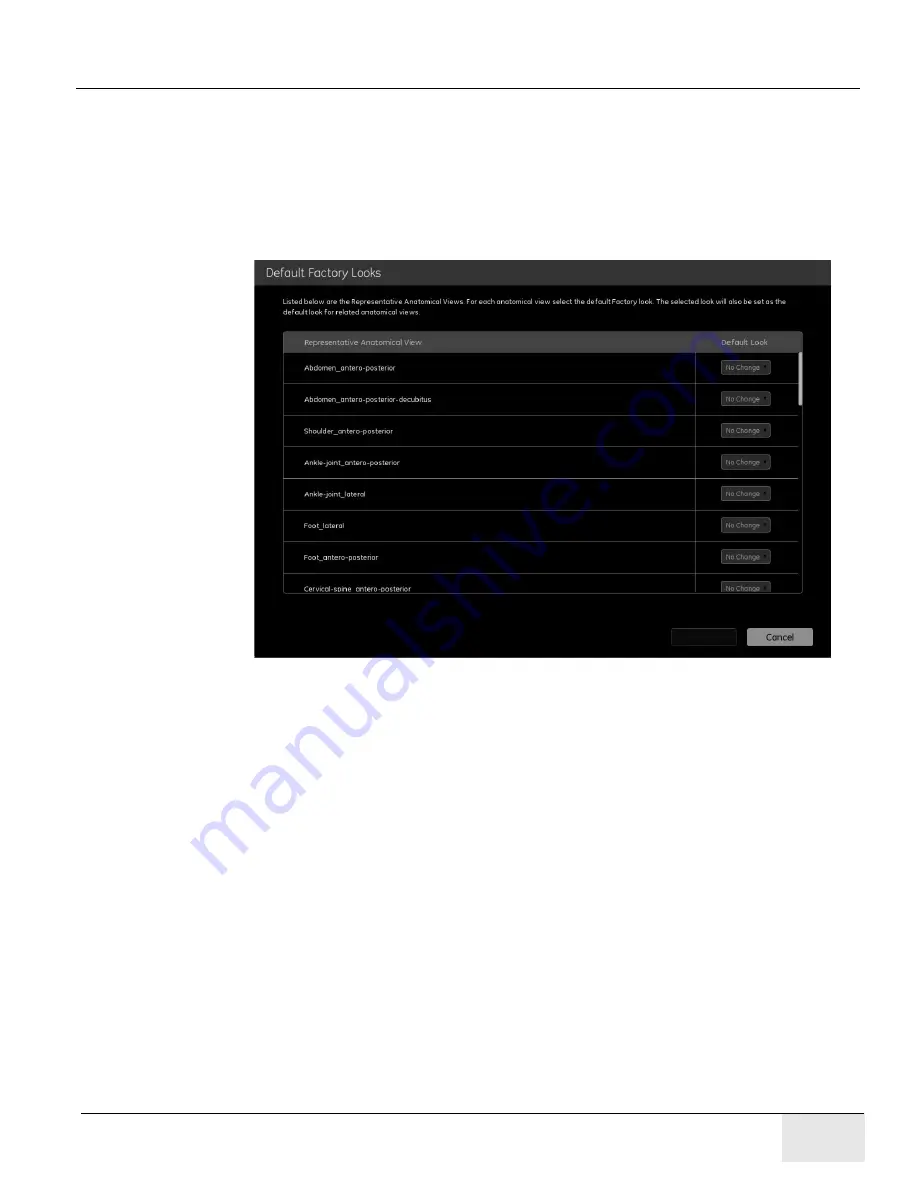
Figure 12-28
Default Factory Looks
Build Custom Looks
Looks are the way an image is processed to be viewed by a radiologist for
interpretation.
Looks are pre-defined combinations of brightness, contrast, edge enhancement,
and tissue equalization (TE). Refer to
information.
Factory Look descriptions:
• Factory Look 1 – similar to analog film, low edge, no TE.
• Factory Look 2 – low CR look, low edge, moderate tissue contrast.
• Factory Look 3 – moderate CR look, low edge, TE.
• Factory Look 4 – highly digital look, high edge, high TE.
These factory looks apply to all exams.
Follow this process to create an new custom look.
Recommendation:
When building a custom look, start with the factory look that
is closest to the desired result. Write down the values and apply them to a new
custom process. Then change the applicable variables.


