Using Webmin service interface
41
2106778-001
NOTE: For more information on how to configure the IP address, refer to the PC’s
documentation.
5.
Launch a web browser on the service PC.
6.
In the
Address
field, type
https:
//
[IX IP address]:10000
and press
Enter
.
NOTE:
[IX IP address]
is the IX Network IP address of the patient monitor.
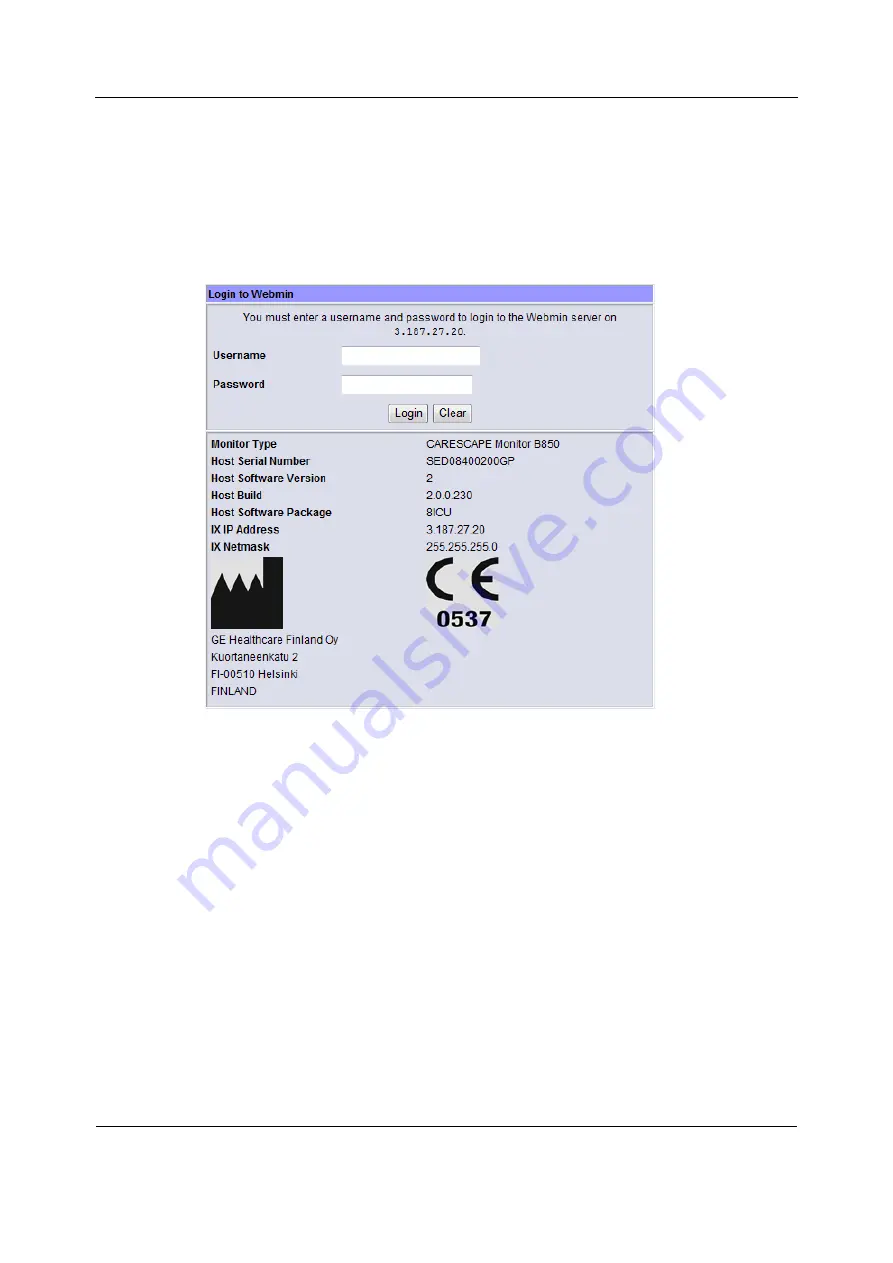
The
Login to Webmin
dialog box displays.
7.
Closing Webmin
1.
Restore the patient monitor’s original IX Network configuration and service PC’s network
settings if they were changed.
2.
Disconnect the crossover cable from the patient monitor and from the service PC.
3.
Reconnect the patient monitor back to the IX Network if applicable.
4.3
Remote access to Webmin using a service PC over the
IX Network
1.
Connect a service PC to the IX Network using a standard network cable.
2.
In patient monitor, select
Monitor Setup
>
Service
. The local browser opens and displays
the
Login to Webmin
dialog box.
3.
Record the IX IP address of the patient monitor:
IX IP address: ______________________
Summary of Contents for CARESCAPE Monitor B850
Page 12: ...CARESCAPE Monitor B850 4 2106778 001 For your notes ...
Page 16: ...CARESCAPE Monitor B850 8 2106778 001 For your notes ...
Page 56: ...CARESCAPE Monitor B850 48 2106778 001 For your notes ...
Page 76: ...CARESCAPE Monitor B850 68 2106778 001 For your notes ...
Page 112: ...CARESCAPE Monitor B850 104 2106778 001 For your notes ...
Page 128: ...CARESCAPE Monitor B850 120 2106778 001 For your notes ...
Page 156: ...CARESCAPE Monitor B850 148 2106778 001 ...
Page 160: ...CARESCAPE Monitor B850 152 2106778 001 For your notes ...
Page 177: ...Service parts 169 2106778 001 13 3 Exploded view ...
Page 178: ...CARESCAPE Monitor B850 170 2106778 001 For your notes ...
Page 182: ...CARESCAPE Monitor B850 A 4 4 2106778 001 Notes Used service parts Signature Date ...
Page 186: ...CARESCAPE Monitor B850 B 4 4 2106778 001 For your notes ...
Page 190: ...CARESCAPE Monitor B850 C 4 4 2106778 001 For your notes ...
Page 191: ......


