


32
www.gateway.com
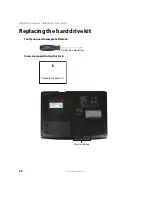
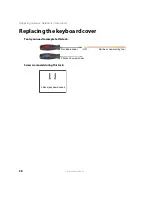
Replacing Gateway Notebook Components
Replacing the keyboard
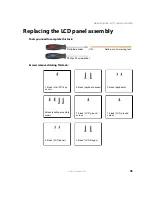
Tools you need to complete this task:
Screws removed during this task:
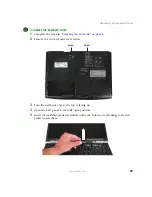
To replace the keyboard:
1
Complete the steps in
“Preparing the notebook” on page 6
2
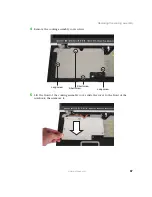
Open the keyboard cover by following the instructions in
3
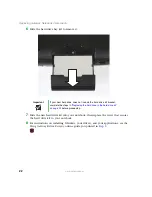
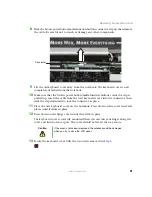
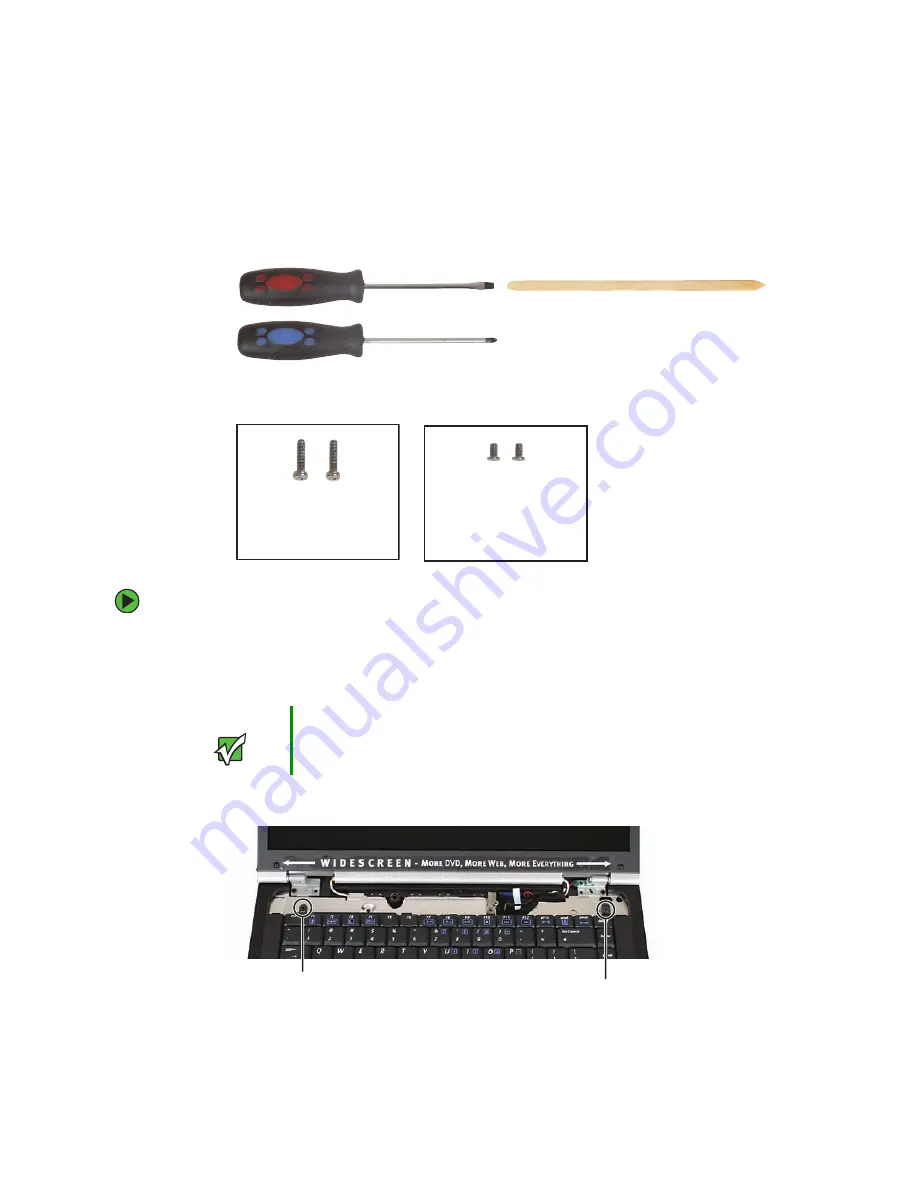
Remove the two keyboard screws.
Important
You do not need to remove the cover.
Flat-blade driver
Scribe or non-marring tool
- OR -
Phillips #0 screwdriver
2 black (keyboard)
2 black (keyboard cover)
Screw
Screw
Summary of Contents for MX7120
Page 1: ......
Page 2: ......
Page 4: ...ii www gateway com...
Page 13: ...9 www gateway com Replacing the memory module in the memory bay Memory bay...
Page 18: ...14 www gateway com Replacing Gateway Notebook Components Mini PCI bay...
Page 96: ...92 www gateway com Replacing Gateway Notebook Components...
Page 97: ......