


CHAPTER 13: Adding and Replacing Components
www.gateway.com
154
5
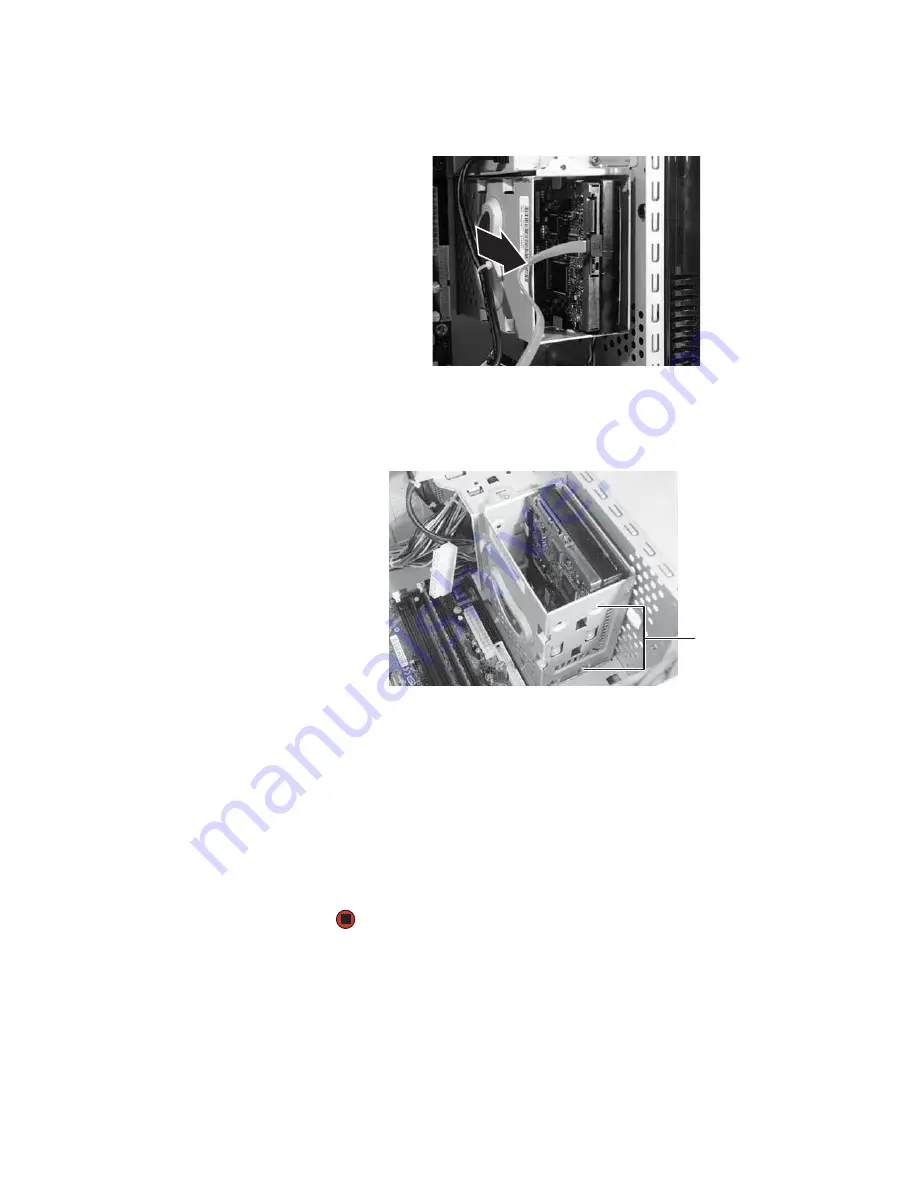
Slide the hard drive bay away from the system board and toward the open
side of the case, then remove the hard drive bay from the case.
6
If you are adding a new drive, go to
. If you are replacing an existing
drive, go to the next step.
7
Remove the four screws that secure the hard drive to the drive bay. (Only
the two screws on one side of the bay are shown below.)
8
Slide the old drive out of the bay.
9
Slide the new drive into the drive bay.
10
Use the four screws you removed previously to secure the hard drive to
the hard drive bay. If you are adding a drive, use the screws provided by
the drive manufacturer.
11
Slide the hard drive bay back into position, then secure it to the case using
the screw you removed previously.
12
Replace the side panel by following the instructions in
Screws
Summary of Contents for E-1500
Page 1: ...USER GUIDE Gateway Computer...
Page 13: ...CHAPTER 1 Getting Help www gateway com 6...
Page 27: ...CHAPTER 2 Getting Started www gateway com 20...
Page 57: ...CHAPTER 5 Sending and Receiving Faxes www gateway com 50...
Page 105: ...CHAPTER 8 Customizing Your Computer www gateway com 98...
Page 119: ...CHAPTER 9 Networking Your Computer www gateway com 112...
Page 135: ...CHAPTER 11 Recovering Your System www gateway com 128...
Page 149: ...CHAPTER 12 Maintaining Your Computer www gateway com 142...
Page 189: ...CHAPTER 14 Troubleshooting www gateway com 182...
Page 195: ...APPENDIX A Safety Regulatory and Legal Information www gateway com 188...
Page 203: ...Index www gateway com 196...
Page 204: ...MAN GW ATX PRO USR GDE R0 3 06...