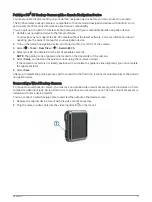
Connecting a Dash Camera to the Powered Mount
Before you connect a dash camera to the powered mount, you should mount the dash camera device to your
windshield.
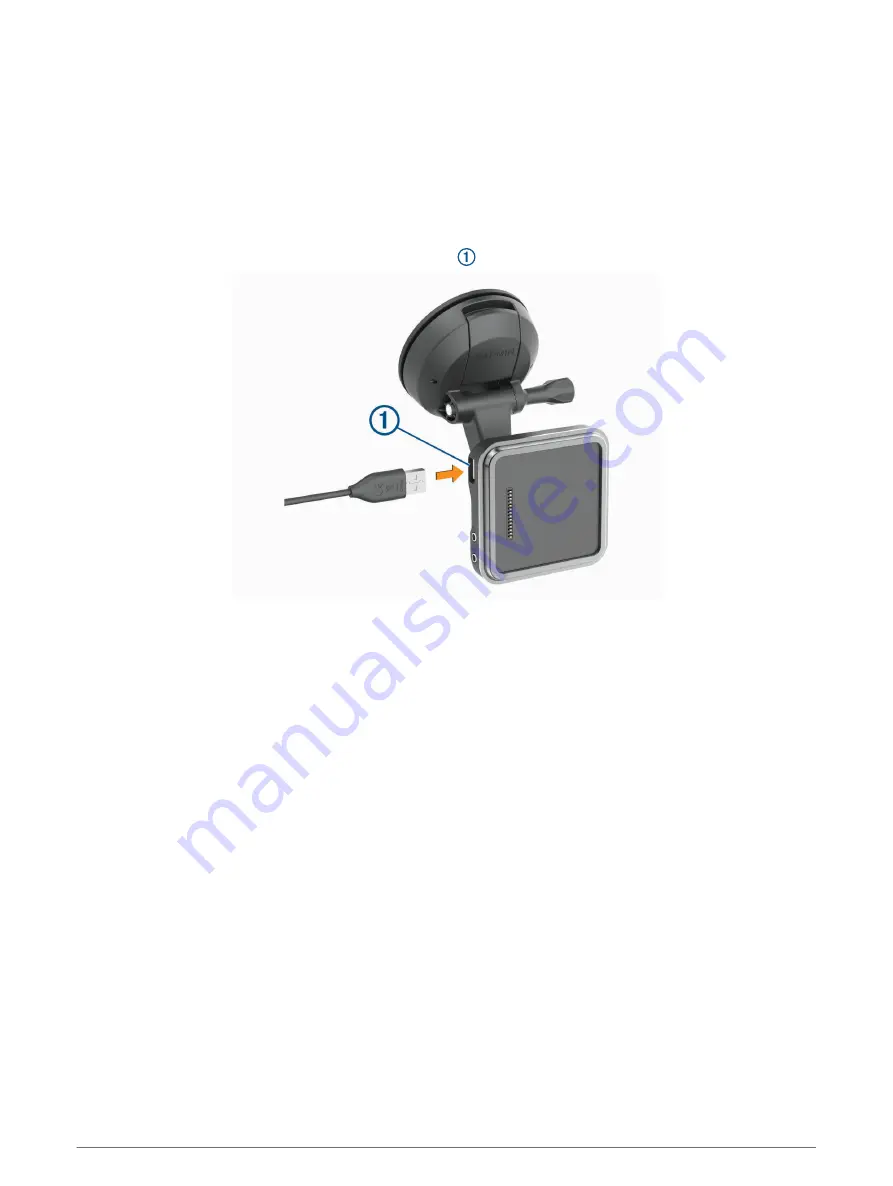
You can use the RV / Camper device mount to power a compatible Garmin dash camera. This can be useful if
you need to connect the RV / Camper device and the dash camera to the same power source in your vehicle.
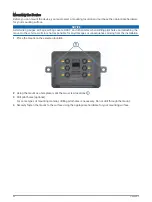
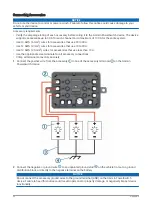
1 Mount the RV / Camper device in your vehicle, and connect it to power (
Mounting and Powering the Device in
).
2 If necessary, remove the RV / Camper device from the magnetic mount for a better view of the USB port.
3 Plug the dash camera's power cable into the USB port on the mount.
Data Management
The device has a memory card slot for additional data storage.
NOTE: The device is compatible with Windows 7 and newer, and Mac OS 10.4 and newer. Mac computers may
require additional third-party software to read and write files on Android devices.
About Memory Cards
You can purchase memory cards from an electronics supplier, or purchase pre-loaded Garmin mapping
software (
). Memory cards can be used to store files such as maps and custom POIs.
Installing a Memory Card for Maps and Data
You can install a memory card to increase the storage space for maps and other data on your device. You can
purchase memory cards from an electronics supplier, or go to
to purchase a memory
card with pre-loaded Garmin mapping software. The device supports microSD memory cards from 4 to 256 GB.
Memory cards must use the FAT32 file system format. Memory cards greater than 32 GB must be formatted
using the device (
Formatting the Memory Card, page 64
).
1 Locate the map and data memory card slot on your device (
).
2 Insert a memory card into the slot.
3 Press it in until it clicks.
Appendix
63


