27
AQUAMAP™ 10x2/12x2 SERIES
4
Select
Start Navigation
.
5
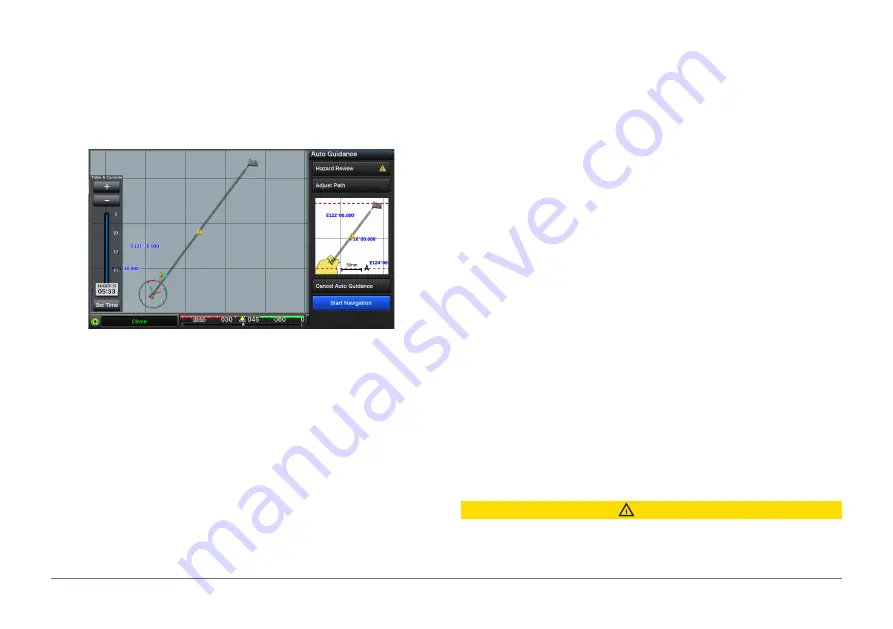
Follow the magenta line, steering to avoid land, shallow water, and other
obstacles.
NOTE:
When using Auto Guidance, a gray segment within any part of the
magenta line indicates that Auto Guidance cannot calculate part of the
Auto Guidance line. This is due to the settings for minimum safe water
depth and minimum safe obstacle height.
Creating and Saving an Auto Guidance Path
1
Select
NAV INFO
>
User Data
>
Routes & Auto Guidance
>
New
>
Auto Guidance
.
2
Select a starting point, and select
Next
.
3
Select a destination, and select
Next
.
4
Select an option:
• To view a hazard and adjust the path near a hazard, select
Hazard
Review
.
• To adjust the path, select
Adjust Path
, and follow the on-screen
instructions.
• To delete the path, select
Cancel Auto Guidance
.
• To save the path, select
Done
.
Adjusting a Saved Auto Guidance Path
1
Select
NAV INFO
>
User Data
>
Routes & Auto Guidance
.
2
Select a path, and select
Review
>
Edit
>
Adjust Path
.
TIP:
When navigating an Auto Guidance path, select the path on the Nav.
chart, and select Adjust Path.
3
Select a location on the path.
4
Use the arrow keys to select a new location, and select
Remove
.
5
Select
Done
.
Canceling an Auto Guidance Calculation in Progress
From the Nav. chart, select
MENU
>
Cancel
.
TIP:
You can select BACK to quickly cancel the calculation.
Setting a Timed Arrival
You can use this feature on a route or an Auto Guidance path to get feedback
about when you should arrive at a selected point. This allows you to time your
arrival at a location, such as a bridge opening or a race starting line.
1
From the Nav. chart, press
MENU
.
2
If necessary, select
Navigation Options
.
3
Select
Timed Arrival
.
TIP:
You can quickly open the Timed Arrival menu by selecting a point on
the path or route.
Auto Guidance Path Configurations
CAUTION
The Preferred Depth and Vertical Clearance settings influence how the
AQUAMAP calculates an Auto Guidance path. If an area has an unknown


