GAT Access 6100 Terminal Series
Commissioning & Configuration
www.gantner.com
HB_GAT-ACCESS6100--EN_14
49
5.4
Configuration Settings
The configuration settings are the device functions that determine how the GAT Access 6100 interacts with the user.
These settings can be viewed and modified using "GAT Config Manager" PC software. This section provides an
overview on how to define the configuration settings with GAT Config Manager.
A user guide is available when you install GAT Config Manager. This user guide contains detailed information
about the use and possibilities of this software.
In order to configure the GAT Access 6100, you must know the communication settings such as the IP address and
port number (default 8208) for TCP/IP configuration. To find this information, see section "5.3 System Settings".
Configuration possibilities:
There are two ways you can configure a GAT Access 6100 with GAT Config Manager.
- Direct configuration: A connection to the GAT Access 6100 must be established by entering all the communication
settings required for a manual connection.
- Project configuration: Creating a project where the GAT Access 6100 and its communication settings are defined
once. To configure the GAT Access 6100, the connection to the device can then be
established by
clicking the “Configure device” option in the project. One project can contain
several devices.
To begin configuring a device first start GAT Config Manager via the start menu within Windows
®
. The default location
of the software is "Programs > Gantner Electronic GmbH > GAT Config Manager".
5.4.1
Direct Configuration
Once GAT Config Manager is open, complete the following steps to directly configure a GAT Access 6100.
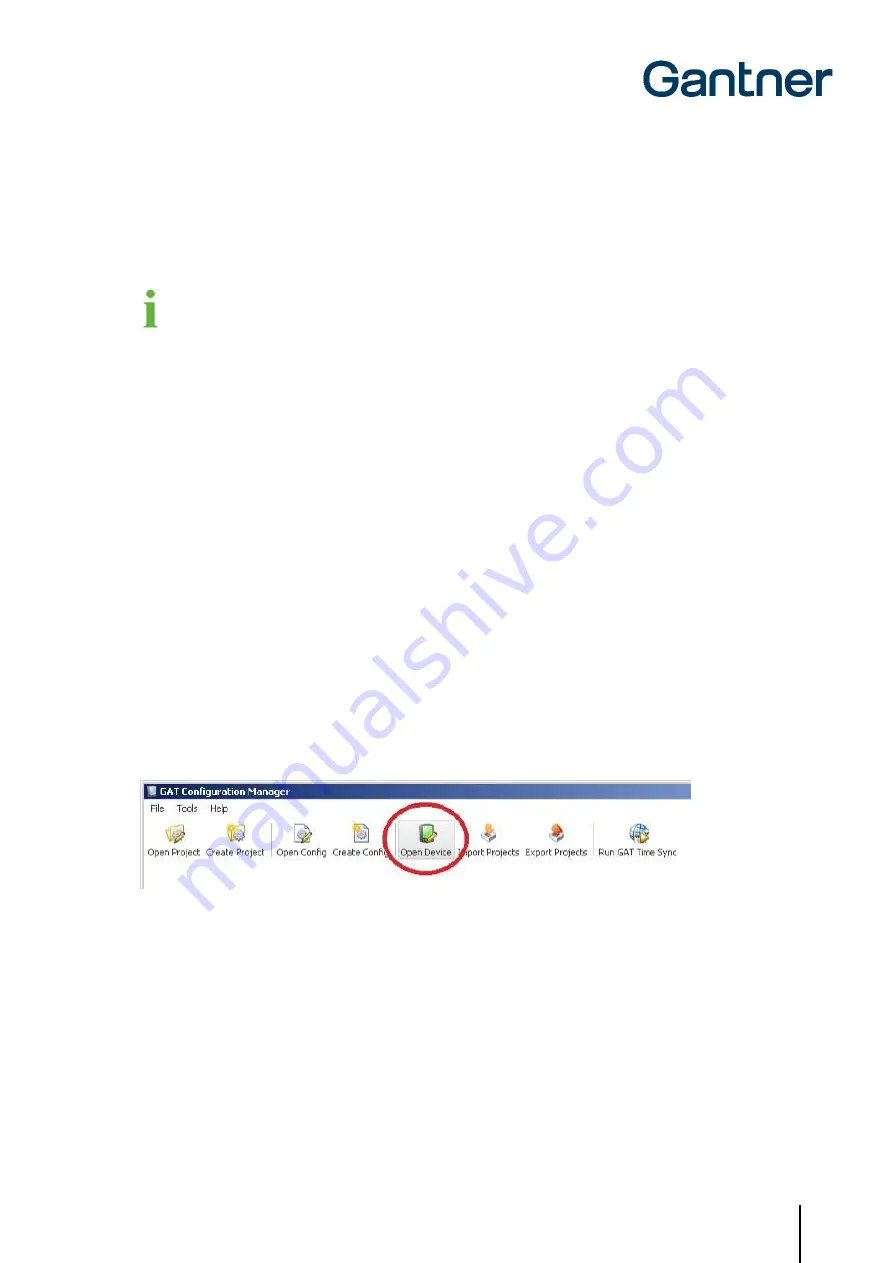
•
Click on the "Open Device" icon at the top of the program.
o
The device configuration wizard opens.
Figure 5.12 - Open device for direct configuration
•
The wizard requests the information required to access the GAT Access 6100. Go to the next page of the wizard
by c
licking “Next”. To return to a previous page click “Previous” and to close the wizard click “Cancel”. The "Finish"
button becomes available when the wizard has received all the necessary information.
Summary of Contents for GAT ACCESS 6100
Page 10: ...GAT Access 6100 Terminal Series Table of Contents 10 HB_GAT ACCESS6100 EN_14 www gantner com ...
Page 34: ...GAT Access 6100 Terminal Series Installation 34 HB_GAT ACCESS6100 EN_14 www gantner com ...
Page 80: ...GAT Access 6100 Terminal Series Operation 80 HB_GAT ACCESS6100 EN_14 www gantner com ...


