USER GUIDE
1.7Cu.Ft. Oven-the-Range Microwave
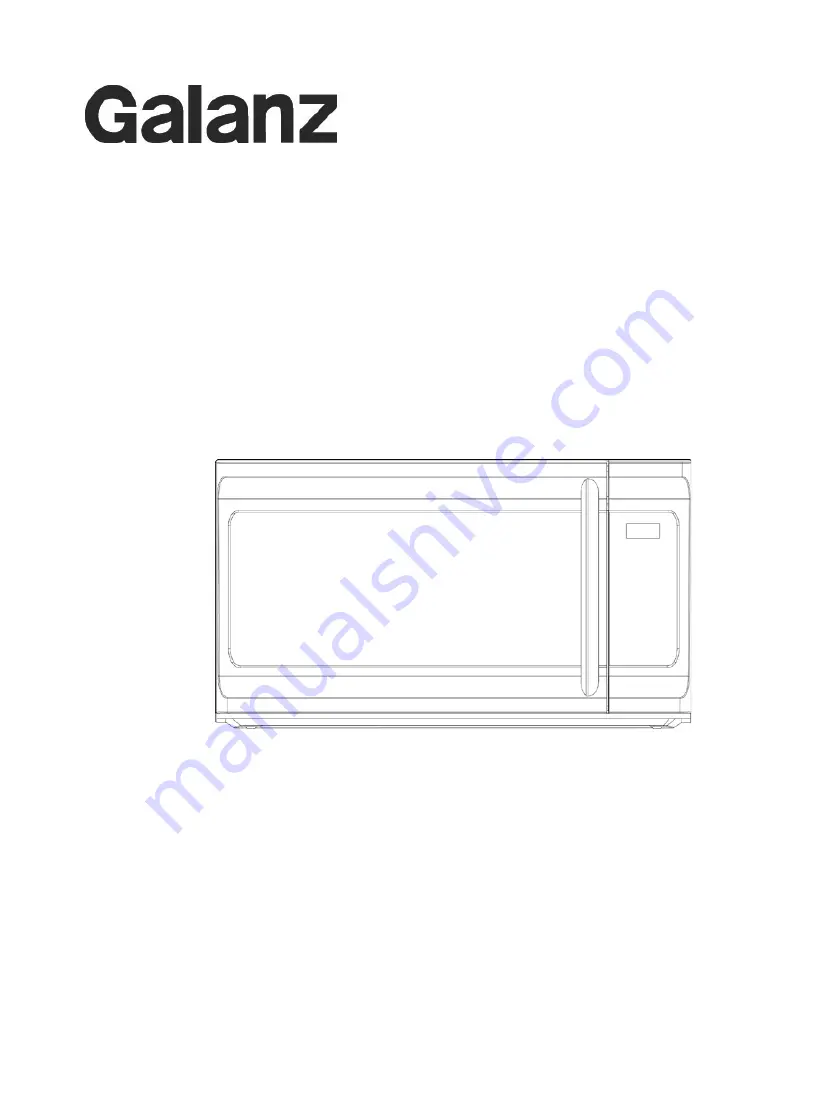
P100D48AL-JC
GLOMJC17WE-10
Please read these instructions carefully before installing and operating the oven.
Page 1: ...USER GUIDE 1 7Cu Ft Oven the Range Microwave P100D48AL JC GLOMJC17WE 10 Please read these instructions carefully before installing and operating the oven...
Page 2: ...FEATURES DIAGRAM 11 CONTROL PANEL FEATURES 12 BASIC CONTROLS 14 Function description 14 Setting the Clock 14 Setting Microwave cooking program 14 Multi stage cooking 15 Light Control 15 Vent Fan Contr...
Page 3: ...rials inside the oven should ignite keep oven door closed turn oven off and disconnect the power cord or shut off power at the fuse or circuit breaker panel Do not use the cavity for storage purposes...
Page 4: ...g Hoods Frequently Grease should not be allowed to accumulate on hood or filter When flaming foods under the hood turn the fan on Use care when cleaning the vent hood filter Corrosive cleaning agents...
Page 5: ...remove oven from carton SAVE THE CARTON AS IT MAY MAKE INSTALLATION EASIER Remove 1 All packing materials from inside the oven cavity however DO NOT REMOVE THE WAVEGUIDE COVER which is located on the...
Page 6: ...ged into a wall receptacle that is properly installed and grounded Power Supply Cord 1 A short power supply cord is provided to reduce the risks resulting from becoming entangled in or tripping over a...
Page 7: ...g recipes or package directions check food a minute or two before the minimum time and add time accordingly ABOUT MICROWAVE COOKING Arrange food carefully Place thickest areas towards outside of dish...
Page 8: ...lling after heating to release steam and avoid burns Stir liquids briskly before and after heating to avoid eruption Use deep bowl when cooking liquids or cereals to prevent boilovers Heat or cook in...
Page 9: ...e the thermometer in the food during cooking unless it is approved for microwave oven use ALWAYS use potholders to prevent burns when handling utensils that are in contact with hot food Enough heat fr...
Page 10: ...cooking bags are good for large meats or foods that need tenderizing DO NOT use metal twist ties Remember to slit bag so steam can escape How to use aluminum foil in your microwave oven Small flat pie...
Page 11: ...ldren need to learn that the microwave oven is not a toy Power Supply 120V 20AC 60Hz Single phase Microwave Power Consumption 1650W Output Power 1000W Frequency 2450MHz Outside Dimensions 16 7 8 H 29...
Page 12: ...11 1 Door Safety Lock System 2 Oven Window 3 Roller Ring 4 Shaft 5 Control Panel 6 Shelf 7 Glass Tray FEATURES DIAGRAM...
Page 13: ...nd and Number pads located on the control panel For more information on these features see the operation section 1 Display The display includes a clock and indicators to tell you time of day cooking t...
Page 14: ...king time 9 Power Level Touch this pad to set cooking power level 10 Eco Mode Touch this pad to set power save mode 11 Vent 2 Speed Touch this pad to change vent speed 12 Stop Cancel Touch this pad to...
Page 15: ...ess Power Level pad once and then press number pads to choose cooking power level BASIC CONTROLS Function description When the oven first plugged in the display will show 12 00 and flashing When cooki...
Page 16: ...r example suppose you want to set the following cooking program Microwave cooking Microwave cooking 1 In waiting mode input the first Microwave cooking Do not touch Start Add 30Sec pad 2 Press Time Co...
Page 17: ...select the amount according to the amount in the table below 3 Touch Start Add 30Sec pad to confirm Food Amount Press number pad Total time Butter 1 4oz 1 1 00 2 8oz 2 1 30 Cheese 1 4oz 1 1 00 2 8oz...
Page 18: ...on microwave prepared foods without needing to program times and cook power For Hot dogs and Frozen sandwiches 1 Press the Kids Meals pad once 2 Press number pad 2 or 4 to choose Hot dogs or Frozen sa...
Page 19: ...ood quickly In standby press 1Lb Defrost pad once the system start defrosting automatically Time Defrost If the food weight is exceed the maximum weight recommended you need to use time defrost Suppos...
Page 20: ...e mode if there are not any operations within 1 minute Child Lock The child lock prevents unsupervised operation by children and this program only works in standby mode To set in standby mode press an...
Page 21: ...enerated to the interior surfaces therefore there is no baking and setting of spills or spattering To clean the interior surfaces wipe with a soft cloth and warm water DO NOT USE ABRASIVE OR HARSH CLE...
Page 22: ...Grease Filters Filters should be cleaned at least once a month Never operate the fan or oven without the lters in place Pull down slightly on the tab toward the front of the oven and remove the lter R...
Page 23: ...to disengage it See illustration Pull the louver away from the unit Change the charcoal lter Carefully push the louver back into place and replace the screw remove in step 2 Oven Light Remove the lou...