en-us
Recommended cooking settings
14
2.
Push in the control knob for the selected burner and
turn it counter-clockwise to .
a
Sparks are produced on all burners while you are press-
ing and holding the control knob.
a
The flame on the selected burner ignites.
3.
Release the control knob.
4.
WARNING Escaping gas can ignite.
▶
If the burner does not turn on after 15 seconds, turn
off the control knob and open the door or window in
the room. Wait at least 1 minute before igniting the
burner again.
Turn the control knob to the desired position.
a
The indicator light around the control knob lights up or-
ange.
5.
If the burner does not ignite, turn it off and repeat the
steps described above. This time, hold the control knob
down longer (up to 10 seconds).
Note
In order to ensure proper operation of the appliance,
observe the following instructions:
¡
The burner parts and burner grates need to be properly
positioned.
¡
Do not interchange the burner caps of the individual
burners.
¡
It is important to keep the appliance clean. Clean the ig-
niters regularly with a small non-metallic brush. Take
care to prevent the igniters from suffering any heavy im-
pacts.
¡
The burner holes and slots must be clean for the flame
to be correct. Clean the burners regularly.
6.2 Manually igniting a burner
In the event of a power failure, you can ignite the burners
manually.
1.
Hold down the control knob for the selected burner and
turn it counterclockwise to the highest power level.
2.
Hold a lit lighter or a match against the burner.
6.3 Flame failure safety system
Your cooktop is equipped with a safety system (thermo-
couple) that cuts off the gas when the burners accidentally
go out during operation, for example through a draft of air.
In order to light the burner, the system that allows the pas-
sage of gas must be activated. Carry out the following
steps.
WARNING
If the burner flames are accidentally blown out, turn the
control knob of the burner to the 0 position and do not try
to relight it for at least 1 minute.
1.
Light the burner as usual without releasing the control
knob.
2.
Hold the control knob down firmly for 4 seconds after
lighting the flame.
6.4 Turning off a burner
▶
Turn the control knob clockwise to 0.
6.5 Normal behavior during operation
The following behavior during operation is normal.
¡
A soft whistling noise while the burner is operating.
¡
Release of odors during first use. These do not pose a
risk and will disappear in time.
¡
An orange-colored flame is normal. It is caused by im-
purities, such as the presence of dust in the atmosphere
or spilled liquids.
Recommended cooking settings
7 Recommended cooking settings
Recommended cooking settings
The charts list the optimal heat settings and cooking times
for various types of food. The information given applies
when cooking four portions.
The cooking times and heat settings may vary depending
on the type of food, its weight and quality, on the type of
gas used, and on the material from which the cookware is
made. To prepare these dishes, stainless steel cookware
was mainly used.
Always use cookware that is the right size and place it in
the center of the burner.Refer to the overview of suitable
cookware.
Tips
¡
Recommendations for cooking:
–
Place all the ingredients into the cookware at the
same time when cooking soups, creams, lentil stews
or chickpeas.
–
Preheat the oil when frying. Once you have started
frying the food, maintain the temperature by adjusting
the power if necessary. Maintain the temperature of
the oil between different batches and turn the food
frequently.
¡
Recommendations to reduce the cooking time:
–
Use a pressure cooker to cook creamy soups and
legumes. Follow the manufacturer's instructions of
the pressure cooker. Add all the ingredients at the
same time at the start.
–
Bring the water to a boil before adding pasta, rice or
potatoes and then adjust the power level to continue
boiling.
–
Use a lid to cook rice and potatoes.
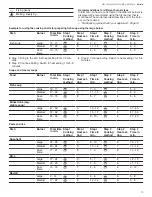
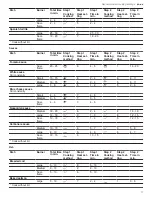
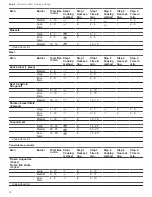
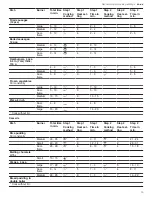
7.1 Cooking charts
Here you can find information on how to cook food on the
different burners. We recommend using the burner that is
listed first. Refer to the appliance overview to identify the
burners.
How to use the cooking charts
Each type of food can be prepared in one or two steps.
For each step you can find the following information.
¡
Cooking method
¡
Heat setting
¡
Cooking time in minutes
Cooking methods featured in the cooking chart
Bringing to the boil
Continuing cooking
Building up pressure in the pressure cooker
Maintaining pressure in the pressure cooker
Frying on high heat


