en
Before using for the first time
12
6 Before using for the first time
Configure the settings for initial start-up. Clean the ap-
pliance and accessories.
6.1 Initial use
Implement the settings for initial use before using your
appliance.
First read the information under safety →
.
The appliance must be installed and connected.
After connecting the appliance to the power supply, the
GAGGENAU logo appears for approx. 30 seconds and
then the appliance displays the "Initial settings" menu.
You can configure your new appliance for initial use.
The "Initial settings" menu appears only after the appli-
ance has been connected to a power supply and
switched on for the first time, or if the appliance has
not been connected to a power supply for a number of
days.
You can change all of the settings in the basic settings
→
.
Setting the language
Requirement:
The display shows the preset language.
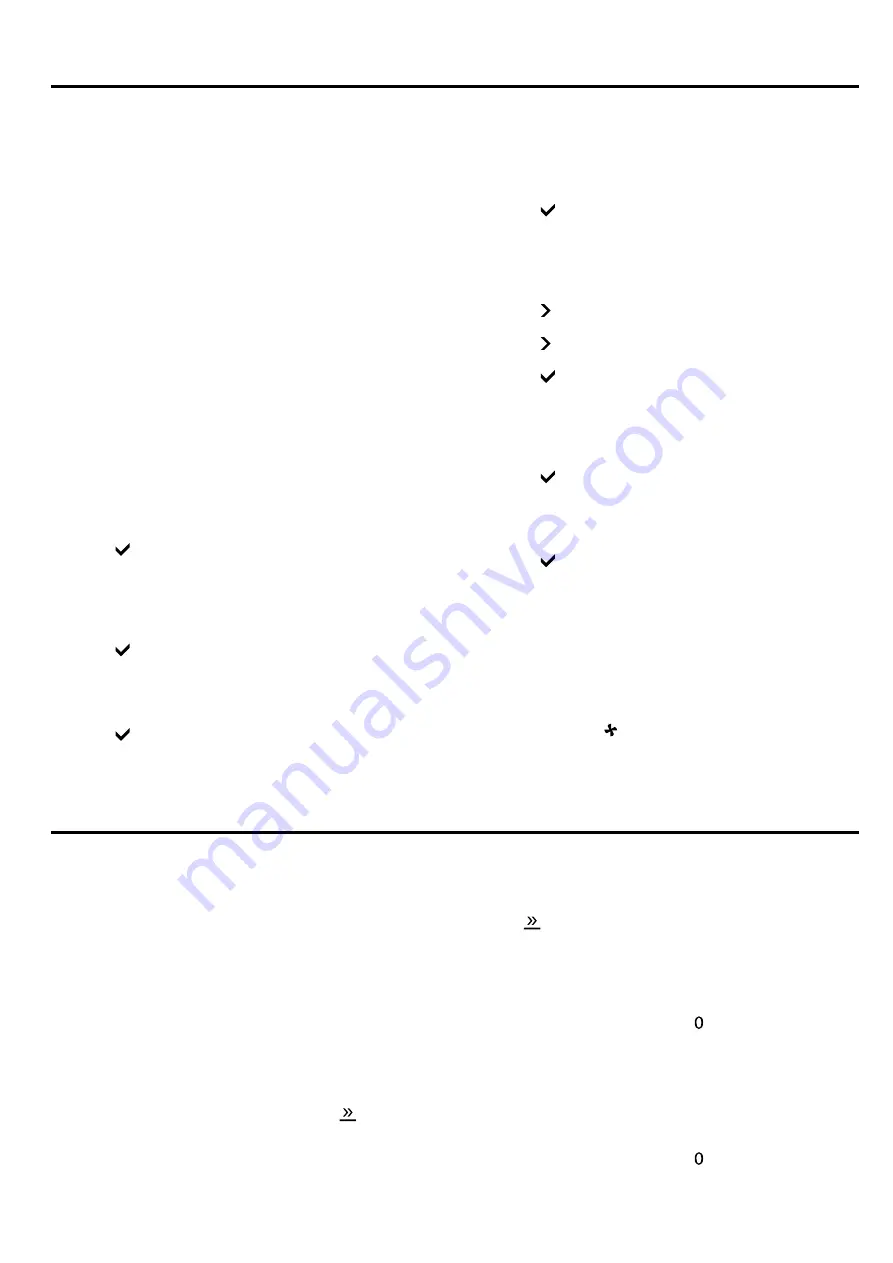
1.
Use the rotary selector to select the required display
language.
2.
Press to confirm.
Setting the time format
Requirement:
The display shows the possible formats
24h and AM/PM. 24h is preset.
1.
Use the rotary selector to set the required format.
2.
Press to confirm.
Set the time
Requirement:
The display shows the time.
1.
Use the rotary selector to set the required time.
2.
Press to confirm.
Setting the date format
Requirement:
The display shows the possible formats
D.M.Y, D/M/Y and M/D/Y. D.M.Y is preset.
1.
Use the rotary selector to set the required format.
2.
Press to confirm.
Setting the date
Requirement:
The display shows the preset date. The
daily setting is already active.
1.
Use the rotary selector to set the required day.
2.
Press to switch to the month setting.
3.
Use the rotary selector to set the month.
4.
Press to switch to the year setting.
5.
Turn the rotary selector to set the year.
6.
Press to confirm.
Setting the temperature unit
Requirement:
The display shows the possible units °C
and °F. The unit °C is preset.
1.
Turn the rotary selector to set the required unit.
2.
Press to confirm.
Ending the initial use
Requirement:
The display shows "Initial set-up com-
plete".
▶
Press .
a
The appliance switches to standby mode.
a
The display shows the standby screen.
a
The appliance is ready to use.
Heating up the appliance
1.
Ensure that there is no leftover packaging in the
cooking compartment.
2.
To eliminate the new-appliance smell, heat up the
empty appliance for an hour at 200 °C in the Hot air
type of heating with the door closed.
Cleaning accessories
▶
Before first use, clean the accessories thoroughly
using hot soapy water and a soft cloth.
7 Basic operation
7.1 Activating the appliance
1.
To exit standby mode, open the door and turn the
function selector or touch a touch field.
2.
Set the required function.
7.2 Switching on the appliance
1.
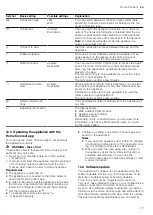
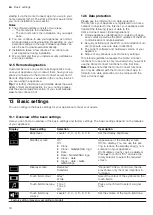
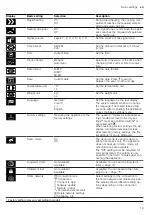
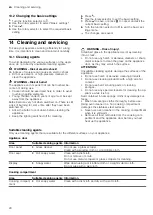
Use the function selector to set the required type of
heating.
a
The display shows the selected type of heating and
the suggested temperature.
2.
If required, use the rotary selector to set the desired
temperature.
a
The display shows the heating symbol
.
a
The bar displays the current heating status.
a
Once the appliance reaches the set temperature, a
signal tone sounds and the heating symbol goes
out
.
Note:
If the temperature is set to less than 70 °C, the
cooking compartment light will remain switched off.
7.3 Switching off the appliance
▶
Turn the function selector to .
7.4 Switching on the appliance after
automatic switch-off
Requirement:
After prolonged operation, the
"Automatic switch-off", Page 10
switches off the ap-
pliance.
1.
Turn the function selector to .
2.
Switch the appliance back on again.
Summary of Contents for BOP2201.2
Page 1: ...en User manual and installation instructions BOP2201 2 BOP2211 2 Oven Gaggenau...
Page 50: ......
Page 51: ......


