User Manual
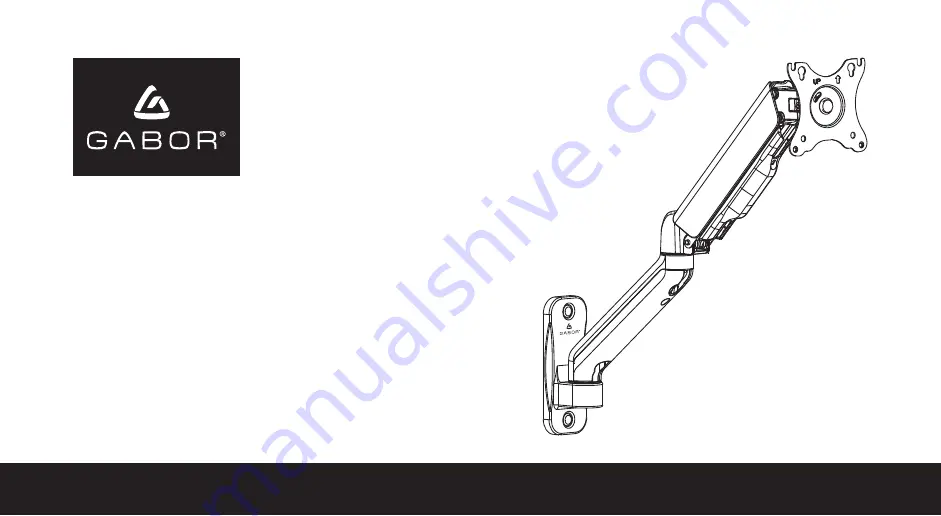
GPW-50 / LEVITOUCH SINGLE ARM
MONITOR WALL MOUNT
for 17 to 32 in. Displays
LeviTouch GP
W-50
Page 1: ...UserManual GPW 50 LEVITOUCH SINGLE ARM MONITOR WALL MOUNT for17to32in Displays LeviTouch GPW 50...
Page 2: ...hile it offers optimum viewing angles whether you re sitting or standing The articulating arm has adjustable gas spring tension that ensures monitor stability and glides into place when changing the m...
Page 3: ...ard keep out of reach of children and pets The supplied mounting hardware is not intended for use on metal studs or cinderblock walls and may not be appropriate for old or weak walls it is best to con...
Page 4: ...w 1X Required tools Scissors Level Pencil Drill Socket Wrench Optional Stud finder B A W A 2X 2X W B W C 2X 2X D5 M5 12 4X 4X M4 12 C M A 4X M B M C 1X PARTS FOR MOUNTING ON A WALL PARTS FOR MOUNTING...
Page 5: ...the arm together while another person cuts the packing cable Slowly release the pressure on the spring arm and allow it to gradually stretch to its full extension Mounting the Monitor 5 Important We...
Page 6: ...a template to mark the location of the holes 3 Use a 3 16 inch 4 5 mm bit to drill a hole 2 2 inches 55 mm deep 4 Attach the arm to the wall with the washers W C and screws W A 5 Once the Arm is attac...
Page 7: ...or Concrete Wall 7 W C 2X W A 2X W B 2X 2 Use a 3 8 inch 10 mm masonry bit to drill a hole 2 4 inches 60 mm deep LeviTouch GPW 50 3 Tap the wall anchors W B into the holes and attach the arm to the wa...
Page 8: ...Monitor to the Arm M B 4X M A 4X M C 4X C 1X 1 Slide washers M C onto the appropriate screws 2 Screw two of the mounting screws M A or M B into your monitor s top two VESA holes with a Phillips screw...
Page 9: ...nting screws with the hex wrench C or a Phillips screwdriver 75 75 VESA Pattern 1 Use the two installed mounting screws M A or M B and washers M C to hang the monitor from the VESA plate s two keyhole...
Page 10: ...he weight of the monitor use the hex wrench C to turn the adjustment screw counterclockwise toward the icon It the arm rises use the hex wrench to turn the adjustment screw clockwise toward the icon I...
Page 11: ...and organized by running them through the cable channel on the column Use the hex wrench C or a Phillips screwdriver to remove the screws that hold the cable channel covers in place Bundle your cables...
Page 12: ...or defect caused by misuse neglect accident alteration abuse improper installation or maintenance EXCEPT AS PROVIDED HEREIN THE WARRANTY PROVIDER MAKES NEITHER ANY EXPRESS WARRANTIES NOR ANY IMPLIED...