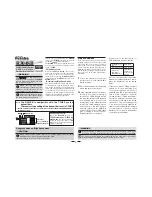
Link Procedure
Each transmitter has an individually
assigned, unique ID code. In order to start
operation, the receiver must be linked
with the ID code of the transmitter with
which it is being paired. Once the link is
made, the ID code is stored in the receiver
and no further linking is necessary unless
the receiver is to be used with another
transmitter.
1
P l a c e t h e t r a n s m i t t e r a n d t h e
receiver close to each other within
half (0.5) meter.
2
Place the transmitter into the linking
mode, and turn on the receiver.
3
During countdown, push the receiver
tact switch for approximately 2
seconds. The LED will begin to blink
red. After the receiver LED switches
from blinking red to green
→
red
steady light, If the transmitter and
receiver are linked normally, set the
power switch to the OFF position
and then return it to the PWR ON
position. If the receiver LED lights
gr e e n , l i n k i n g wa s s u c c e s s f u l .
Actually check servo operation.
*Please refer to the table below for
LED status and receiver condition.
*Refer to the transmitters operation
manual for complete details on how to
place the transmitter into the linking
mode.
*If there are many T-FHSS systems
turned on in close proximity, your
r e c e i v e r m i g h t h a v e d i f f i c u l t y
establishing a link to your transmitter.
This is a rare occurrence. However,
should another T-FHSS transmitter/
receiver be linking at the same time,
your receiver could link to the wrong
transmitter. This is very dangerous
if you do not notice this situation. In
order to avoid the problem,we strongly
recommend you to double check
whether your receiver is really under
control by your transmitter.

WARNING
After the linking is done, please cycle receiver power and check if the
receiver to be linked is really under the control by the transmitter to be linked.
Do not perform the linking procedure with motor's main wire connected or
with the engine operating as it may result in serious injury.
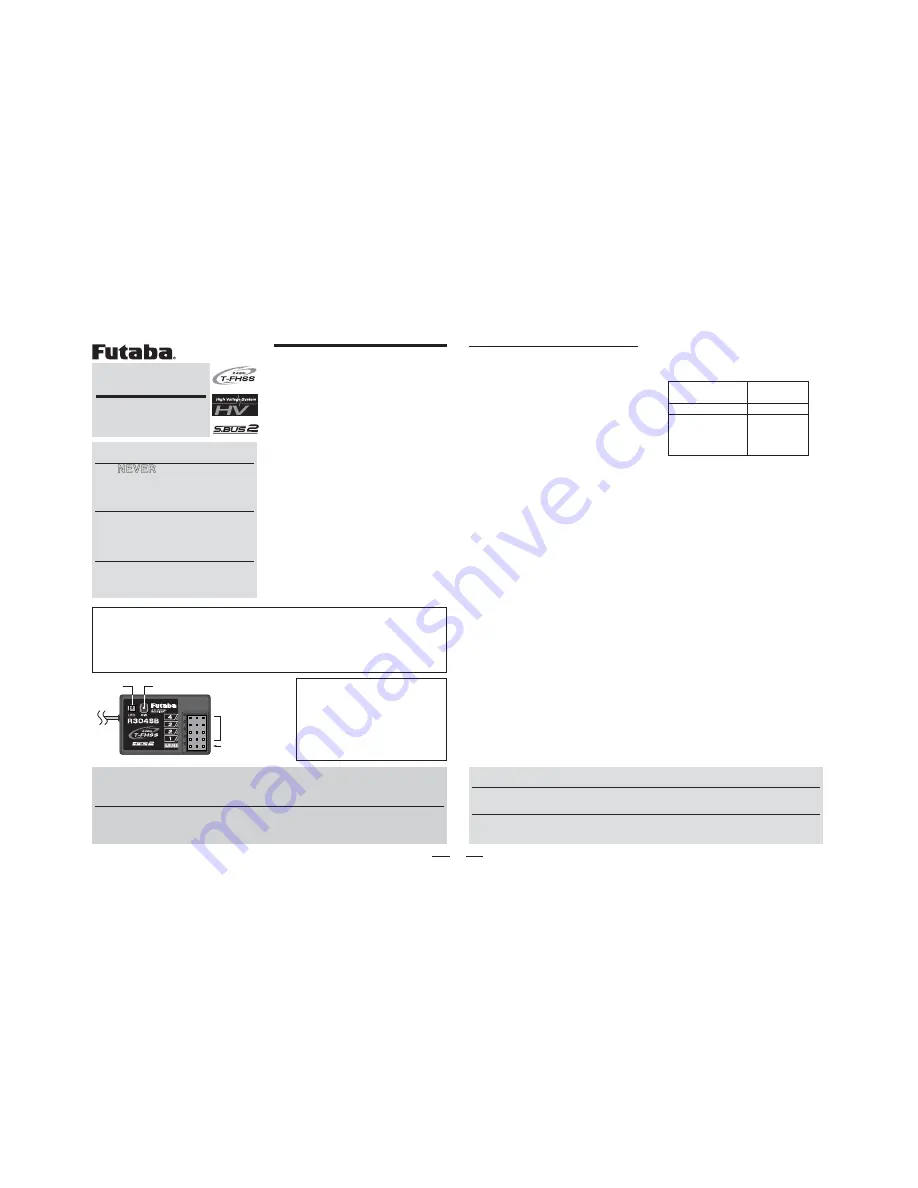
Link switch
LED
S.BUS2 / (Battery)
CH output
(1 to 4) / (Battery)
Operating Precautions:
O n c e t h e
R 3 0 4 S B
d e t e c t s t h e
T-FHSS normal mode
or
T-FHSS high
speed mode
, the detected mode is
locked as long as the power is ON.
When need to change the mode,
please cycle power.
Note:
The R304SB is compatible with the T-FHSS system
transmitters.
The receiver type setting of the transmitter is set in T-FHSS.
*Futaba T-FHSS system does not work with current Futaba S-FHSS/FHSS/FASST-
est/FASST system.
Usage condition on "High Speed mode"

CAUTION
When using the high-speed mode, use a Futaba digital servo (including
brushless servo). Analog servos cannot be used.
s4HEUSEOFANALOGSERVOSMAYCAUSESERVOTROUBLE
1M23N28502
T-FHSS-2.4GHz System
S . B U S 2 , 4 - C h a n n e l
Receiver for Model Car
T h a n k y o u f o r p u r c h a s i n g t h e
R 3 0 4 S B
receiver. The
R304SB
is designed for use with
the Futaba
T-FHSS
system transmitter.
The
R304SB
receiver has adopted the newly
developed bidirectional communication
system "
T-FHSS
".
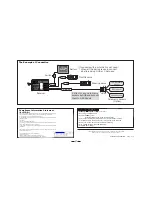
s4ELEMETRYSYSTEM
With the
telemetry system
, the running
status can be displayed at the transmitter.
The telemetry data can be checked at the
transmitter by connecting the
telemetry sensor
sold separately to the
S.BUS2
connector of the
R304SB
receiver.
s.ORMALMODE(IGH3PEEDMODE
The "Normal mode" accepts any type of servos
or the peripheral. The "High Speed mode"
only accepts the digital servos, including BLS
series, and most peripheral equipments such
as the brushless ESCs. Please pay special
attention to the information contained within
this manual and transmitter's manual in order
to have a pleasant running experience.
R304SB

WARNING
NEVER
use dry batteries for
the power supply of the
R304SB
as this may cause difficulties with
the receiver's operation.
W r a p t h e r e c e i v e r w i t h
something soft,such as foam
rubber,to avoid vibration. Do not
splash water over the receiver.
Since the receiver generates a
certain amount of heat, install
the place with good ventilation.
No signal recep-
tion
LED: Red
Receiving signals
LED: Green
Unrecover-
able failure
(EEPROM,etc.)
LED: Red
and Green
turn on alter-
nately
1


