3. HOW TO MANAGE CHARTS
3-31
3.22.4
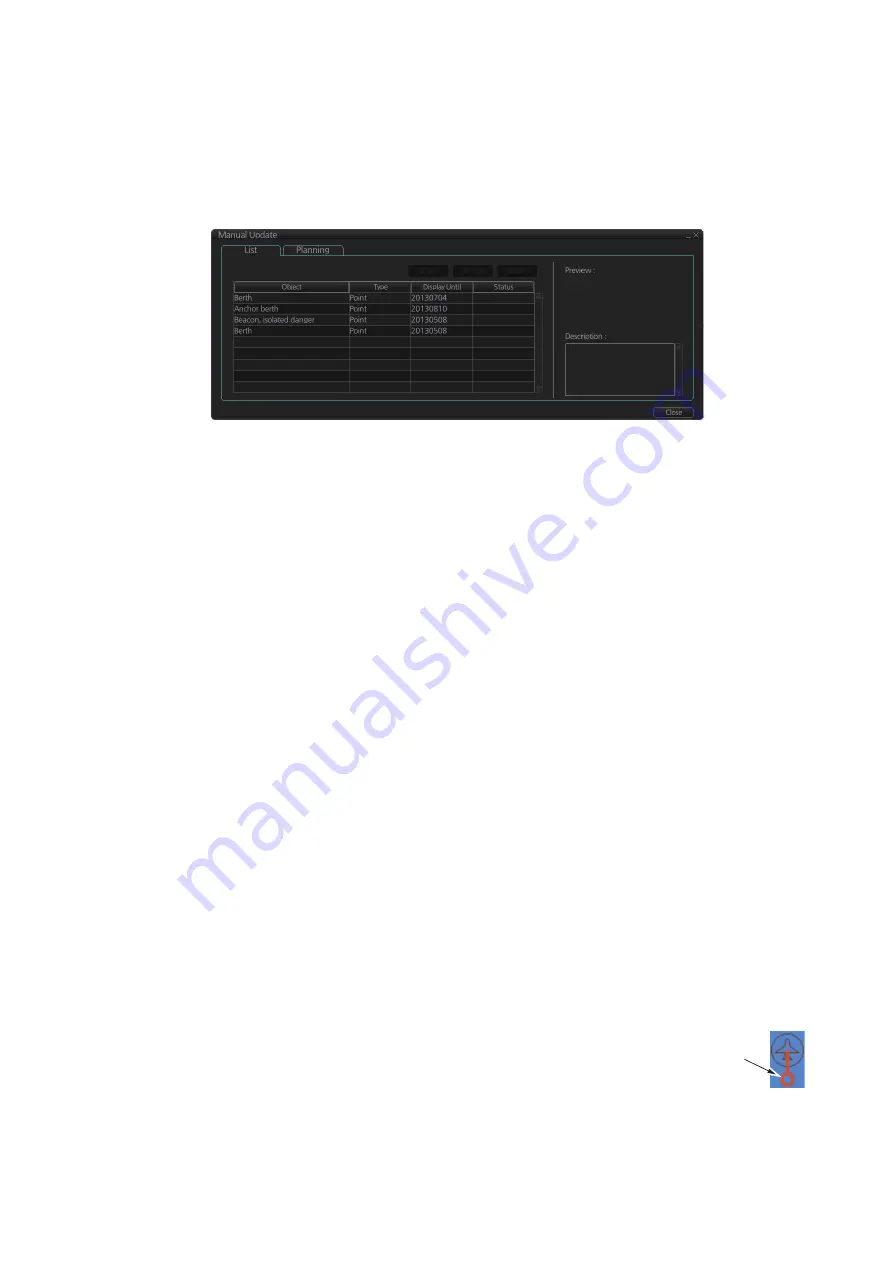
How to delete (hide) a chart object
You can hide a manually inserted chart object by doing the following:
1. Referring to step 1 and step 2 of section 3.22.1, show the [Manual Update] dialog
box.
2. Click the [List] tab.
3. Click the object to hide, then click the [Remove] button. The selected item is hid-
den from the chart display.
3.22.5
How to modify existing update symbols
The position, Display until date and description of an update symbol can be modified.
A symbol that is marked as “deleted” cannot be modified.
1. Referring to step 1 and step 2 of section 3.22.1, show the [Manual Update] dialog
box.
2. Click the [List] tab.
3. Select the object to modify then click the [Modify] button. The [Planning] dialog
box appears.
4. Modify the object referring to steps 8 and 9 in section 3.22.1.
5. Click the [Commit] button.
Note:
If there is no textual information entered in the [Annotations] window, a con-
firmation message appears when you click the [Confirm] button. Check that the
information is correct and click [Yes] or [No] as appropriate.
3.22.6
How to review a chart object
You can review a chart object in order to see the object before any changes were
made. To review an object, do the following:
1. Referring to step 1 and step 2 of section 3.22.1, show the [Manual Update] dialog
box.
2. Click the [List] tab.
3. Select the object to review then click the [Review] button.
Manually updated objects appear with a thick line, as
shown in the figure to the right.
Objects under review appear in the [Manual Update]
dialog box with the status "Review x" (x indicates the
state at which you are viewing the reviewed object). The object appears in a pre-
modified state, and with each press of the [Review] button, one modification is “re-
verted”.
Objects under review
appear with a thick
line attached.
Summary of Contents for FMD3100
Page 36: ...1 INTRODUCTION 1 20 This page is intentionally left blank ...
Page 70: ...2 OPERATIONAL OVERVIEW 2 34 This page is intentionally left blank ...
Page 128: ...5 VECTOR S57 CHARTS 5 12 This page is intentionally left blank ...
Page 140: ...7 C MAP BY JEPESSEN CHARTS 7 6 This page is intentionally left blank ...
Page 206: ...11 HOW TO MONITOR ROUTES 11 16 This page is intentionally left blank ...
Page 230: ...13 TRACKED TARGET TT FUNCTIONS 13 10 This page is intentionally left blank ...
Page 244: ...14 AIS TARGET FUNCTIONS 14 14 This page is intentionally left blank ...
Page 250: ...15 AIS SAFETY NAVTEX MESSAGES 15 6 This page is intentionally left blank ...
Page 294: ...19 RECORDING FUNCTIONS PLAYBACK FUNCTIONS 19 14 This page is intentionally left blank ...
Page 312: ...20 ALERTS 20 18 This page is intentionally left blank ...
Page 332: ...22 SETTINGS MENU 22 16 This page is intentionally left blank ...
Page 338: ...23 MAINTENANCE AND TROUBLESHOOTING 23 6 This page is intentionally left blank ...
Page 395: ......


