Assembly Instructions -
Please keep for future reference
1020401
Issue 1 - 23-01-2013
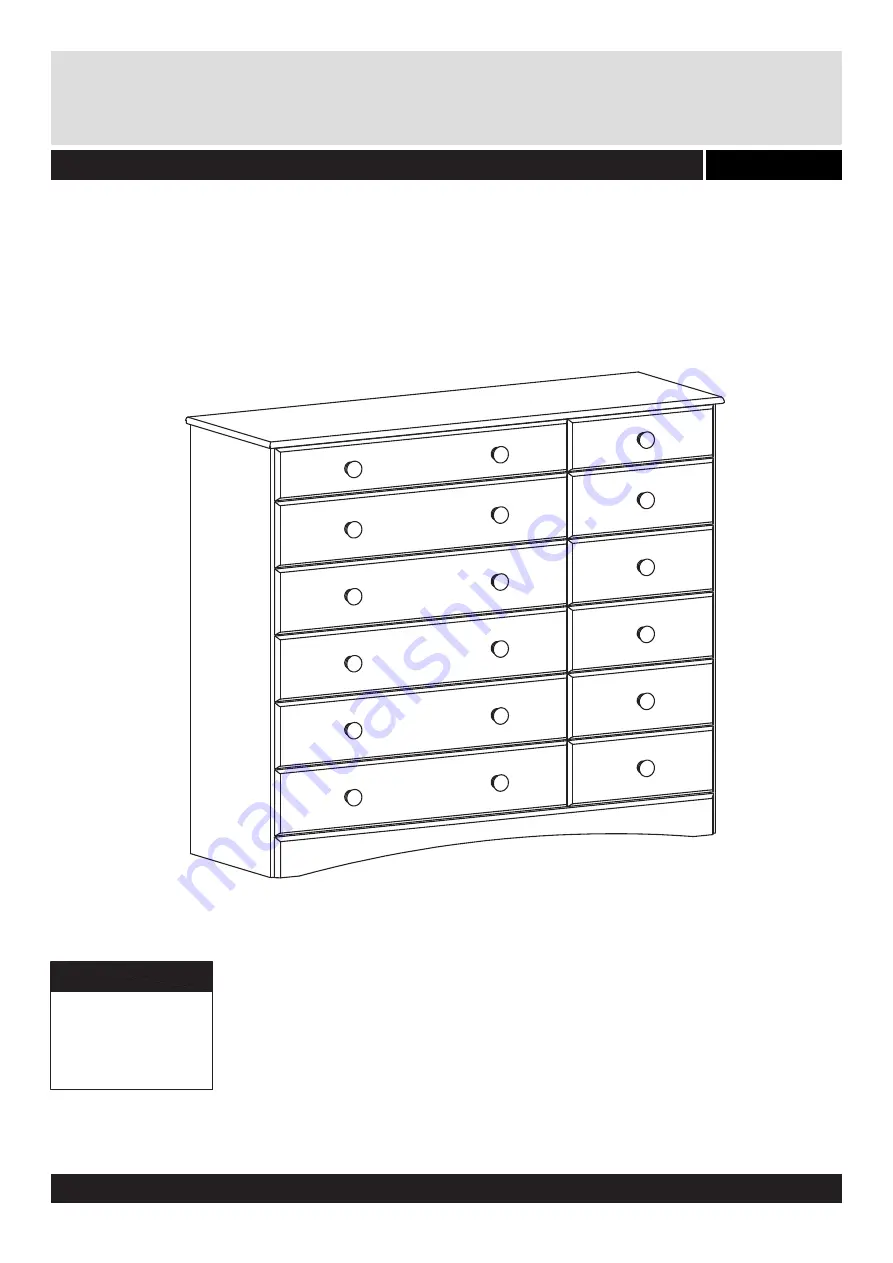
Scandi - 6+6 Drawer Chest
Dimensions
WidthDepthHeight
:::
350218-01-MDF
123.3 cm
39.7 cm
104.3 cm
Page 1: ...ctions Please keep for future reference Assembly Instructions Please keep for future reference 1020401 Issue 1 23 01 2013 Scandi 6 6 Drawer Chest Dimensions Width Depth Height 350218 01 MDF 123 3 cm 3...
Page 2: ...room as possible Assemble on a soft level surface to avoid damaging the unit or your floor Parts of the assembly will be easier with 2 people We do not recommend the use of power drill drivers for ins...
Page 3: ...7 cm H profile 15 74 9 cm x 9 8 cm Drawer back 11 79 3 cm x 15 7 cm Drawer front 3 119 1 cm x 9 6 cm Plinth front 7 94 4 cm x 39 6 cm Back 1 123 3 cm x 39 7 cm Top 8 39 5 cm x 12 5 cm Drawerfront sma...
Page 4: ...Da 75 Kb 5 8 x 8mm Screw x 72 Sk 24 245 x 17 x 10mm Drawer runner x Gc 18 40 x 35mm Wooden Knob x Wall strap and instruction x 1 Fh 170 60 160 40 90 150 130 70 120 100 140 110 50 80 30 20 10 0 Ruler U...
Page 5: ...cated on the drawer fronts 8 9 10 and 11 Fix the drawer sides 13 to the drawer backs 14 and 15 as shown using screws Bp Step 1 Slide the drawer bottoms 16 and 16 into the drawer sides 13 Step 3 4 3501...
Page 6: ...ttoms 16 and 17 to the drawer backs 14 and 15 and the drawer fronts 8 9 10 and 11 using Fi To adjust the angle between the drawer sides and the drawer fronts push the fitting Fi sidewards See details...
Page 7: ...rawer runners Sk to the divider 6 using screws Kb into the holes indicated Step 9 Turn around the divider 6 Fix the the drawer runners Sk to the divider 6 as shown Same procedure as step 9 Step 10 Kno...
Page 8: ...nd 5 using screws Kb through the holes indicated See details Step 13 Knock the dowels Aa into the holes indicated on the sides 4 and 5 Screw the bolts Cb into the holes indicated on the sides 4 and 5...
Page 9: ...xactly as shown Note the holes indicated Tighten using cams Ca into the holes indicated Push cams Ca into the holes indicated Arrow pointing towards the top 1 Turn the cams Ca to the right to fix the...
Page 10: ...fix the top 1 Fix the divider 6 to the back plinths 2 using screws Db Tighten using the allen key Ya Step 18 Step 17 Place the sides 4 and 5 onto the back plinths 2 Push cams Ca into the holes indicat...
Page 11: ...the backs 7 into the rabbets in the sides 4 and 5 and the top 1 and into the H profile 18 Important Make sure the angle between the top 1 and the sides 4 and 5 is 90 when the backs 7 is attached Fix...
Page 12: ...first and work your way up Fix drawers to drawer runners using screws Hk Step 22 Step 21 Warning The chest of drawers is heavy Lift with care Its recommended that the chest is fixed to the wall Use th...