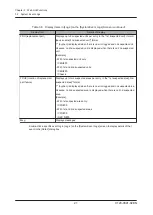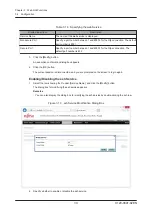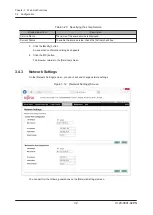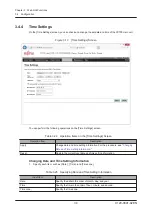
Table
3.25
Specifying
Date
and
Time
Setting
Information
(continued)
Input
Item
Description
Automatically
synchronize
Date
&
Time
with
NTP
Server
To
set
automatic
synchronization
with
the
NTP
server,
check
the
check
box.
[NTP
Server1:]
to
[NTP
Server3:]
are
displayed
when
the
check
box
is
checked.
NTP
Server1:
Specify
the
IP
address
of
the
NTP
server.
If
no
NTP
server
has
been
configured,
specify
"0.0.0.0".
NTP
Server2:
NTP
Server3:
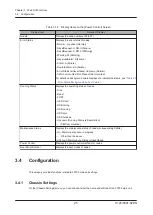
Table
3.26
Display
Items
on
the
[Time
Settings]
Screen
Display
Item
Details
of
Display
Date:
Displays
the
date
in
the
order
of
month,
day,
and
year.
Time:
Displays
the
time
in
the
order
of
hour,
minute,
and
second.
Timezone:
Displays
the
time
zone.
Automatically
synchronize
Date
&
Time
with
NTP
Server
Shows
a
checked
check
box
if
automatic
synchronization
with
the
NTP
server
is
set.
Furthermore,
[NTP
Server1:]
to
[NTP
Server3:]
would
be
displayed.
NTP
Server1:
Displays
the
IP
address
of
the
NTP
server.
NTP
Server2:
NTP
Server3:
2. Click
the
[Apply]
button.
A
confirmation
dialog
box
appears.
Remarks
-
To
restore
the
currently
set
date
and
time
setting
information,
click
the
[Reset]
button
instead
of
the
[Apply]
button.
3. Click
the
[OK]
button.
The
date
and
time
information
is
set,
and
the
browser
returns
to
the
[Time
Settings]
screen.
The
[Time
Settings]
screen
displays
the
following
items.
3.4.5
SNMP
Trap
Settings
On
the
[SNMP
Trap
Settings]
screen,
you
can
check
and
change
SNMP
Trap
settings.
Chapter
3
Web
GUI
Functions
C120-0091-02EN
3.4
Configuration
35

