8 |
2.3
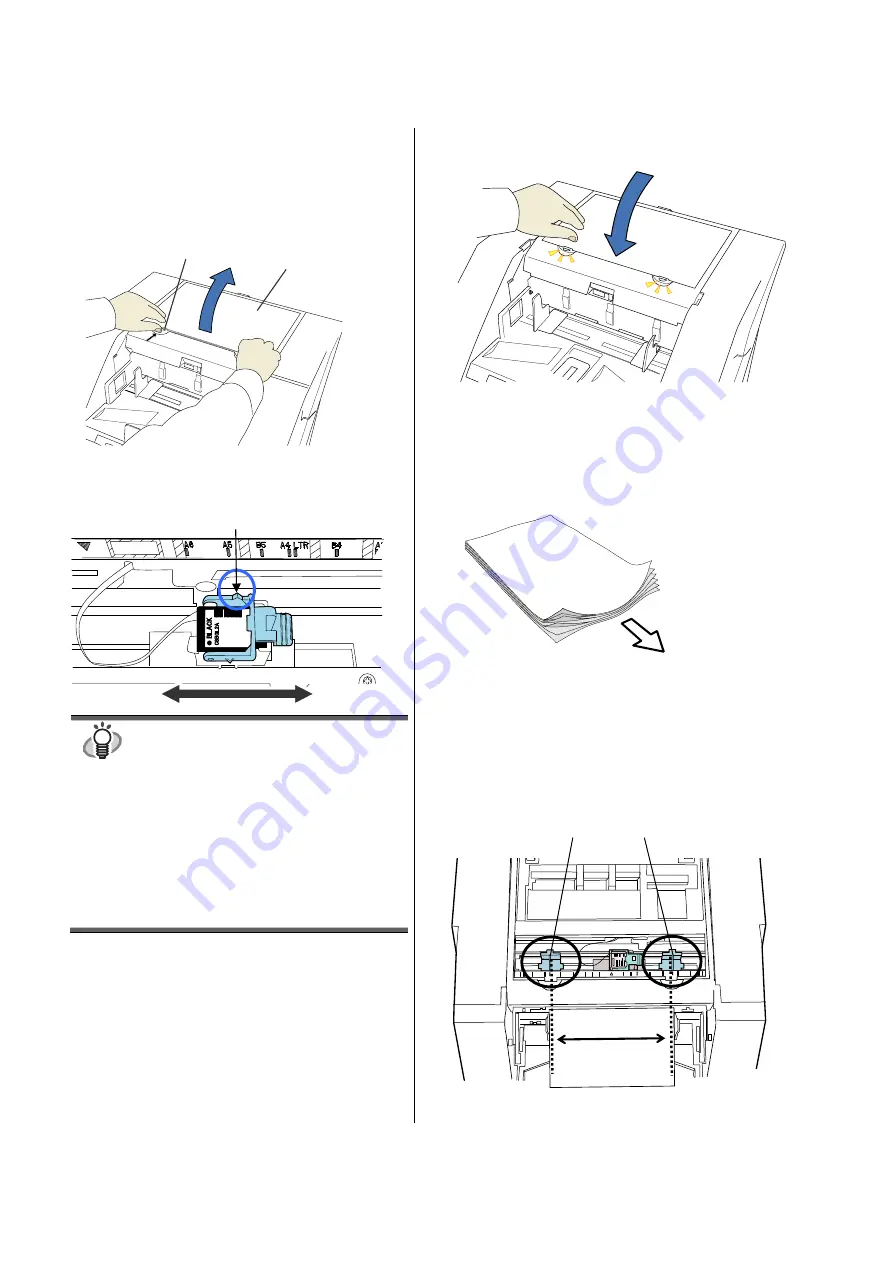
Positioning the Print Cartridge
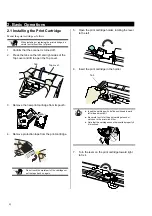
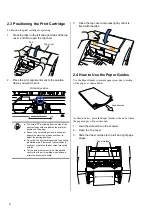
To Position the print cartridge for printing:
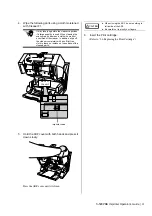
1. Press the tabs on the left and right sides of the top
cover, and lift to open the top cover.
2. Place the print alignment mark to the position
where you want to print.
HINT
●
The small “
T
” protruding from the side of the
print cartridge holder indicates the print start
position on the page.
●
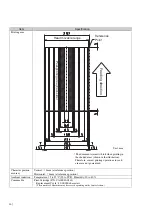
Above the print cartridge tray are document
paper size markings; please use them to
adjust for printing positions.
●
Do not set the print cartridge within the printing
prohibited area (Fluorescent yellow shaded
sections); otherwise, the document may stain
with ink.
●
Put the actual document in the Hopper and
confirm that the print cartridge is positioned
within the document’s width.
3. Close the top cover and press lightly until it is
fixed with the tabs.
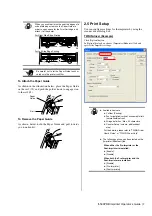
2.4 How to Use the Paper Guides
Use the Paper Guides to prevent paper jams due to curling
of the edges, as shown below.
As shown below, place the Paper Guides at the ends where
the paper edges will pass through.
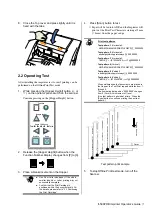
1. Load the document on the scanner.
2. Open the Top cover.
3. Slide the Paper Guides to the left and right page
edges.
Print start position
Paper Guides
Feed direction
Top cover
Tab
Summary of Contents for fi-590PRB
Page 1: ......


