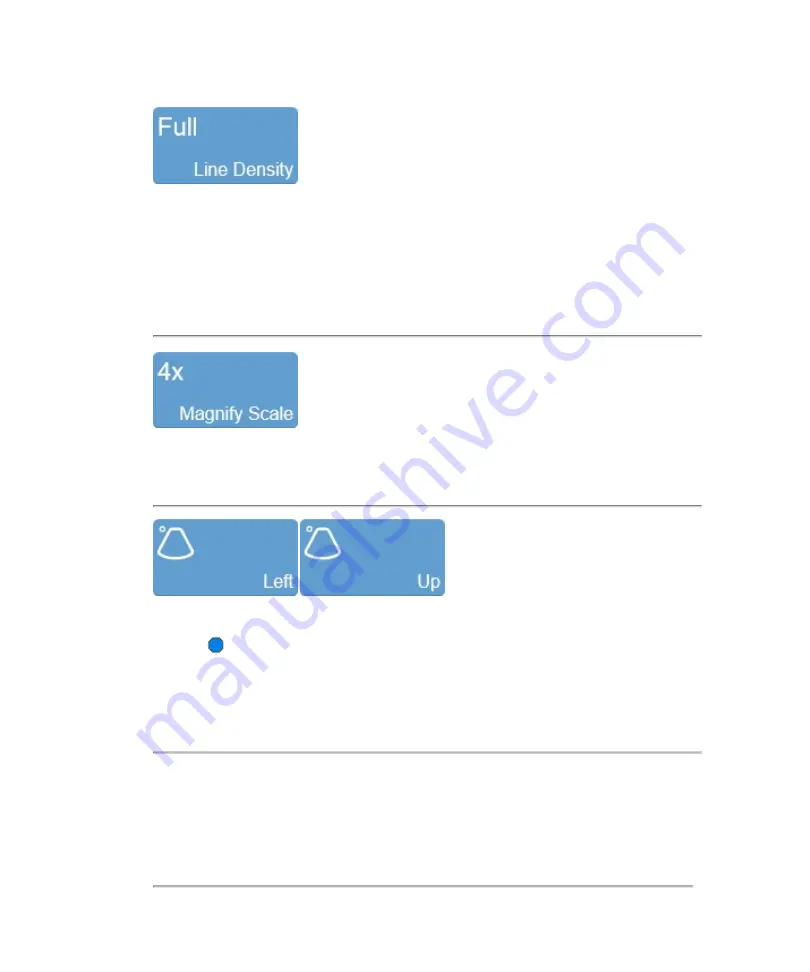
Use this control to adjust the resolution of your image by adjusting how many lines of
image data the transducer acquires over your image area.
The higher you set the line density, the lower the acquisition frame rate. Because of
this trade off, you might find that higher line density is most useful for examining
features in tissue that do not move very much.
Use this control to change the magnification level of the area that is shown when a
measurement or annotation is being placed.
Sets the image orientation, allowing you to align the image with the transducer. The
blue dot
in the corner of the control panel image area and clinical display image
corresponds to this setting.
Tap either of the orientation controls to toggle the orientation between the following
options:
Left/Right
and
Up/Down
.
260
Scanning
Summary of Contents for VisualSonics Vevo MD
Page 1: ......
Page 2: ......
Page 12: ...12 ...
Page 69: ...System settings 69 ...
Page 70: ...70 System settings ...
Page 77: ...3 Tap DICOM Setup Connectivity 77 ...
Page 146: ...2 Tap User Management in the list on the left 146 System settings ...
Page 168: ...Review images screen 1 Next and previous image 2 Scan 3 Export 4 Delete 168 Patient ...
Page 461: ...zoom while scanning 2D control 226 Color Doppler Mode control 265 Index 461 ...
Page 462: ...462 Index ...
Page 463: ...51370 01 1 0 51370 01 ...


