5
95
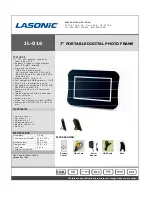
SETTING THE FILE SIZE
➀
By holding down the “SHIFT/
r
” button
➁
and
pressing “
d
” on the 4-direction button, you can
select “2400”, “1280” or “640” as the resolution
(number of pixels). The new setting is displayed
on the LCD panel.
●
!
This setting can be changed when the Mode switch
is set to “
0
” and the Photography Mode dial is set
to “
3
”, “
7
”, “
6
”, “
8
”, “
4
” or “
5
”.
You can select 3 different file size (pixel count)
settings as required. The number of shots
available varies depending on the file size. See
P.29 for information on the standard number of
shots available for each type of SmartMedia.
●
2400 : 2,400
✕
1800
pixels
●
1280 : 1,280
✕
960
pixels
●
640 : 640
✕
480 pixels
●
➀
●
➁
94
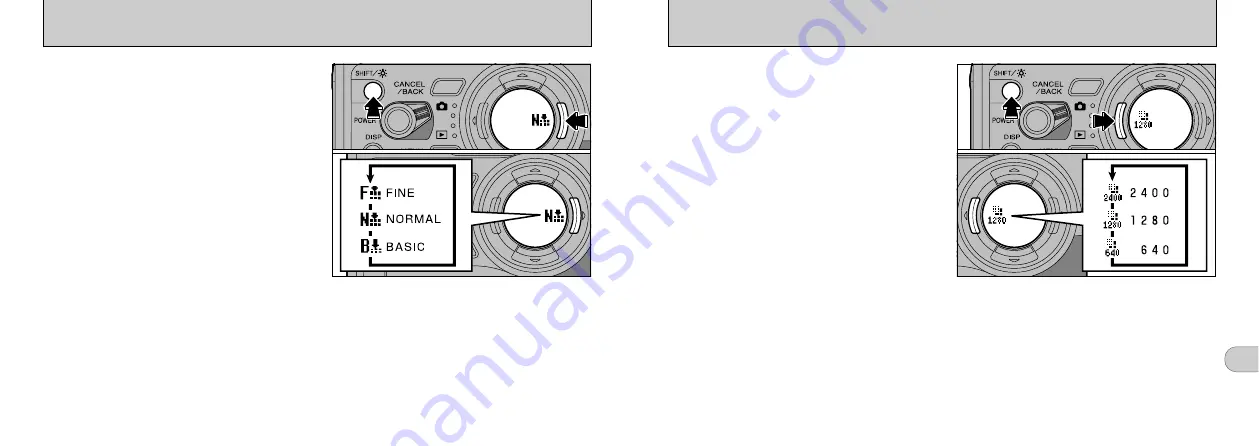
SETTING THE IMAGE QUALITY
➀
By holding down the “SHIFT/
r
” button
➁
and
press the “
c
” on the 4-direction button, you can
select from 3 levels of image quality (FINE,
NORMAL, or BASIC). The new setting is
displayed on the LCD panel.
●
!
This setting can be changed when the Mode switch
is set to “
0
” and the Photography Mode dial is set
to “
3
”, “
7
”, “
6
”, “
8
”, “
4
” or “
5
”.
You can select any of 3 image quality (recorded
image compression ratio) settings as required.
The number of shots available varies depending
on the image quality. See P.29 for information
on the number of shots available for each type
of SmartMedia.
Select [FINE] for better image quality, and
[BASIC] to fit more shots on the SmartMedia.
In most cases, the [ NORMAL ] setting provides
suitable image quality.
●
➀
●
➁


