Inserting USB Memory Device
347
M
e
dia
P
rin
t (
T
ext
an
d P
h
ot
os
)
10
Inserting USB Memory Device
1
Insert the USB memory device into the USB memory slot on the control panel.
2
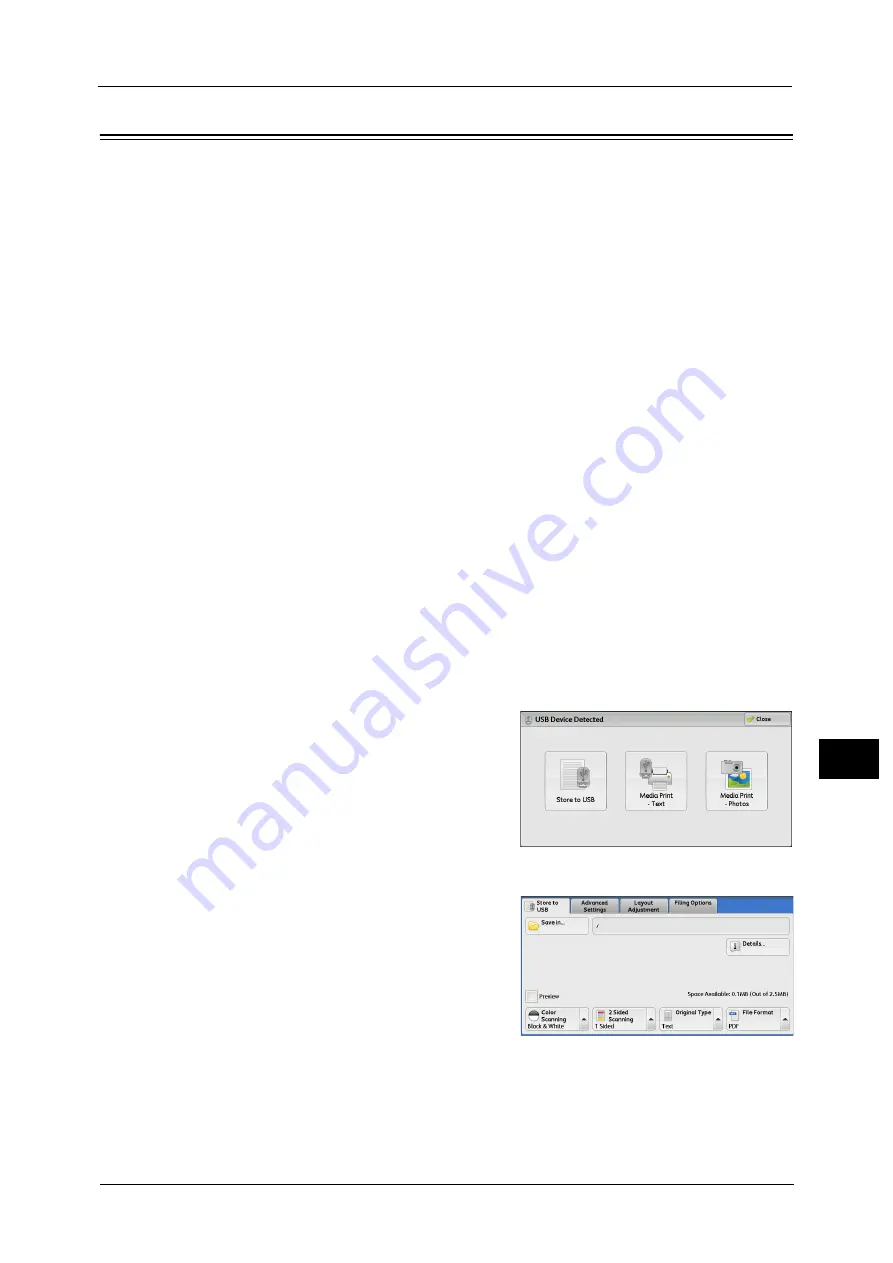
One of the following occurs.
z
The [USB Device Detected] screen appears.
z
The [Store to USB] screen appears.
z
The [Media Print - Text] screen appears.
z
The [Media Print - Photos] screen appears.
z
The screen display does not change.
Note
•
The behavior depends on the settings. Ask your system administrator for more information.
•
When a USB memory device is inserted into the USB memory slot during the Power Saver mode, the
touch screen does not light. After exiting the Power Saver mode by pressing the <Power Saver>
button, insert the USB memory device again or select [Store to USB] on the Services Home screen.
For information on other ways to exit the Power Saver mode, refer to "Power Saver Mode" (P.70).
•
The screen status will be one of the above even when a USB memory device in which only encrypted
data is stored is inserted or USB memory device in unsupported format is inserted. In such case, a
warning message appears during operation and the operation is aborted.
•
The screen status will be one of the above when a commercially available Memory Card Reader is
inserted into the USB memory slot of the machine. It is the same if no media is inserted into the
Memory Card Reader.
•
If a commercially available Memory Card Reader is used and it is left inserted all the time, the
machine does not detect media even when they are inserted into the slot of the Memory Card
Reader.
•
The screen display remains the same when the inserted USB memory device or Memory Card is
removed. Press the <Services Home> button or do anything else to change the screen display before
starting next operation.
When the [USB Device Detected] Screen Appears
1
Select [Media Print - Text] or [Media Print -
Photos].
The [Media Print - Text] screen or the [Media
Print - Photos] screen appears.
When the [Store to USB] Screen Appears
Summary of Contents for Versant 80 Press
Page 1: ...User Guide Versant 80 Press ...
Page 18: ...18 Index 1007 ...
Page 159: ...Image Quality 159 Copy 4 2 Select a button to adjust the color tone ...
Page 214: ...4 Copy 214 Copy 4 ...
Page 304: ...5 Scan 304 Scan 5 ...
Page 382: ...11 Job Status 382 Job Status 11 ...
Page 562: ...14 CentreWare Internet Services Settings 562 CentreWare Internet Services Settings 14 ...
Page 580: ...16 E mail Environment Settings 580 E mail Environment Settings 16 ...
Page 618: ...18 Encryption and Digital Signature Settings 618 Encryption and Digital Signature Settings 18 ...
Page 916: ...22 Problem Solving 916 Problem Solving 22 ...
Page 1018: ...1018 Index ...


