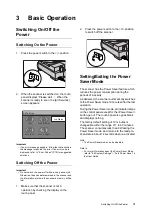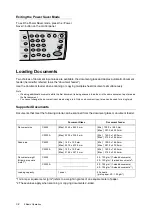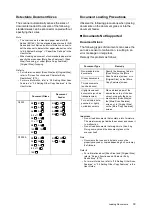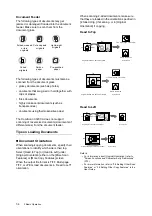
Connecting the Scanner to a Network
21
Connecting
the Scanner to
a Network
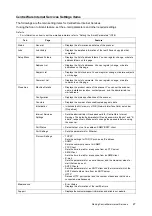
To use the Scan to E-mail or Scan to PC feature,
you must connect the scanner to a network.
The scanner’s Ethernet interface supports the
following connection speeds:
• 100BASE-TX
• 10BASE-T
Note
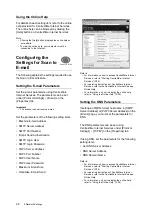
• To use the scanner on a network, configure the
settings required for network communication.
Refer to
• For information on how to configure the network
settings, refer to "2 Network Settings" (P. 22).
1.
If the scanner is on, switch it off by pressing
the power switch to the <O> position.
2.
Plug the network cable into the Ethernet
interface connector.
3.
Plug the other end of the network cable into
the network connector.
Go on to configure the network settings.
Connecting the
Scanner to a Printer
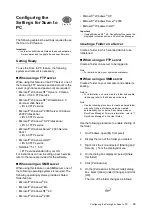
To use the copy features, connect the scanner to
a printer with the USB cable.
Make sure that the scanner is compatible with the
firmware of the printer.
Note
• The USB interface supports USB 2.0 (Hi-Speed).
• For information about the supported firmware and
printers that can be connected to the scanner, refer to
our website:
URL: http://www.fujixerox.co.jp/
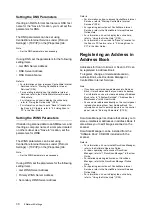
1.
Plug the USB cable into one of the USB
connectors on the scanner. Be sure to plug
in the cable correctly.
2.
Plug the other side of the USB cable into the
USB connector (USB2.0 Hi-Speed
compatible) of the printer.
Note
• Do not plug the USB cable to a USB1.1 connector.
Otherwise, the scanner and/or printer may not
function normally.
Refer to
• For information on how to plug the USB cable into the
USB connector of the printer, refer to the user guide
provided for the printer.
3.
Switch on the printer.
Note
• If you connect the scanner to two or more printers, it
only acknowledges one of them.
You are now ready to use the copy features.
Scan to PC
Scan to E-Mail
Copy


