


156
6 System Settings
Get IP Address
Set the method for obtaining information required to use TCP/IP (IP address, subnet mask,
gateway address) from the following options:
• DHCP (Dynamic Host Configuration Protocol)
• DHCP/Autonet
• BOOTP
• RARP
• Manual
Note
• For information about the addresses to be set manually, ask your network administrator.
• When [DHCP/Autonet] is selected, the scanner searches for a DHCP server that can be connected to. If
DHCP server does not exist, the scanner automatically assigns an IP address.
• When [DHCP] is selected, the scanner searches for a DHCP server that can be connected to. If DHCP
server does not exist, the scanner does not allow TCP/IP communication.
• When [BOOTP] is selected, the scanner searches for a BOOTP server that can be connected to. If
BOOTP server does not exist, the scanner does not allow TCP/IP communication.
• When [RARP] is selected, the scanner searches for a RARP server that can be connected to. If RARP
server does not exist, the scanner does not allow TCP/IP communication.
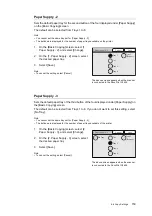
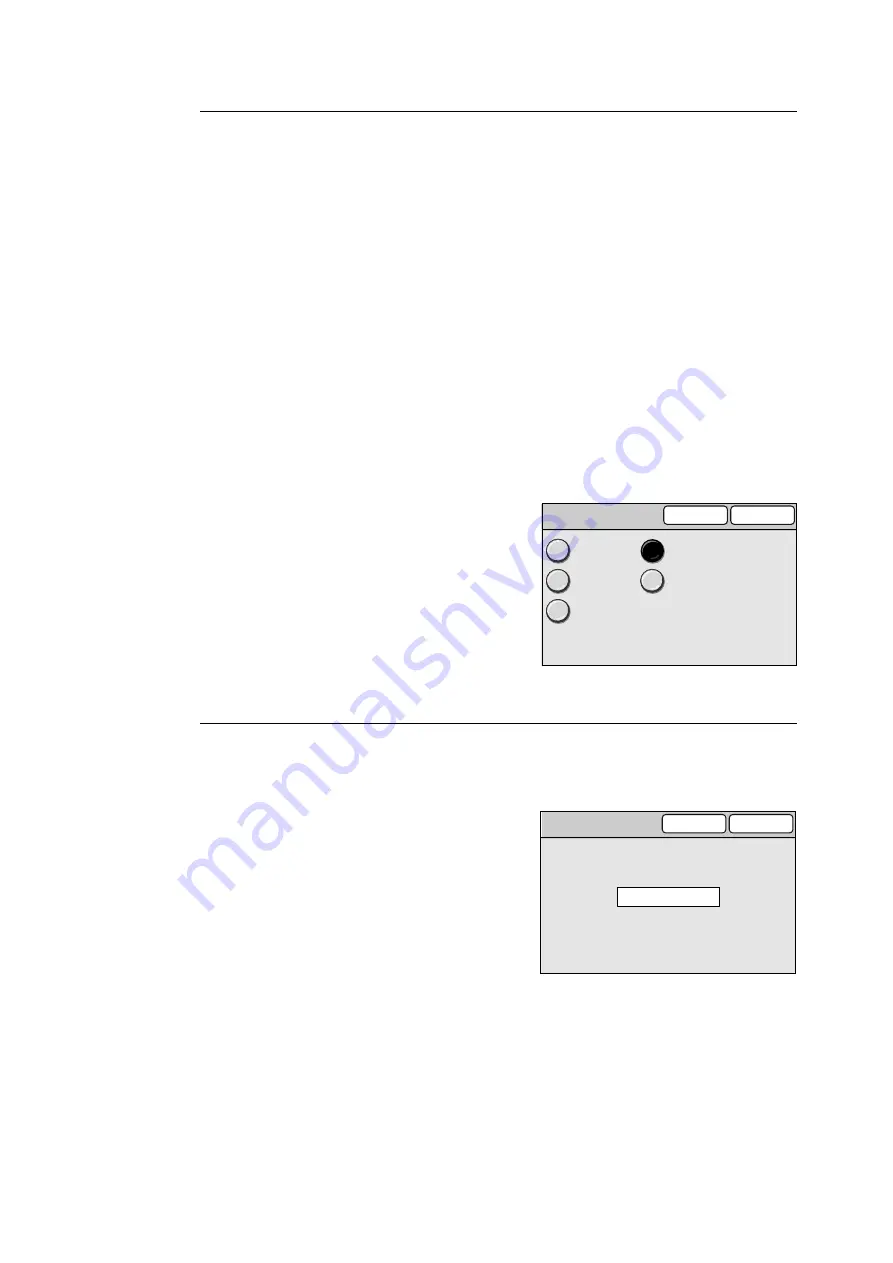
1.
On the [Protocol Settings] screen, select [2.
Get IP Address], and select [Change].
2.
On the [Get IP Address] screen, select the
desired method.
3.
Select [Save].
Note
• To cancel the setting, select [Cancel].
IP Address
Sets the default IP address when [Manual] is selected for [Get IP Address].
Enter the address in a format of xxx.xxx.xxx.xxx, where xxx is the number from 0 to 255.
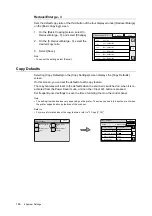
1.
On the [Protocol Settings], select [3. IP
Address], and select [Change].
2.
On the [3. IP Address] screen, enter the IP
address using the numeric keypad on the
control panel.
3.
Select [Save].
Note
• To cancel the setting, select [Cancel].
2. Get IP Address
Cancel
Save
DHCP
BOOTP
RARP
DHCP/Autonet
Manual
192 . 168 . 1 . 100
3. IP Address
Cancel
Save


