263
Scanning
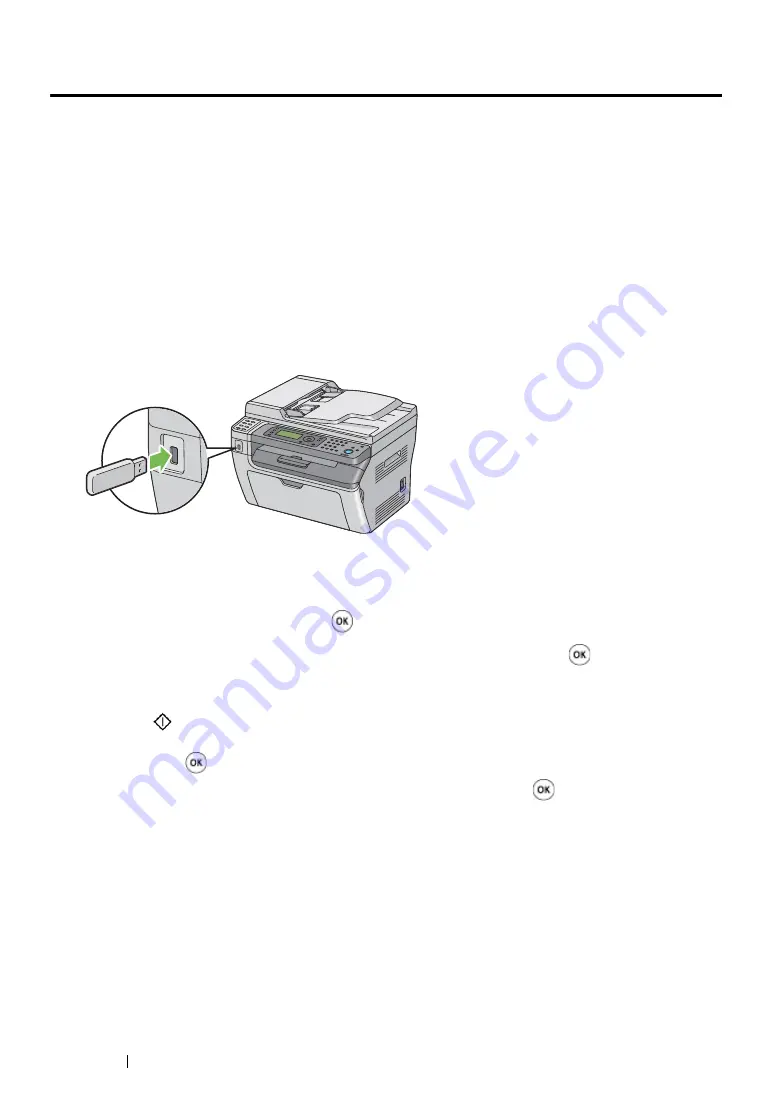
Scanning to a USB Storage Device
The Scan to USB Memory feature allows you to scan documents and save the scanned data to a USB
storage device. To scan documents and save them, follow the steps below:
1
For the DocuPrint M215 fw, load the document(s) face up with top edge in first into the ADF or
place a single document face down on the document glass, and close the document cover.
For the DocuPrint M215 b, place a single document face down on the document glass, and close
the document cover.
See also:
• "Making Copies From the ADF (DocuPrint M215 fw Only)" on page 208
• "Making Copies From the Document Glass" on page 206
2
Insert the USB storage device into the USB drive on your printer.
USB Memory
appears.
3
Select
Scan to
, and then press the
button.
4
Select
Save to USB Drive
or a folder to save file, and then press the
button.
5
Select scanning options as required.
6
Press the
(
Start
) button.
When the scan is complete, the display prompts you for another page. Select
No
or
Yes
, and
then press the
button.
If you select
Yes
, select
Continue
or
Cancel
, and then press the
button.
Summary of Contents for DocuPrint M215 fw
Page 1: ...User Guide DocuPrint M215 b M215 fw...
Page 9: ...Contents 8...
Page 31: ...Product Features 30...
Page 41: ...Specifications 40...
Page 57: ...Basic Operation 56...
Page 69: ...Printer Management Software 68...
Page 147: ...Printer Connection and Software Installation 146...
Page 203: ...Printing Basics 202...
Page 258: ...257 Scanning 5 Select any unused number and click Add...
Page 273: ...Scanning 272...
Page 383: ...Using the Operator Panel Menus and Keypad 382...
Page 441: ...Troubleshooting 440...
Page 445: ...Maintenance 444 5 Close the document cover...
Page 450: ...449 Maintenance 6 Place the toner cartridge slowly on the sheets of paper spread in step 3...
Page 467: ...Maintenance 466...
Page 471: ...Contacting Fuji Xerox 470...


