74
Printer Connection and Software Installation
5
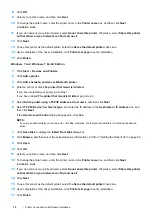
If prompted, install the print driver on your computer. If you are prompted for an administrator password or
confirmation, type the password or provide confirmation.
6
Complete the additional steps in the wizard, and then click
Finish
.
7
Print a test page to verify printer installation.
a
Open the
Devices and Printers
or
Printers
folder by performing step
1
.
b
Right-click the printer you just created, and then click
Printer properties
(
Properties
for Windows Vista
and Windows Server 2008).
c
On the
General
tab, click
Print Test Page
. When a test page is printed successfully, the installation is
complete.
Setting Up for Shared Printing
You can share your new printer on the network using the
Software Pack CD-ROM
that shipped with your printer, or
using Windows Point and Print or peer-to-peer method.
This section describes Point and Print and peer-to-peer methods. Configure the printer sharing settings on the
server computer, and then install its driver on all the client computers that use the shared printer by Point and Print
or peer-to-peer method. Using either of the methods, however, you will not be able to use features such as the
SimpleMonitor and other printer utilities, which will be installed from the
Software Pack CD-ROM
.
NOTE:
•
You need to purchase an Ethernet cable separately for shared printing.
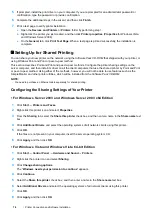
Configuring the Sharing Settings of Your Printer
• For Windows Server 2003 and Windows Server 2003 x64 Edition
1
Click
Start
Printers and Faxes
.
2
Right-click this printer icon and select
Properties
.
3
From the
Sharing
tab, select the
Share this printer
check box, and then enter a name in the
Share name
text
box.
4
Click
Additional Drivers
and select the operating systems of all network clients using this printer.
5
Click
OK
.
If the files are not present in your computer, insert the server operating system CD.
6
Click
Apply
, and then click
OK
.
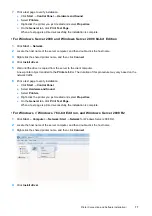
• For Windows Vista and Windows Vista 64-bit Edition
1
Click
Start
Control Panel
Hardware and Sound
Printers
.
2
Right-click the printer icon and select
Sharing
.
3
Click
Change sharing options
.
The "
Windows needs your permission to continue
" appears.
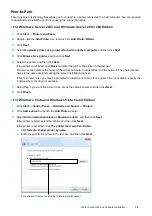
4
Click
Continue
.
5
Select the
Share this printer
check box, and then enter a name in the
Share name
text box.
6
Select
Additional Drivers
and select the operating systems of all network clients using this printer.
7
Click
OK
.
8
Click
Apply
, and then click
OK
.
Summary of Contents for DocuPrint CM225FW
Page 1: ...DocuPrint CM225 fw User Guide ...
Page 10: ...10 Contents Technical Support 338 Online Services 339 Index 340 ...
Page 260: ...260 Digital Certificates 11 Digital Certificates Using Digital Certificates on page 261 ...
Page 272: ...272 Troubleshooting 4 Lower the levers to their original position 5 Close the rear cover ...

