3.6 Printing after checking output - Sample Set -
87
3.6
Printing after checking output
- Sample Set -
Sample Set is available if the printer has HDD Extension Kit (optional) or RAM disk is
configured validly.
Important
• In case the hard disk fails, we recommend you to back up the hard disk data on your computer.
• All documents stored may be deleted if the printer power is turned off and on, while using RAM disk.
Refer to
• How to enable RAM disk: “7.8 Enabling a RAM Disk” (P. 341)
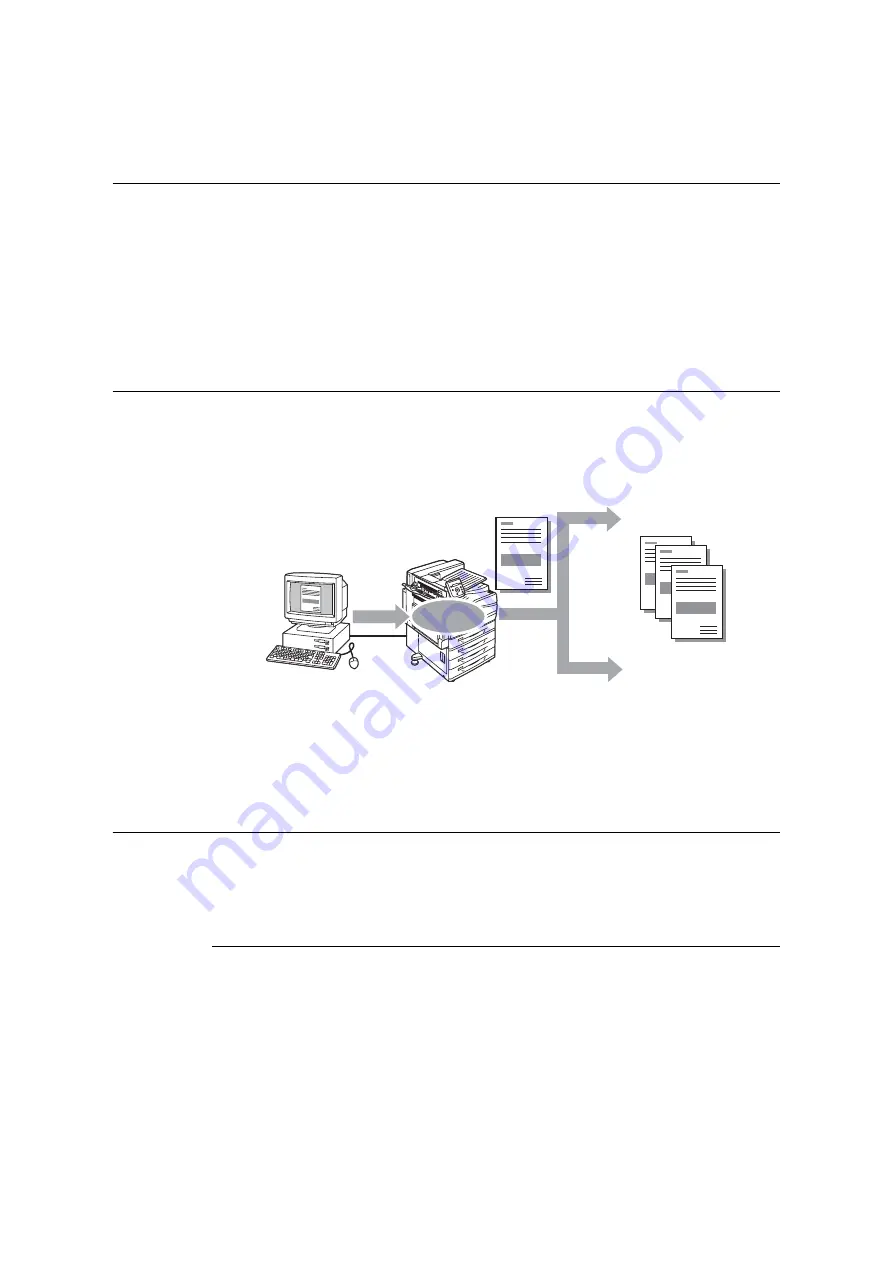
Sample Set
Sample Set lets you print a proof copy of a multi-set job and print the rest of the sets after
checking the proof copy. The job is stored on the printer’s hard disk until all of the sets are
printed using the control panel.
Note
• To delete Sample Set jobs that have accumulated on the printer, without printing them, refer to “Control
Printing Using Sample Set
The following explains how to use Sample Set to print a job.
Configure Sample Set settings on your computer and then send the job to the printer. Next,
perform the required control panel operation to start printing manually.
Computer Operations
The following procedure uses Windows XP WordPad as an example.
Note
• The method for displaying the Properties dialog box varies depending on the application being used.
Refer to the documentation for the application.
1.
On the [File] menu, select [Print].
2.
Select the printer from the [Select Printer] list box, and then click [Preferences]. The
[Paper/Output] tab appears.
Send
Stored
1 set printed
Proof print
OK
Something wrong
with proof print.
Cancel the job
on the control panel.
Print the rest of the sets
using the control panel.


