368
7 Maintenance
7.
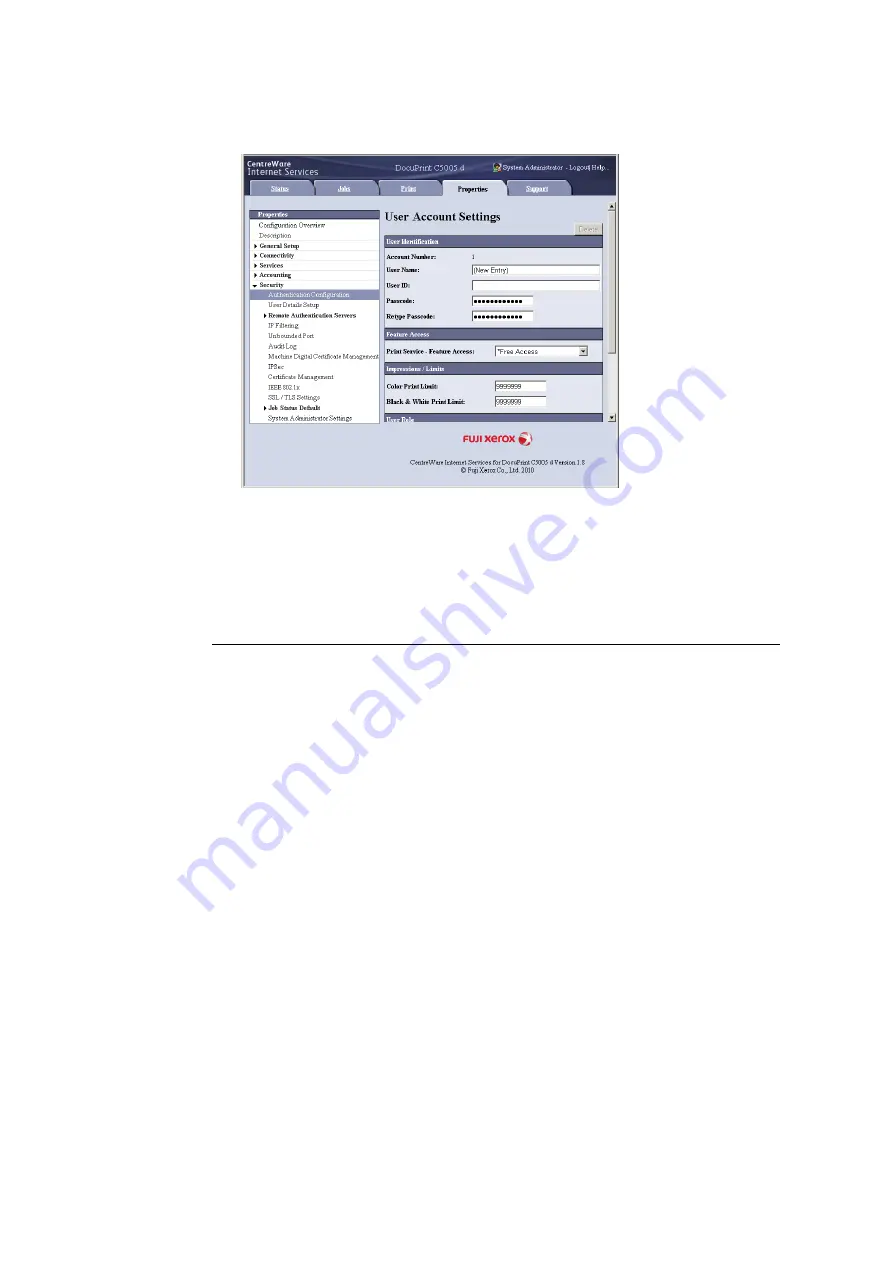
On the screen that appears, configure each of the settings and then click [Apply].
Note
• The user ID and password set on this page are also used by the print driver.
• To discard any changes in the settings and revert to original (pre-change) settings, click [Undo].
8.
To register more users, repeat steps 5 through 7.
Create Authorization Group and Association with Users
After setting [Local Accounting] and [Local Accounts] on the control panel, you will be able
to use CentreWare Internet Services to register the authorization group to associate with
users.
By registering the authorization group which is allowed to temporarily disable active settings
and associating it with users, users are authorized to temporarily disable active settings.
Note
• For details about each setting item, refer to the online help for CentreWare Internet Services.
1.
Launch your web browser and access CentreWare Internet Services.
Note
• For information on how to access CentreWare Internet Services, refer to “1.6 Configuring the Printer
Using CentreWare Internet Services” (P. 41).
• If you are prompted to enter the administrator's ID and password, enter them and click [OK].
2.
Click the [Properties] tab.


