70
3 Printing
3.2
Printing on Envelopes
This section describes how to print on envelopes.
Note
• Envelopes cannot be printed using Tray 1 (Standard), Tray 2 to 4, and Tray 6 (optional).
Loading Envelopes
Only printing on the address side of the envelope is supported.
The following envelope sizes can be used with this printer.
Important
• For best print quality, do not use envelopes that:
•are curled or twisted.
•are stuck together or damaged.
•have windows, holes, perforations, cutouts, or embossments.
•use tie strings, metal clamps, or metal folding bars.
•have postage stamps attached.
•have any exposed adhesive when the flaps are closed.
•have deckle edges or creased corners.
•are wrinkled, rough or are glued.
•have adhesive flaps open.
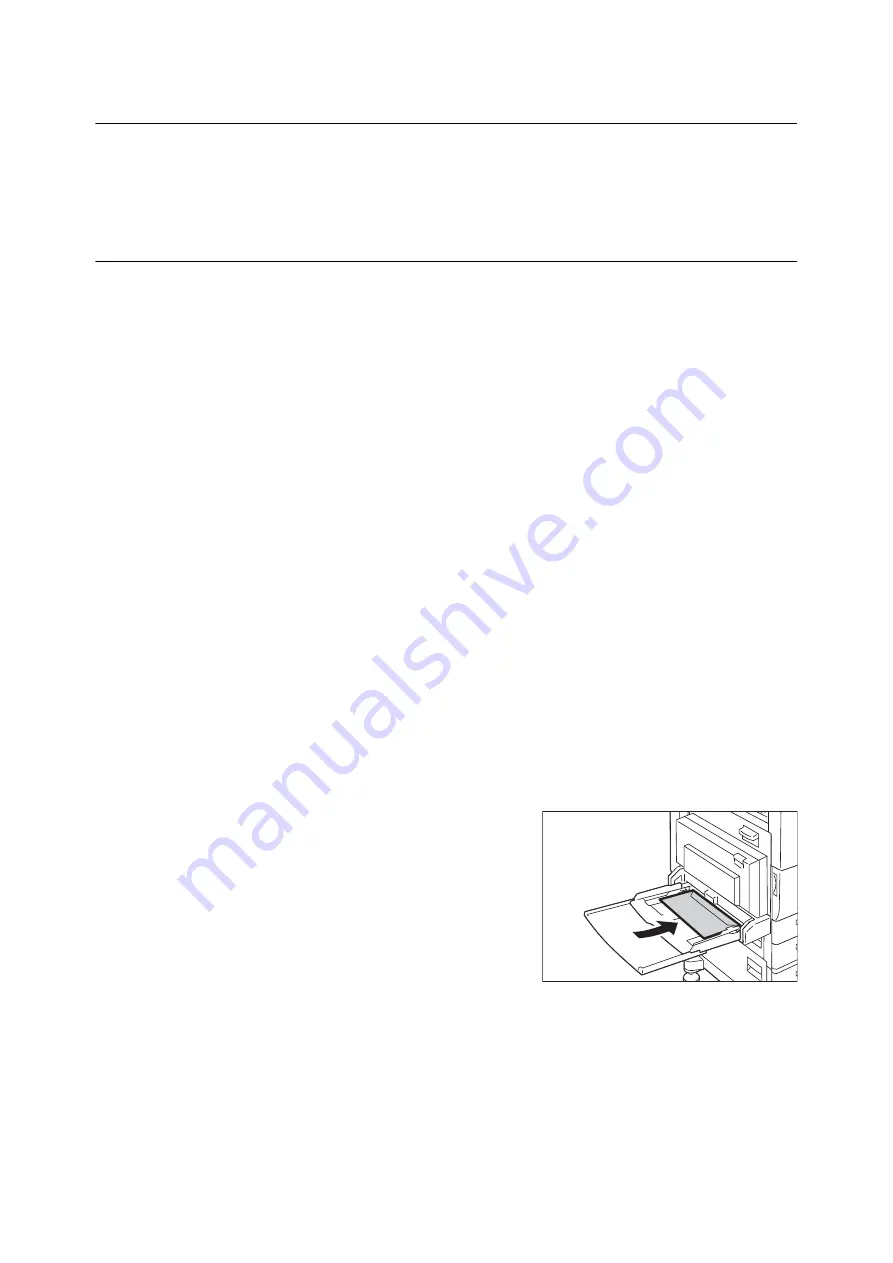
Envelopes can be printed using the bypass tray only.
Note
• For more information on how to load paper in the bypass tray, refer to "Loading Paper in the Bypass Tray" (P. 127).
1.
With the printing side (example:address side)
face down, close the flaps of the envelopes
and position them so they feed from the flap
side.
Refer to
• For information on how to load envelopes in the bypass
tray, refer to " Bypass Tray Feed Orientations for Envelopes"
(P. 128).
2.
Adjust the paper guides to the size of the
envelopes.
• Envelope C4 (229 x 324 mm)
• Envelope C5 (162 x 229 mm)
• Monarch Envelope (3.9 x 7.5")
• No.10 Envelope (4.1 x 9.5")
• DL Envelope (110 x 220 mm)
Summary of Contents for DocuPrint 5105 d
Page 1: ...DocuPrint 5105 d User Guide...
Page 75: ...3 3 Printing on Custom Size Paper 75 2 Click the Device Settings tab 3 Click Custom Paper Size...
Page 78: ...78 3 Printing 6 Click Print on the Print dialog box to start printing...
Page 94: ...94 3 Printing 8 Press the Print Menu button to return to the Ready to print screen...
Page 418: ...418 Control Panel Menu Tree...


