108
3 Printing
3.
Send the e-mail.
Note
• E-mail messages and attached documents are printed in accordance with the following settings on the receiving
printer.
•Mail Message: A4-size, one-sided
•TIFF File Attachment: current [TIFF/JPEG] setting for [Memory Settings] under the CentreWare Internet Services
[Language Emulations] setting
•PDF File Attachment: [PDF] when [PDF Bridge] is selected for [PDF] > [Process Mode] on the control panel;
current [PostScript] setting for [Memory Settings] under CentreWare Internet Services [Language Emulations]
when [PS] is selected for [Process Mode]
•XML Paper Specification (XPS) File Attachment: Settings of Print Ticket (operation depends on [XPS] settings
configured with control panel) included in the XPS
•XDW or XBD File Attachment: [XDW (DocuWorks)] settings configured with control panel
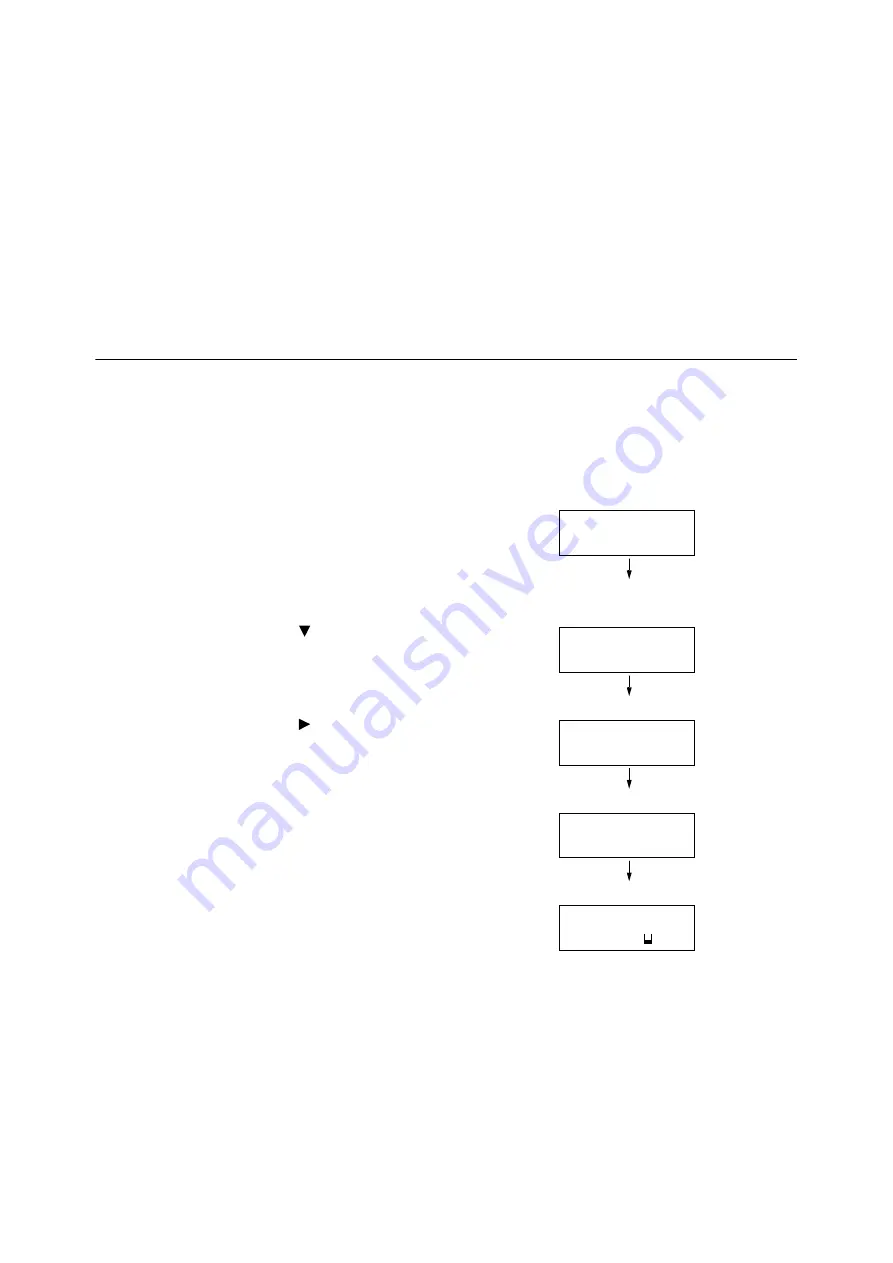
Receiving and Printing E-mail Manually
Though e-mail is printed automatically when it is received by the printer, it also can be printed
manually from the control panel (Only when POP reception).
Note
• This feature is available if HDD Extension Kit (optional) has been installed while [Properties] > [Connectivity] > [Port
Settings] > [Receive E-mail] of CentreWare Internet Services is [Enabled] and [Properties] > [Services] > [E-mail] >
[Receiving Protocol] is set to [POP3].
1.
On the control panel, press the <Print Menu>
button.
Note
• In some environments, [Pte. Charge Print] will appear on
the display first.
2.
Press the <
> button until [Mail Print] is
displayed.
3.
Press the <
> or <OK> button to select.
A receive start confirmation screen is
displayed.
4.
Press the <OK> button.
This starts reception of the e-mail. The
message is printed after reception is
complete.
The [Ready to print] screen appears
automatically after printing is complete.
Print Menu
Secure Print
Print Menu
Mail Print
Mail recvd.
Press OK to process
Mail received
Job in queue
Ready to print
Toner Left
Summary of Contents for DocuPrint 5105 d
Page 1: ...DocuPrint 5105 d User Guide...
Page 75: ...3 3 Printing on Custom Size Paper 75 2 Click the Device Settings tab 3 Click Custom Paper Size...
Page 78: ...78 3 Printing 6 Click Print on the Print dialog box to start printing...
Page 94: ...94 3 Printing 8 Press the Print Menu button to return to the Ready to print screen...
Page 418: ...418 Control Panel Menu Tree...


