Scan Options
71
Copy
3
Border Erase (Erasing Edges and Margin Shadows of the Document)
When you make copies with the document cover open or make copies from a book,
black shadows sometimes appear along the edges and center margin of the paper. If
this happens, you can make copies with the shadows erased.
Important •
Confirm that the orientation of the document and the [Original Orientation] setting of the
[Scan Options] screen are the same.
Note
•
When making 2 sided copies, the same border erase amount is set for the top and bottom
sides.
•
When Reduce/Enlarge is set, the border erase amount is also enlarged or reduced
proportionately to the copy ratio.
For information about the areas that can actually be printed, refer to "Printable Area" (P.501).
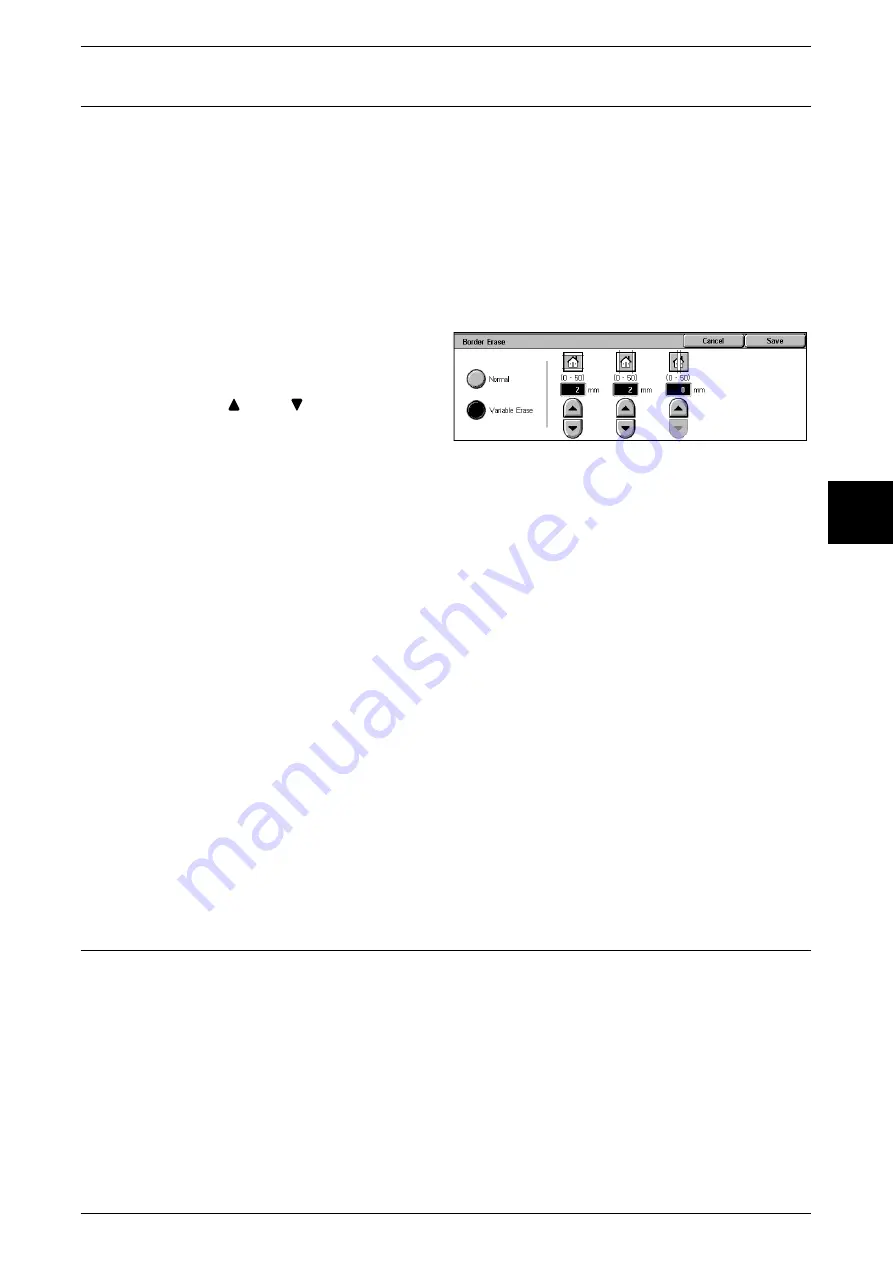
1
Select [Border Erase].
2
Select [Variable Erase].
3
Use [
] and [
] to set the width to
erase for each of the top, bottom,
left, right, and center.
Normal
The border erase amount is set to 2 mm for the top, bottom, left, and right.
Variable Erase
z
T/B erase
Shadows at the top and bottom of the document are erased. Edges at the top and
bottom are erased in accordance with the direction that the document was loaded.
You can set the border erase width within the range from 0 to 50 mm in 1 mm
increments.
z
L/R erase
Shadows on the left and right of the document are erased. Edges on the left and right
are erased in accordance with the direction that the document was loaded. You can
set the border erase width within the range from 0 to 50 mm in 1 mm increments.
z
Center Erase
Shadows in the center of documents such as booklets or documents with facing
pages are erased. You can set the center erase width within the range from 0 to 50
mm in 1 mm increments.
Copy Position/Margin Shift (Shifting the Image Copy Position)
Copies can be made with the document image position shifted to the left, right, top, or
bottom of the paper or with the document center shifted to the center of the paper. You
can also make copies with a margin added to the top, bottom, left, or right. When
making 2 sided prints, you can set the shift positions for both Side 1 and Side 2.
Important •
Confirm that the orientation of the document and the [Original Orientation] setting of the
[Scan Options] screen are the same.
Note
•
When [Mixed Size Originals] is set, the position is shifted in reference to the position of the
image of the first sheet of the document.
•
The image shift amount is set in accordance with the paper. Even if you set copies to be
enlarged or reduced in Reduce/Enlarge, the image shift amount is not affected.
Summary of Contents for Document Centre C250
Page 1: ...Document Centre C450 C360 C250 User Guide ...
Page 14: ......
Page 98: ......
Page 198: ......
Page 204: ......
Page 210: ......
Page 356: ......
Page 388: ......
Page 408: ......
Page 430: ......
Page 487: ...Paper Jams 485 Problem Solving 16 4 Return the light finisher to the main body ...
Page 535: ...18 Glossary This chapter describes the glossary provided by the machine z Glossary 534 ...
Page 554: ......
Page 556: ......


