


Control panel
47
P
roduc
t O
v
er
vie
w
Customizing the Control Panel
You can customize the <Custom> buttons and items on the [All Services] screen.
Assigning a Feature to Custom Buttons
By assigning a feature to Custom buttons (<Copy>, <Custom 2>, and <Custom 3>),
you can switch to that feature without returning to the [All Services] screen.
The factory default settings for these buttons are, "Copy" for the 1st button, and none
for the 2nd and 3rd buttons.
For about procedure to assign features, refer to "Screen/Button Settings" (P.200).
Attach the labels included in this product when you have changed the assignment. If
you have used a feature for which no label is provided, use a blank label and write down
the feature using a permanent marker and attach it to the appropriate Custom button.
Customizing the [All Services] Screen
You can customize the types of features and the location of buttons on the [All
Services] screen.
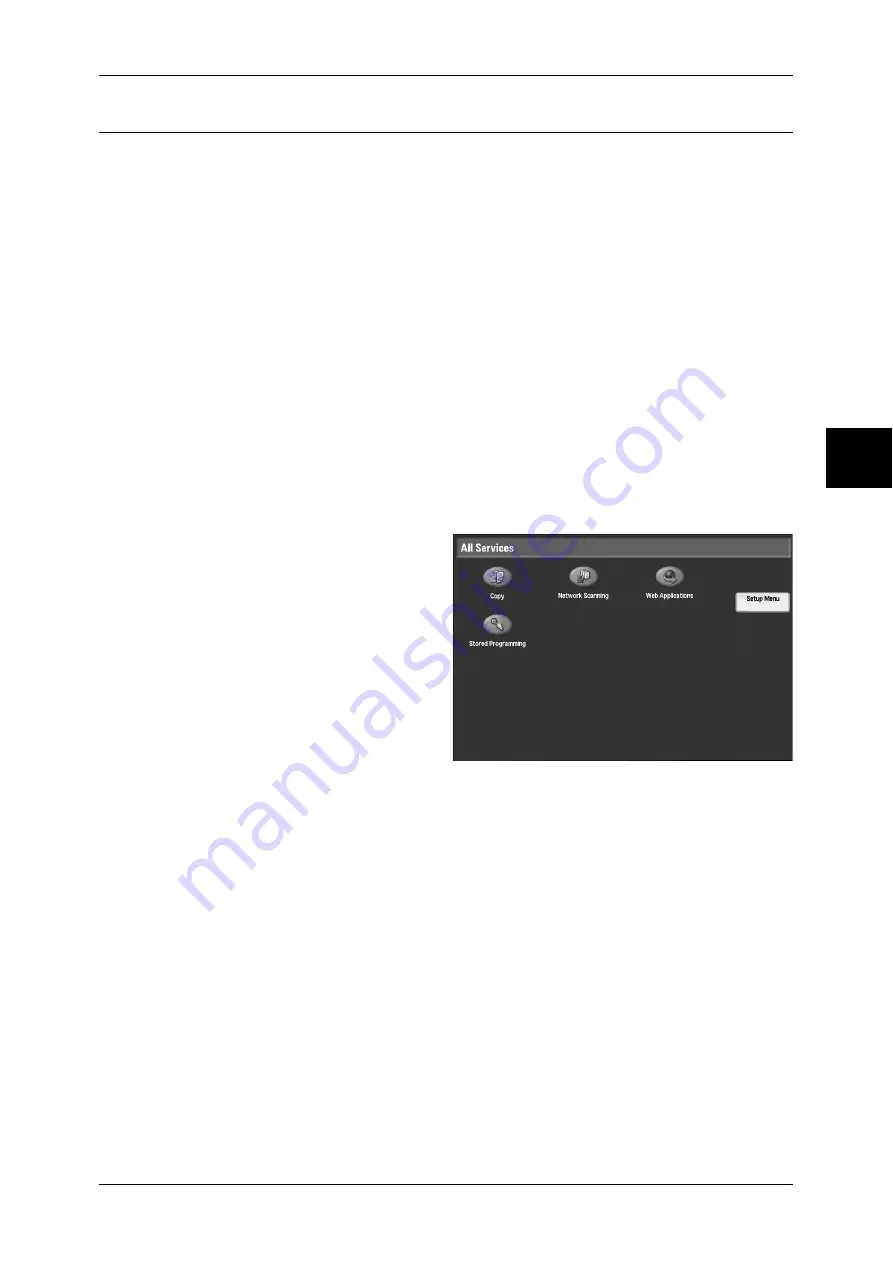
The following shows the factory default settings.
For about procedure to assign features, refer to "Screen/Button Settings" (P.200).
Note
•
When the feature is not available the button will not be displayed. Also, if the feature is
unavailable due to hardware problems, the button will be grayed out.
z
Copy
z
Network Scanning
z
Web Applications
z
Stored Programming
z
Setup Menu
Assigning Features to <Custom> Buttons
Assign features to the <Custom> buttons on the control panel: Custom 1 to Custom 3.
By assigning features to the <Custom> buttons, you can switch to the features without
returning to the [All Services] screen. If you do not want to assign any feature to a
button, select [Not Set].
As the factory defaults, [Copy] is assigned to the <Copy> button and no feature is
assigned to the <Custom 2> or <Custom 3> button. The features assigned to the
buttons are selected from the features displayed on the [All Services] screen and
[Language].
Attach the labels included in this product when you have changed the assignment. If
you have used a feature for which no label is provided, use a blank label and write down
the feature using a permanent marker, and then attach the label to the appropriate
button.


