22
Preparations
Changing Document Size and Orientation
After you place the document on the document glass, make sure that the document size and
orientation displayed in the original size display area match the placed document.
Follow the steps below for changing the size and orientation of document.
1
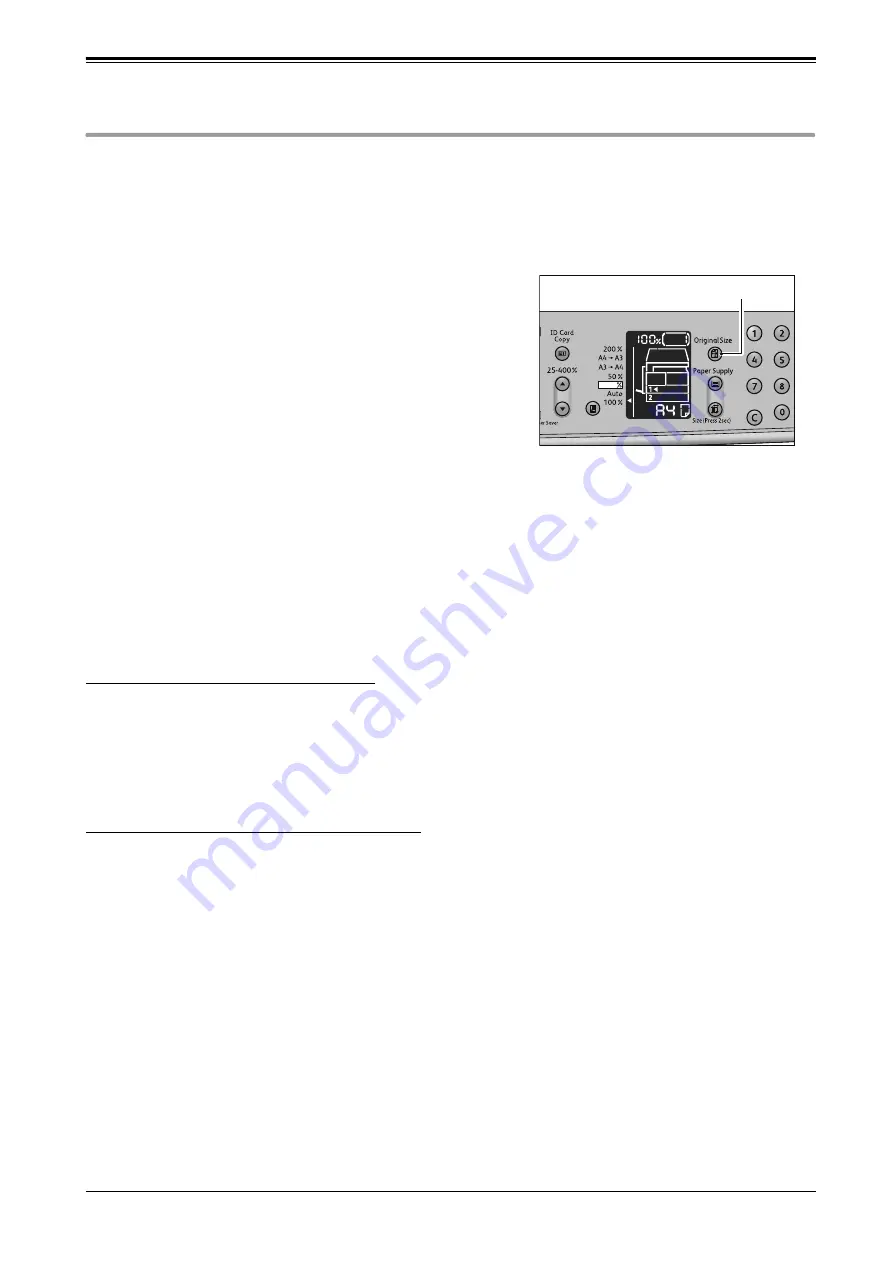
Press the <Original Size> button, and select the
size and orientation of the placed document.
The selected document size and orientation are displayed in the
original size display area.
Fixed document size (the document sizes supported in the machine)
Select the size of the document that you have placed. The scanning size and the orientation
changes every time that the button is pressed.
Not displayed (Original Size Display area is blank)(Expected document size)
The machine automatically sets the document size based on the selected paper size and the zoom
ratio that you have specified.
Non-standard size document
If the specified document size is smaller than the placed document, the entire image may not fit
on one page. Select an appropriate document size to fit on one page.
When using the document feeder
Aut
When a document is placed in the document feeder, the machine automatically sets [Aut] and
selects the document size from the supported standard sizes. The <Original Size> button is disabled.
<Original Size> button


