Fax Mode Settings
317
Sy
st
em Set
tin
gs
11
Tray Mode
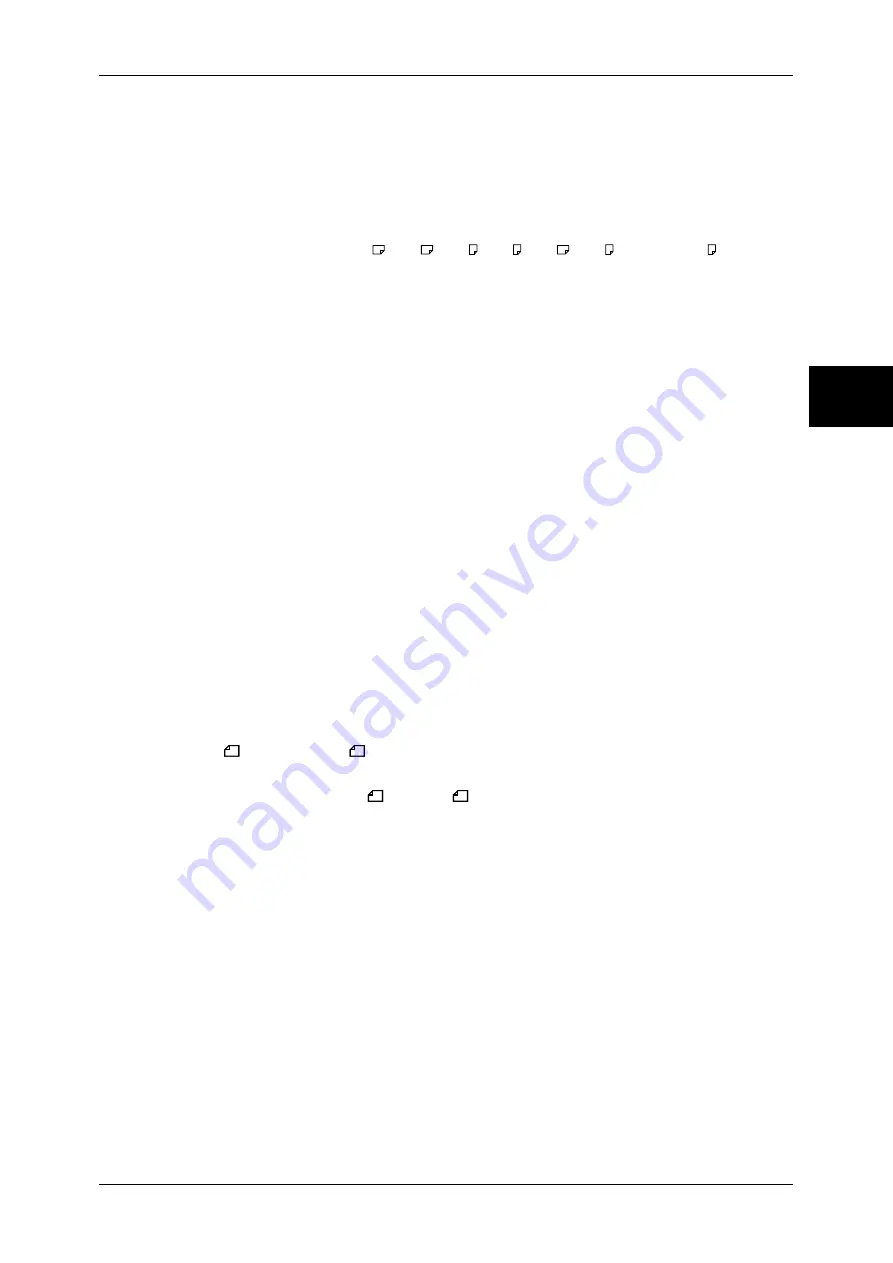
The paper (plain paper only) loaded into any of the trays can be used for printing. The paper
whose size is the closest to that of the original on which the image can be printed without
losing any of the image is selected among the paper sizes loaded in the available trays.
User Mode
The paper size to be printed is specified (declared), and regardless of whether it is loaded
into a tray, only the declared size paper is used for printing. When [User Mode] is selected,
select paper sizes from [A3 ], [A4 ], [A4 ], [A5 ], [B4 ], [B5 ], and [8.5
×
11" ]. You can
select more than one paper size.
2 Pages Up On Receipt
Set to have two received pages printed combined on one sheet. This is convenient for saving
paper.
For example, when two A5 pages are received, they are printed on a single A4 sheet.
However, if paper of the same paper size as the received document is declared in [Receiving
Paper Size], it is printed on that size. Depending on the sizes of the received documents,
multiple-up receiving may not be possible.
2 Sided Printing
Set whether to print received fax documents (including iFax received documents) as 2-sided.
This is convenient for saving paper.
Note
•
This feature does not appear for some models. An optional package is necessary. For more
information, contact our Customer Support Center.
•
Even if you select [On], depending on the data, 2-sided printing may not always be possible.
Edge Erase - Top & Bottom Edges
Specify an amount of border erased from the original in the top and bottom directions. You
can specify a value within the range from 0 to 20 mm in 1 mm increments.
Edge Erase - Left & Right Edges
Specify an amount of border erased from the original in left and right directions. Specify a
value in the range from 0 to 20 mm, in 1 mm increments.
Reduce 8.5x11"
Original to A4
When [Reduce/Enlarge] in the [Layout Adjustment] screen is set to [Auto %], you can set
whether to reduce 8.5
×
11”
size to A4
, while scanning the original.
Pseudo-Photo Gradation Mode
You can set the toning method for photo originals. To get closer to photo image quality, select
the handling of intermediate tones (gray). You can select from [Error Diffusion] and [Dither].
File Destination - Line Setup
Select whether to use the Fine Destination - Line Setup feature.
The File Destination - Line Setup feature allows you to classify received documents into line
types and store them in specified mailboxes.
Memory Full Procedure
When the space of the hard disk runs out during scanning originals, a screen appears asking
how the partly stored data should be handled.
Once a certain time has elapsed with the confirmation screen displayed, the subsequent
processing is determined by these settings.
You can set the time until the memory full procedure is carried out. For more information, refer to "Auto
Job Release" (P.267).
Summary of Contents for DOCUCENTRE-II C3000
Page 1: ...DocuCentre II C3000 User Guide...
Page 44: ......
Page 126: ...4 Fax 124 Fax 4 1 Select Stamp 2 Select On Off No stamp is added On A stamp is added...
Page 198: ......
Page 412: ......
Page 438: ......
Page 524: ......
Page 582: ......
Page 583: ...18 Glossary This chapter contains a list of terms used in this guide z Glossary 582...
Page 602: ......


