Network Setting Items (Port/Protocol) for CentreWare Internet Services
69
Using Cent
re
Wa
re Int
e
rnet
S
e
rvic
es
9
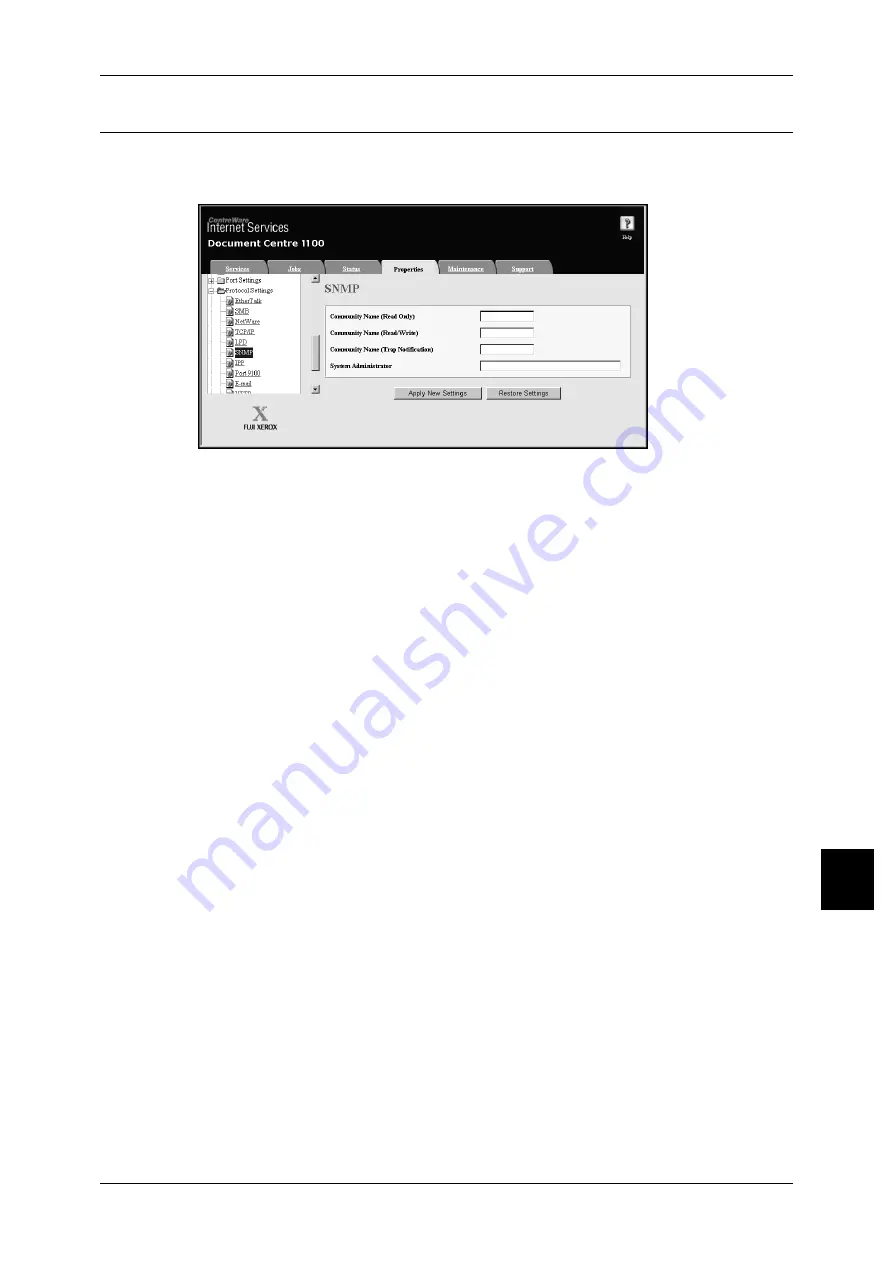
SNMP
This section describes the settings for SNMP.
Note
•
When using software such as the CenterWare managing the machine by remote control,
enable the SNMP port.
1
Start a web browser.
2
Enter the machine’s IP address or the Internet address to the address entry column
on the browser, and press the <Enter> key.
z
Example of the IP address entry
http://192.168.1.1/
z
Example of the Internet address entry
http://myhost.example.com/
Note
•
When specifying a port number, add ":" and a port number to the end of the Internet
address.
3
Click the [Properties] tab.
4
Click [+] on the left of [Protocol Settings] to display the items in the folder.
5
Click [SNMP].
6
When changing the community name, set all the [Community Name (Read only)],
[Community Name (Read/Write)], and [Community Name (Trap Notification)].
Note
•
Normally, do not change the settings.
7
Set the [System Manager Name].
8
Reflect the values as the machine’s setting values.
1) Click the [Apply New Settings]. A screen to enter the user name and password will
be displayed.
2) Enter the System Administrator UserID and password into [User Name] and
[Password], and then click [OK].
Note
•
The default User ID value is "11111" and password is "x-admin".
3) The right frame on the web browser will change to the machine reboot display.
4) Click [Reboot]. The machine will reboot and the setting value will be reflected.


