QUICK GUIDE
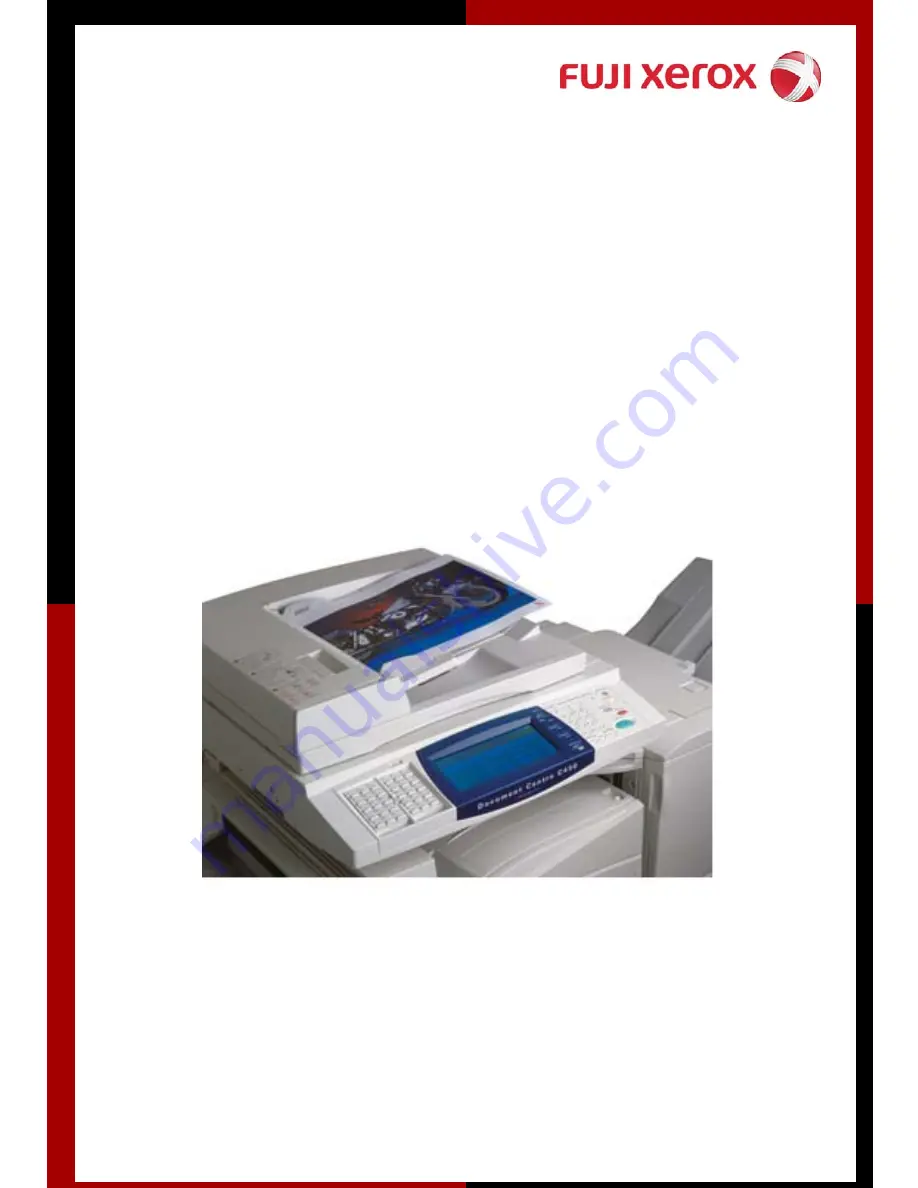
DC C250 / C360 /
C450
Online Support: www.fujixerox.com.my/support
Website : http://www.fujixerox.com.my
PRINTED BY FUJI XEROX OFFICE COLOR PRODUCT
Version 1.0 updated Nov 2006
Page 1: ...QUICK GUIDE DC C250 C360 C450 Online Support www fujixerox com my support Website http www fujixerox com my PRINTED BY FUJI XEROX OFFICE COLOR PRODUCT Version 1 0 updated Nov 2006...
Page 2: ...in color can increase response by 44 People are 55 more likely to pick up full color piece of mail first 2 Enhance Productivity Color reduces search time by as much as 80 Color educes errors by 80 In...
Page 3: ......
Page 4: ...and can only learn up limited machine feature in the training sessions Thus we hope this Quick Guide will provide you with all the essential feature should you encounter any operation problems with th...
Page 5: ...peat Image Original Size Section B Fax Feature Section C Scan to FTP SMB Feature Section D Scan to EMAIL Section E Scan to Mailbox Feature Section F Printing Features Section G Maintenance 1 Checking...
Page 6: ...uired options 1 1 Sided Makes a copy of a 1 sided document on one side of the paper 1 2 Sided Makes a copy of a 1 sided document on both sides of the paper 2 2 Sided Makes a copy of a 2 sided document...
Page 7: ...pass Note Do not change paper order 5 Open the Cover and Flip IC to the opposite point of A4 press Start II Copy IC both sides front and back page 1 Goto Basic Copying Tab Select A4 Paper Portrait Pre...
Page 8: ...ratio 5 Select Save 6 Press Start 100 Copies are made at the same size as the original document Auto The copy ratio is automatically set based upon the document and paper sizes and the document is cop...
Page 9: ...rmat Tab 3 Select Finishing 4 Select required options 5 Select Save 6 Press Start Auto Copies are output collated Collated Stapling Punching The machine can output sheets sorted into sets that are arr...
Page 10: ...Edge Erase 5 Use the arrow up or down button to set the amount of area to be erased 6 Select Save 7 Press Start Margin Shift Allows to change the position of the image on an output page Steps 1 Load...
Page 11: ...ying 4 Select required option Left Page then Right OR Right Page then Left 5 Select Save 6 Press Start Multi up To copy 2 4 or 8 documents onto 1 sheet of paper Document Centre will automatically redu...
Page 12: ...t Bind Top Bind or Right Bind 5 Select Save 6 Goto Basic Copying Tab 7 Select paper tray that contains of Landscape paper 9 Press Start Repeat Image Original Size Print original image repeatedly on on...
Page 13: ...Touch Dialing Using Speed Dial Number for pre programmed fax number Steps 1 Load document s onto the Document Feeder 2 Select Speed Dial number using One Touch Keypad 3 Press Start Dial Directory Sear...
Page 14: ...9 locations Programming Fax Address Book Speed Dial Steps 1 Select All Services Screen 2 Select Setup Menu Select Address Book 3 Select an Address Number e g 001 or 002 not in use 4 Press Create Delet...
Page 15: ...ss Add 6 Repeat Steps to continue registering fax number into the group 7 Press Save to Exit Setup Group Send Menu Transmission Report To activate transmission report option in order to print a delive...
Page 16: ...ing Manual Send or for troubleshooting line Steps 1 Load document s onto the Document Feeder 2 Enter fax number 3 On the On Hook Others Tab 4 Select On Hook Manual Send Receive button 5 Enter Fax Numb...
Page 17: ...eps 1 Press All Services button 2 Select Scan to FTP SMB 3 Select Address Book 4 Select Recipient Name 5 Select Save 6 Under Basic Scanning Tab select File Format 7 Goto Output Format Tab 8 Select Fil...
Page 18: ...ok for Email Steps 1 Select Setup Menu from the All Services menu 2 Select Address Book 3 Select Create Delete 4 Select an empty address number Not In Use and select 5 Create Delete 6 Select Address T...
Page 19: ...ge 5 Goto Output Format Tab 6 Select Document Name 7 Key in Document Name 8 Select Save 9 Press Start Retrieving Importing Scanned Documents Steps 1 Go to START PROGRAMS FUJI XEROX UTILITY MAILBOX VIE...
Page 20: ...the document on your PC When send for printing it temporary stores the documents on the machine and only prints out when you select your user ID and password on the physical machine 3 Sample Print Bef...
Page 21: ...Normal Print Steps 1 Go to File Select Print 2 Select Printing Preferences 3 Under Job Type Select Normal Print 4 Select OK...
Page 22: ...e Select Secure Print 4 Under Secure Print Message Box key in User ID Password Document Name Secure Print Document Retrieval Steps 1 Select Job Status Button at the machine 2 Click Stored Documents 3...
Page 23: ...1 Go to File Select Print 2 Select Printing Preferences 3 Under 2 Sided Print Select Flip on Long Edge or Short Edge 4 Select OK Note Flip on Long Edge is known as Head to Head Flip on Short Edge is k...
Page 24: ...Multi Up Steps 1 Go to File Select Print 2 Select Printing Preferences 3 Goto Tray Layout Tab 4 Select Multiple Up 1Up to 32 Up 5 Select OK...
Page 25: ...eps 1 Go to File Select Print 2 Select Printing Preferences 3 Goto Tray Layout Tab 4 Select Booklet Poster Mix Document Rotation 5 Select Booklet Creation Option Button 6 Select OK to the pop up messa...
Page 26: ...Press OK 11 On the Fax Job Confirmation box check Delayed Send if necessary or Click OK to proceed PC Faxing 1 On your document Select File Menu Select Print 2 Select printer Document Centre 236 286...
Page 27: ...t Print 2 Select Document Centre 236 or 286 3 Select Printing Properties 4 Select Watermarks Forms tab 5 Select Required Watermark e g Confidential Copy Prohibited Or Click New Text to enter user defi...
Page 28: ...achine Status Button 2 Select Billing Meter Print Report tab 3 Select Billing Meter Meter 1 Number of full color copies Number of full color prints Meter 2 Number of B W copies Number of B W prints Me...
Page 29: ...dy Replace Soon or Replace Now For toner the amount is shown in percentage 0 to 100 Steps 1 Press Machine Status button on the control panel 2 Select SuppliesTab 3 Press Close button once done Consuma...
Page 30: ...er cartridge by gently pulling it towards you 4 Prepare a new toner cartridge of the same color as the cartridge that you removed and gently tilt the cartridge 3 or 4 times up down left and right as s...
Page 31: ...e stopper upwards 3 Pull down the handle 4 Grip the handle of the drum cartridge A1 A2 A3 or A4 indicated in the message and gently pull out the cartridge 5 Pull out the drum cartridge while holding i...
Page 32: ...f the drum cartridge into the machine 8 Peel of the seal from the top of the drum cartridge while the end of the cartridge is inserted in the machine 9 Firmly hold the drum cartridge while pressing do...
Page 33: ...to eject the document upward How to clear Paper Jams Top Left Cover 1 Gently open the top left cover while lifting up the release lever 2 If the edge of the jam paper can be reached at the output tray...
Page 34: ...er Left Cover Gently open the lower left cover and remove the jammed paper Tray 5 Bypass Tray Inspect the inside part paper feed entrance of Tray 5 and remove any jammed paper Note Press the center se...
Page 35: ...ox com my Select product 2 Select Online Support Assistant Type a problem search 3 You ve got the solution 4 5 Feedback from you Select Contact Xerox Support if you can t find a solution you can repor...
Page 36: ...Call Center the request will be logged into our system and you will be notified through e mail with a report number Benefits 1 No phone call is require 2 No more waiting holding on the phone line 3 Y...