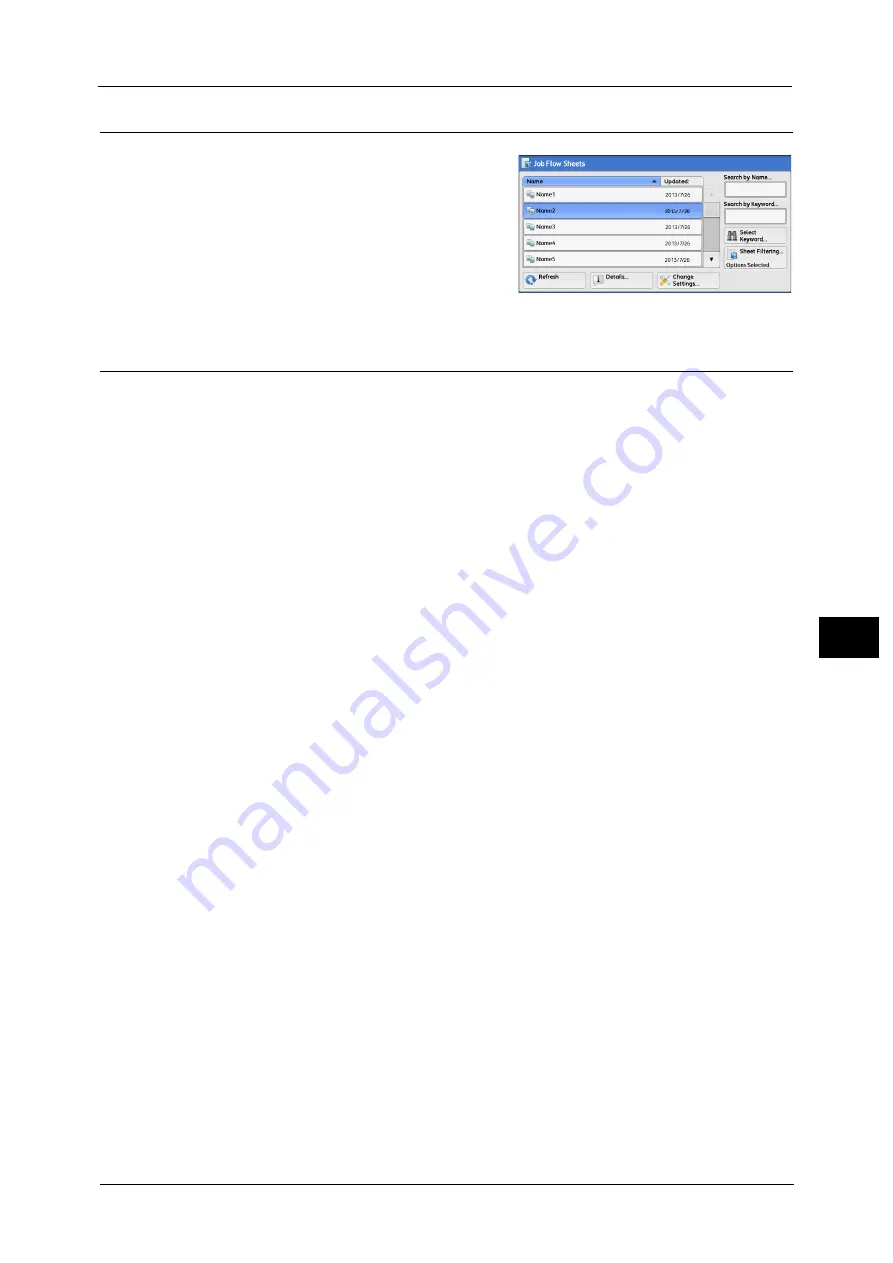
Job Flow Procedure
277
Jo
b
F
lo
w
S
h
e
et
s
6
Step 3 Confirming/Changing the Job Flow Sheet
1
To confirm the details, select [Details]. To
change the settings, select [Change Settings].
For information on how to check or change job flow settings,
refer to "Selecting/Changing a Job Flow Sheet" (P.278).
Step 4 Starting the Job Flow Sheet
1
Load a document.
Note
•
A job flow with an application linked does not require you to load a document.
2
Press the <Start> button.
Important •
After executing the job flow, be sure to print a Job History Report to check the result. For information
on the Job History Report, refer to "5 Tools" > "Common Service Settings" > "Reports" > "Job History
Report" in the Administrator Guide.
Summary of Contents for Color C60
Page 1: ...User Guide Color C70 Printer Color C60 Printer...
Page 10: ...10...
Page 13: ...Preface 13 Before Using the Machine 1...
Page 74: ...2 Product Overview 74 Product Overview 2...
Page 101: ...Copy 101 Copy 3 1 Use and to select from seven density levels...
Page 166: ...3 Copy 166 Copy 3...
Page 182: ...4 Scan 182 Scan 4 Original Size Specifying a Scan Size P 243 4 Press the Start button...
Page 256: ...4 Scan 256 Scan 4...
Page 290: ...7 Stored Programming 290 Stored Programming 7...
Page 314: ...10 Job Status 314 Job Status 10 Print this Job Report Prints the Job Report...
Page 352: ...11 Computer Operations 352 Computer Operations 11...
Page 353: ...12 Appendix This chapter contains a glossary of terms used in this guide z Glossary 354...
Page 358: ...12 Appendix 358 Appendix 12...


