Common Service Settings
173
To
ols
5
The following items are printed at the bottom right for Preset 1 or bottom left for Preset
2 of paper.
- First line: file name and the IP address of the computer that send a print job
- Second line: user name, user ID, card ID, and date and time
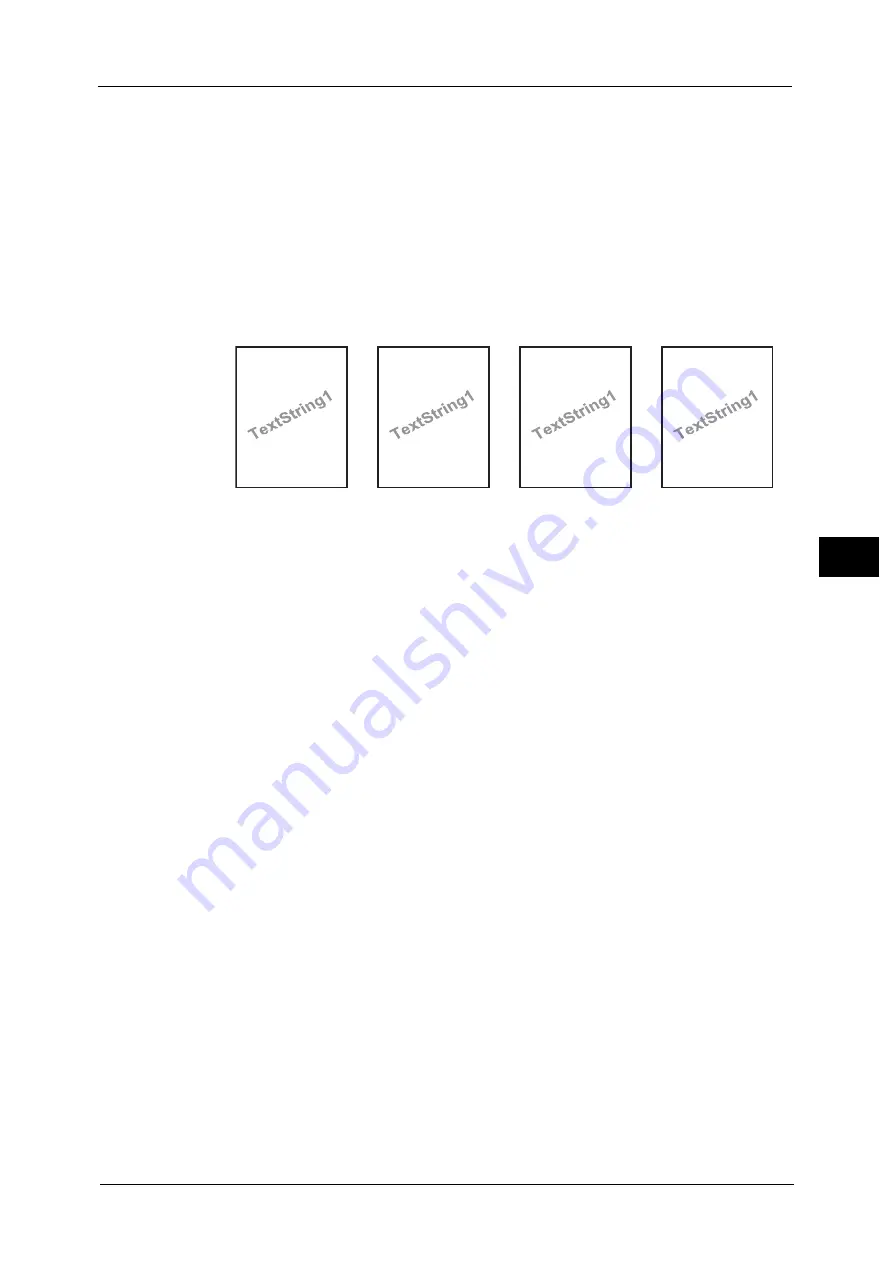
Preset 3 and Preset 4
The string registered on [Create Text String 1] is printed as watermark at an angle in the
center of paper.
The following items are printed at the bottom right for Preset 3 or bottom left for Preset
4 of paper.
- User ID and date and time
Note
•
Some items may not be printed depending on the job type and performance conditions.
•
Force annotation is not printed on a blank paper generated by the machine.
•
When the Force Annotation is enabled, you cannot select [Auto Size Detect] for [Tray 5].
•
A time printed as a watermark using the Force Annotation feature may differ from the time the print
job is submitted depending on the status and settings of the machine and the contents of the print
job. In this case, the print job start time is printed as a watermark.
For information about how to enter characters, refer to "Entering Text" (P.37).
Apply Layout Template to Copy/Print Jobs
Set the association between jobs and layout templates. You can associate layout templates
with the following jobs:
Copy
Client Print
Print Stored File
Media Print
Print Fax
Print E-mail
Report
Note
•
You can associate a layout template with Client Print when a print job is sent from a computer.
•
You can associate a layout template with Print Stored File when printing a file in a folder.
Delete Layout Template
Deletes a layout template.
Important •
The provided layout templates, Preset 1 to Preset 4, cannot be deleted.
Create Text String
Register text strings for the Force Annotation feature. You can register up to eight types of
strings in [Create Text String 1] to [Create Text String 8]. You can enter up to 64 single-byte
characters.
Preset1
DocName-192.0.2.1
UserName-CardID-UserID-2015/01/01 12:00
Preset2
DocName-192.0.2.1
UserName-CardID-UserID-2015/01/01 12:00
Preset3
UserID-2015/01/01 12:00
Preset4
UserID-2015/01/01 12:00
Summary of Contents for ApeosPort-V C5580
Page 14: ...14 ...
Page 38: ...1 Before Using the Machine 38 Before Using the Machine 1 ...
Page 320: ...5 Tools 320 Tools 5 ...
Page 376: ...10 Using IP Fax SIP 376 Using IP Fax SIP 10 ...
Page 388: ...12 Using the Server Fax Service 388 Using the Server Fax Service 12 ...
Page 638: ...15 Problem Solving 638 Problem Solving 15 ...
Page 786: ...16 Appendix 786 Appendix 16 ...


