1 Before Using the Machine
24
Be
fo
re Us
in
g t
h
e Ma
ch
in
e
1
5
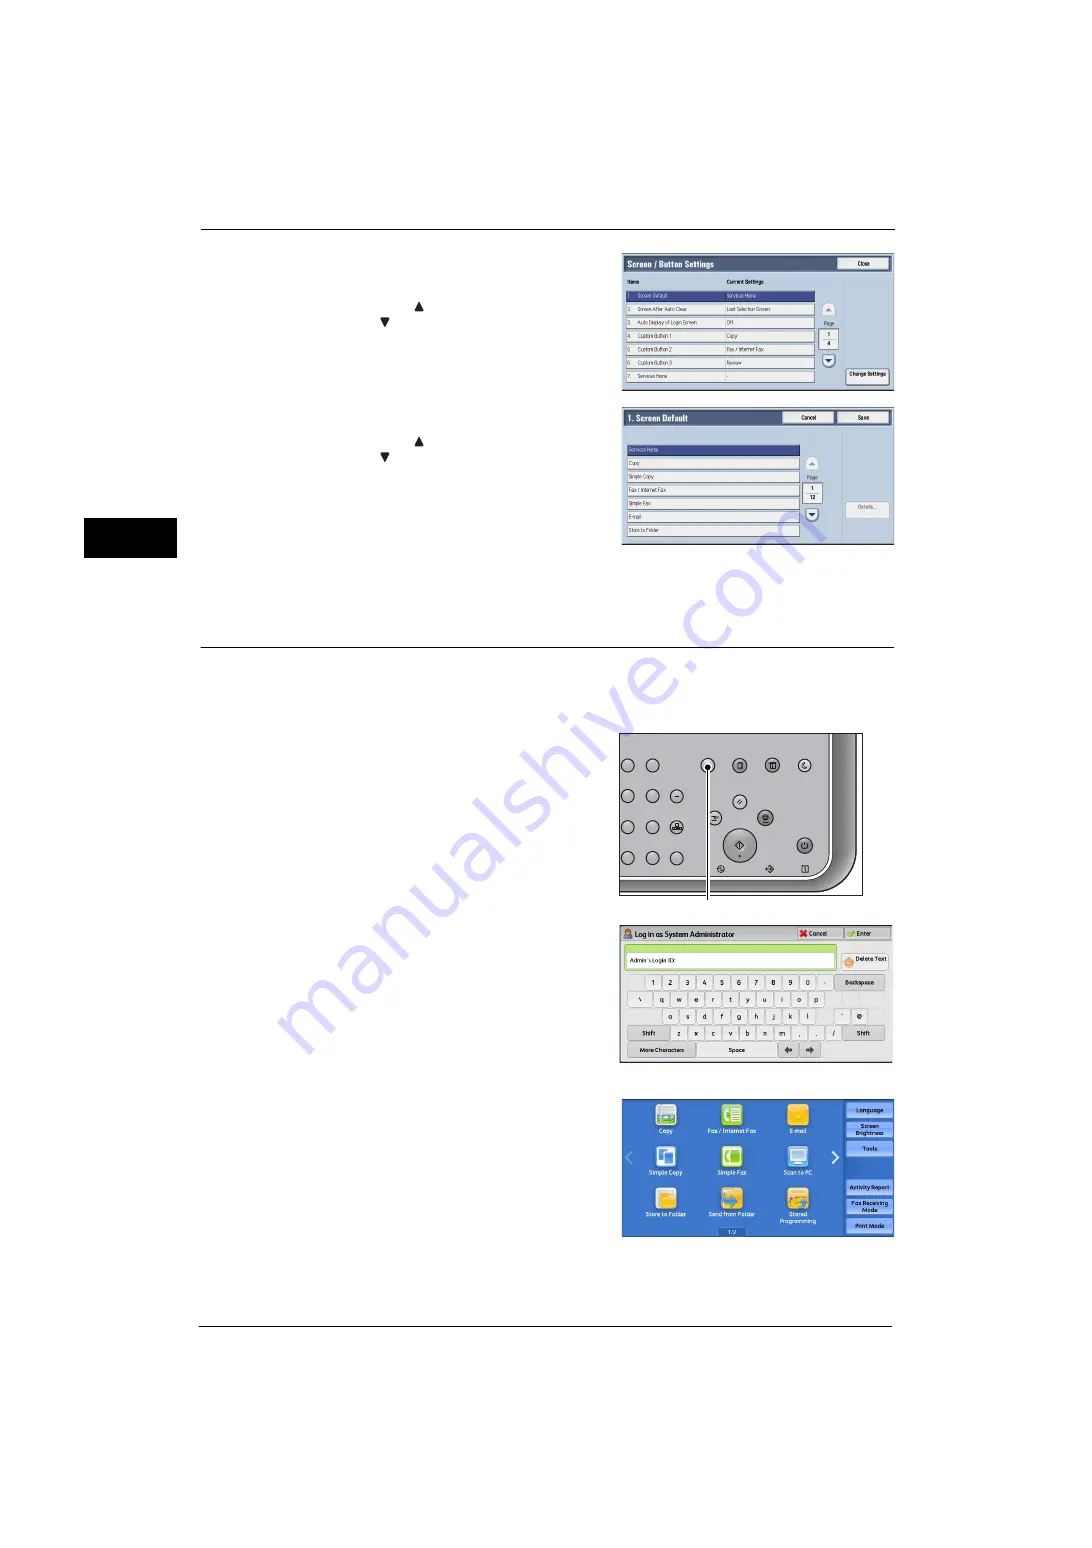
Select [Screen Default], and then select
[Change Settings].
Note
•
Select [
] to display the previous screen or
[
] to display the next screen.
6
Select a service you want to display.
Note
•
Select [
] to display the previous screen or
[
] to display the next screen.
7
Select [Save].
Setting the Screen After Auto Clear
You can select the screen to be displayed after Auto Clear from [Last Selection Screen] or
[Services Home] can be selected.
For information on Auto Clear, refer to "Auto Clear" (P.111).
1
Press the <Log In/Out> button.
2
Enter the system administrator’s user ID with
the numeric keypad or the keyboard displayed
on the screen, and select [Enter].
When a passcode is required, select [Next] and
enter the system administrator's passcode, and
select [Enter].
Note
•
The default user ID is "11111".
•
The default passcode is "x-admin".
3
Select [Tools] on the Services Home screen.
Note
•
When the Services Home screen is not
displayed on the touch screen, press the
<Services Home> button.
2
3
5
6
8
9
0
#
C
Power
Saver
Power
Data
Error
Clear All
Interrupt
Stop
Start
Log In / Out
Job
Status
ABC
Dial
Pause
Speed
Dial
TUV
WXYZ
JKL
MNO
DEF
Machine
Status
<Log In/Out> button
Summary of Contents for ApeosPort-V 4020
Page 1: ...Administrator Guide ApeosPort V 4020 DocuPrint M465 AP...
Page 12: ...12...
Page 36: ...1 Before Using the Machine 36 Before Using the Machine 1...
Page 52: ...2 Paper and Other Media 52 Paper and Other Media 2...
Page 68: ...3 Maintenance 68 Maintenance 3...
Page 90: ...4 Machine Status 90 Machine Status 4...
Page 264: ...6 CentreWare Internet Services Settings 264 CentreWare Internet Services Settings 6...
Page 306: ...9 Scanner Environment Settings 306 Scanner Environment Settings 9...
Page 318: ...11 Using the Server Fax Service 318 Using the Server Fax Service 11...
Page 334: ...12 Encryption and Digital Signature Settings 334 Encryption and Digital Signature Settings 12...
Page 610: ...610 Index...


