190.210-IOM (SEP 21)
Page 19
LazerWeld II Plate Heat Exchanger
Maintenance
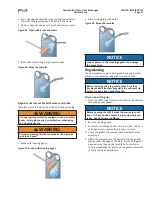
Figure 41: Brush the threads
3. Attach gaskets to the cassettes or check that all the
gaskets are correctly attached. Check that all gaskets
are correctly positioned in the grooves.
NOTICE
If the gasket is wrongly positioned, it can rise out
of the gasket groove or be positioned outside the
groove.
4. Insert the cassettes in alternate directions and with
the gaskets turned towards the frame plate or pres-
sure plate as specified on the plate hanging list. Use
the marked line that was done when the LZWII was
opened. See Step 3 in the
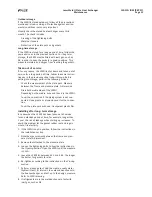
Figure 42: Inserting the cassettes
5. If the cassettes are correctly assembled, the edges
form a honeycomb pattern. See the following figure.
Figure 43: Honeycomb pattern
6. Press the plate assembly together. Tightening is done
in two steps. See the following substeps. Be careful to
ensure that the frame plate and the pressure plate are
always in parallel.
a. Tighten the two diagonal pairs of bolts alternately
until the plate package measures 1.10
A.
Ensure that the frame plate and pressure plate are
always in parallel. Skewing of the pressure plate
during opening must not exceed 10 mm (2 turns a
bolt) across the width and 25 mm (5 turns a bolt)
vertically.
Figure 44: Tightening the plate assembly
b. After that, bolts are tightened alternately and diago-
nally. Check the dimension A during tightening at the
positions of the bolts that are being used.
Figure 45: Tightening the plate assembly
NOTICE
For the final tightening, alternate between bolts to
reach dimension A.
1.10A
1.10A


