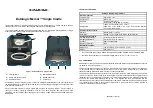
Freecom HARD DRIVE DOCK PRO -, User Manual
The Freecom HARD DRIVE DOCK PRO is a versatile device that allows you to easily connect and access hard drives. For detailed instructions on how to set up and use this product, make sure to download the free User Manual from manualshive.com. Get the most out of your device with our comprehensive manual.
Share
Download


Reviews:
No comments
Related manuals for HARD DRIVE DOCK PRO -
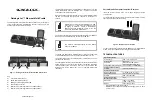
CM615
Brand: UGREEN Pages: 8

Z Series
Brand: VDO Pages: 4
CF-WEB Series
Brand: Panasonic Pages: 2
CF-WEB184 Series
Brand: Panasonic Pages: 2
CF-WEB Series
Brand: Panasonic Pages: 20
DH60
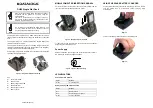
Brand: Datalogic Pages: 2
Jet
Brand: Datalogic Pages: 2

Thunderbolt Station 2
Brand: CalDigit Pages: 14
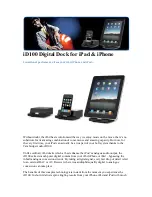
iD100
Brand: Cambridge Audio Pages: 6

B-Series
Brand: WatchDog Pages: 4
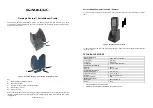
Skorpio
Brand: Datalogic Pages: 2
Memor
Brand: Datalogic Pages: 2

Memor 1
Brand: Datalogic Pages: 56
MWiD25-DS
Brand: Fantec Pages: 2
Platinum Edition
Brand: Gateway Pages: 16
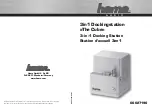
The Cube
Brand: Hama Pages: 5

53161
Brand: Hama Pages: 16

53161
Brand: Hama Pages: 38


