Franke ZAQUA091, Installation And Operating Instructions Manual
The Franke ZAQUA091 product comes with a detailed Installation And Operating Instructions Manual for easy setup and operation. You can download this manual for free from manualshive.com to ensure a smooth and hassle-free experience with your Franke ZAQUA091. Get your manual now to get started!
Share
Download


Reviews:
No comments
Related manuals for ZAQUA091

SV Series
Brand: EA Pages: 24

CELL200 Series
Brand: Campbell Pages: 3

ECO-TOUCH
Brand: Fantech Pages: 2

2406
Brand: Samson Pages: 32

FX
Brand: Quantum Pages: 15

I-7188XA
Brand: ICP DAS USA Pages: 166

SMS-531
Brand: ICP DAS USA Pages: 64

Tunnel Master Jr
Brand: ICS Pages: 83

PROFIBUS PROFI-2510
Brand: ICP DAS USA Pages: 4

I-8213W-4G
Brand: ICP DAS USA Pages: 40

SureFire
Brand: Ultratec Pages: 33
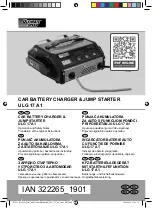
ULG 17 A1
Brand: ULTIMATE SPEED Pages: 97

100X series
Brand: Vacon Pages: 132

SMARTSTART 6000
Brand: Zener Pages: 36

SMART CONSOLE
Brand: Zapi Pages: 5

HP49
Brand: POLA Pages: 2

SCC-DO01
Brand: National Instruments Pages: 14

JetWeb JX2-PRN1
Brand: Jetter Pages: 25


