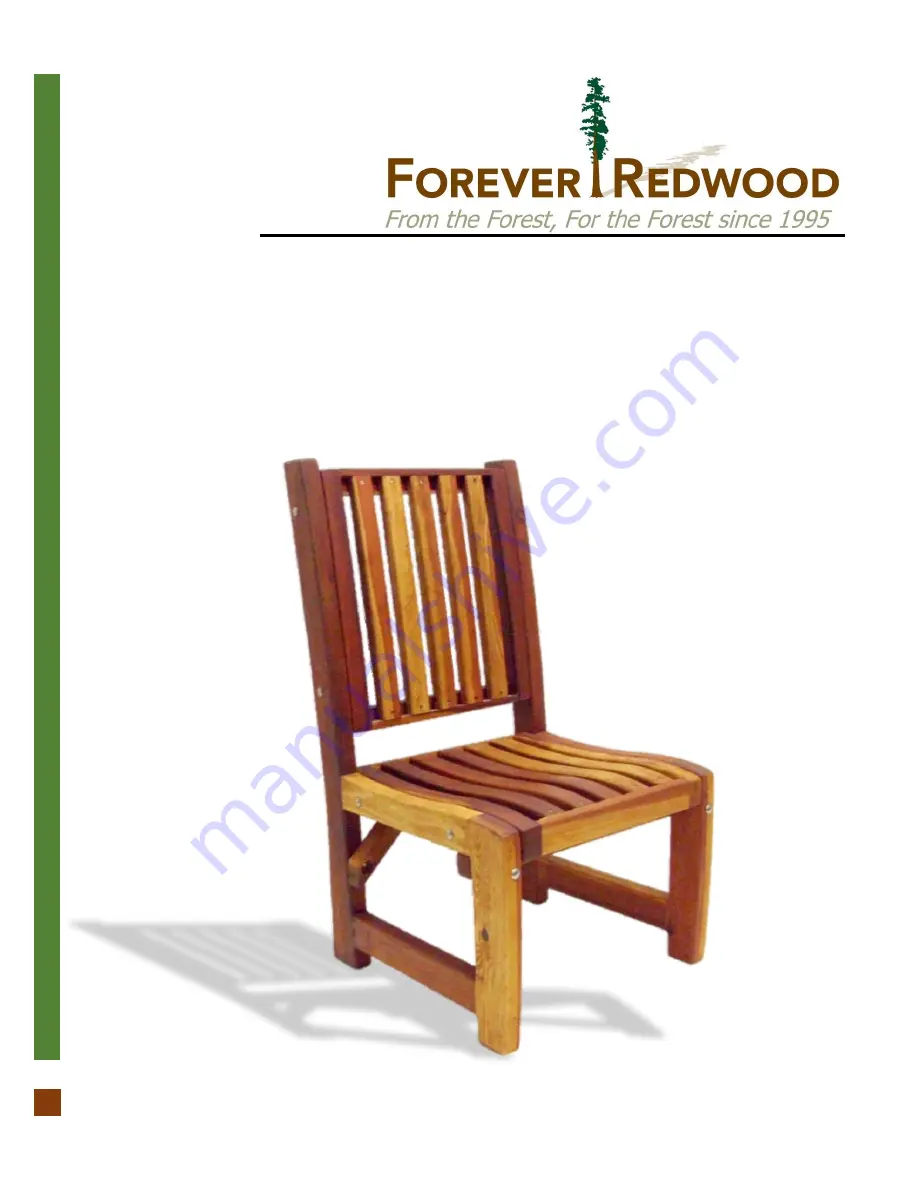
ASSEMBLY INSTRUCTIONS FOR THE
RUTH REDWOOD DINING CHAIR
ARMLESS
866.332.2403 (TOLL FREE); 7am – 7pm Pacific Time, Monday-Saturday
Page 1: ...ASSEMBLY INSTRUCTIONS FOR THE RUTH REDWOOD DINING CHAIR ARMLESS 866 332 2403 TOLL FREE 7am 7pm Pacific Time Monday Saturday ...
Page 2: ...ESS TO INSTALL THE HARDWARE PROVIDED Required Tools Are not included in your hardware packing To install the bolts Insert the carriage bolts into the holes and lightly tap with a hammer until the square neck fit in the wood piece and the bolt head must flush with the wood piece Finally place the washer and the nut and carefully tighten it using a ratch with the necessary socket or a wrench ...
Page 3: ...d com 2 CONTENT OF BOXES No 1 2 3 4 5 Drawing Description Legs Seat Backrest Front Support Diagonal Supports Qty 2 1 1 1 2 Note Part numbers in the Content of Boxes Table are for reference only These do not match to the numbers marked on the parts sent ...
Page 4: ...ng Description 5 16 x 3 Bolts To attach the seat and the backrest to the legs To attach the diagonal supports to the seat 5 16 x 4 Bolts To attach the frontal support and the diagonal supports to the legs Washers Nuts Qty 10 4 14 14 Note Dimensions of your hardware will vary depending on size ...
Page 5: ...ss www ForeverRedwood com 4 No 1 2 3 4 5 DESCRIPTION Legs Seat Backrest Front Support Diagonal Supports Note Part numbers in the Drawing are for reference only These do not match to the numbers marked on the parts sent 1 2 3 4 5 1 5 ...
Page 6: ...the legs 1 Each part has a series of numbers that indicate where to attach the part with the corresponding number Step 2 Attach the backrest 3 to the legs with 5 16 x 3 bolts a washers and nuts Each part has a series of numbers that indicate where to attach the part with the corresponding number 5 16 x 3 Bolts 1 2 1 5 16 x 3 Bolts 3 ...
Page 7: ...ate where to attach the part with the corresponding number Step 4 Finally use 5 16 x 3 bolts a with washers and nuts to attach the diagonal supports 5 to the seat After that use 5 16 x 4 bolts b with washers and nuts to attach to the legs Each part has a series of numbers that indicate where to attach the part with the corresponding number 4 5 16 x 4 Bolts 5 16 x 3 Bolts 5 16 x 4 Bolts 5 5 ...
Page 8: ...less www ForeverRedwood com 7 This completes the Dining Chair Assembly Hope you enjoy your set for many decades If you ever have a problem or a question don t hesitate to call us 866 332 2403 or email us We are here to support you ...