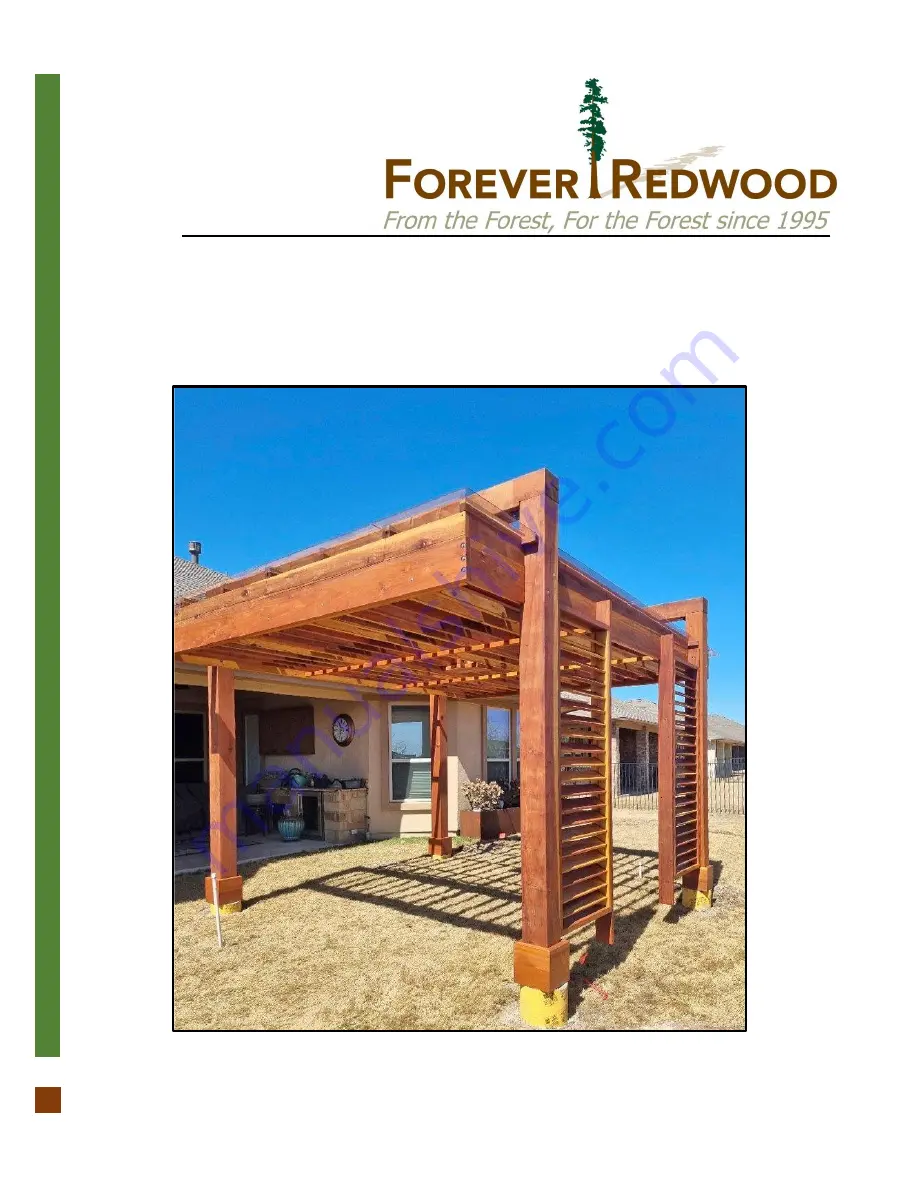
ASSEMBLY INSTRUCTIONS FOR THE
CUSTOM THE L.A. MODERN PERGOLA
866.332.2403 (TOLL FREE) (707) 640.29.05 (Option 4) Direct Line for the Design
Department; 7am – 7pm Pacific Time, Monday-Saturday
Page 1: ...ASSEMBLY INSTRUCTIONS FOR THE CUSTOM THE L A MODERN PERGOLA 866 332 2403 TOLL FREE 707 640 29 05 Option 4 Direct Line for the Design Department 7am 7pm Pacific Time Monday Saturday...
Page 2: ...CESS TO INSTALL THE HARDWARE PROVIDED Required Tools Are not included in your hardware packing To install the bolts Insert the carriage bolts into the holes and lightly tap with a hammer until the squ...
Page 3: ...Place the washers in their lag bolts After that insert the lag bolts into the holes and carefully tighten it using a ratch with the necessary socket Use the washers only for the Wood Pieces To instal...
Page 4: ...m CONTENT OF BOXES No 1 2 3 4 5 6 7 8 9 10 11 12 Drawing Description Posts Supports A Supports B Supports C Rafters Supports Rafters Increase supports Increase rafters with canal Cover canal Reinforce...
Page 5: ...ENT OF BOXES No 13 14 15 16 17 18 Drawing Description Louvered panel Ceiling fan base L plaques Anchor Base Boots Polycarbonate Qty 2 1 8 4 4 8 Note Part numbers in the Content of Boxes Table are for...
Page 6: ...8 x 4 lag bolts To attach the Supports B to the supports A to attach the frame louvered panel to the support B 3 8 x 12 lag bolts To attach the support A to the post 3 8 x 2 lag bolts To attach the L...
Page 7: ...and to the increase support to attach the post trims to the post to attach the canal to the rafters to attach the reinforcements rafters to the canal to attach to the center of the polycarbonate to at...
Page 8: ...A Supports B Supports C Rafters Support Rafters Increase supports Increase rafters with canal Cover canal Reinforcements rafters Slats Frame louvered panel Louvered Panels Ceiling fan base L Plaques B...
Page 9: ...the ground is level using a carpenter s level or hydro level water level Step 1 Install the anchor bases 18 with X 3 anchor bolts A Please see the How to anchor your pergola document for all details...
Page 10: ...olts D to attach the Supports B 3 to the supports A Check the marked on each support and place as drawings shown Step 4 Use 3 8 x 12 lag bolts E to attach the support C 4 to the post Check the marked...
Page 11: ...der 123135 www ForeverRedwood com Step 5 Attach the L plaques 16 to the posts and to the supports with 3 8 x 2 lag bolts F Step 6 Attach the L plaques 16 to the supports with 3 8 x 2 lag bolts F 3 8 x...
Page 12: ...ood com Step 7 Attach the support rafters 6 to the Supports B 3 with 5 16 x 4 lag bolts G Step 8 Attach the supports B 3 to the rafters 5 with 6 deck screws H Check the marked on each rafter and place...
Page 13: ...ked on each slat and place as drawings shown Step 10 Use 3 deck screws I to attach the increase supports 7 together and to the posts After that use 6 deck screws H to attach the increase supports 7 to...
Page 14: ...crease rafter with canal 8 to the rafter and to the increase support 7 with 3 deck screw I and 6 deck screws H Check the marked on each increase rafter and place as drawings shown Step 12 Attach the p...
Page 15: ...forcement rafter and place as drawings shown Step 15 Put the polycarbonate 19 from the bottom to the top the overlapping between these it will be of 2 Attach to the center of the polycarbonate use 3 d...
Page 16: ...com Step 16 Put exterior clear silicone on the polycarbonate 11 joins Step 17 To attach the cover canal 10 to the polycarbonate with 3 deck screws I and neoprene washers Check the marked on each cove...
Page 17: ...l 13 to the support B 3 with 3 8 x 4 lag bolts D and to the post with 6 deck screws H attach the leg to the posts Step 19 Attach the louvered frame 14 to the posts with 3 deck screws I Check the marke...
Page 18: ...reverRedwood com Step 20 Use 5 16 x 5 bolts K to attach the ceiling fan 15 to the rafters Check the marked on each ceiling fan and place as drawings shown Step 21 To attach the boots 17 to the posts 1...
Page 19: ...A Order 123135 www ForeverRedwood com This completes the Pergola assembly Hope you enjoy your set for many decades If you ever have a problem or a question don t hesitate to call us 866 332 2403 or em...