18
4-8-3. Border Settings
Border display is supported for preset split screen pattern. 16 colors are available.
1) Move the cursor to BD (BORDER) of GROUP menu by using arrow buttons.
2) Move the cursor to OFF below EN (ENABLE) by using
↓
button.
3) Change the value OFF to ON by using
←
→
buttons.
4) Move the cursor to the box below the menu item COLOR by using
↑
→
↓
buttons.
5) Select a color by using
←
→
buttons. The available colors are as follows.
WHITE, YELLOW1, YELLOW2, GREEN1, GREEN2, CYAN1, CYAN2, RED1, RED2,
MAGENTA1, MAGENTA2, BLUE1, BLUE2, GRAY1, GRAY2, BLACK
6) After completing settings, press MENU CLEAR button to go back to video display.
IMPORTANT
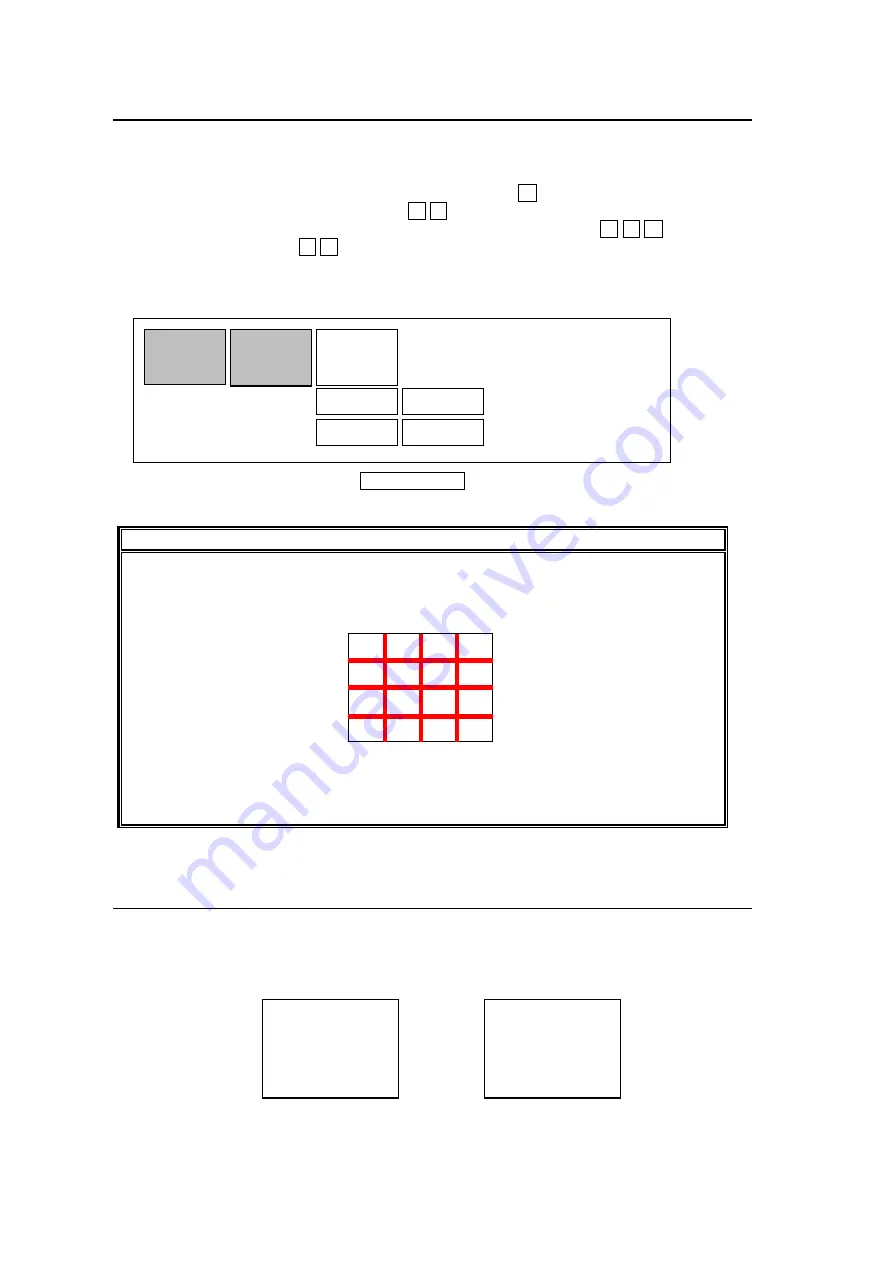
When BORDER is turned ON, borders are displayed in all GROUP outputs. For
example, in quad screen, if all four groups are set in quad display, borders are
displayed on all boundaries between every window as figure below.
However, borders can be displayed only on the preset screens listed in split screen
patterns. (See section 4-3. "Displaying Split Screen".)
4-8-4. Delinking Window and GROUP Window Settings
Display settings for windows 1 to 16 can be made in WINDOW menu. Also display settings
for GROUP windows (only in full window display) can be made individually. Therefore,
WINDOW1, WINDOW3, WINDOW 9 and WINDOW 11, that are displayed on each GROUP
in full window display, can have two display settings respectively.
MODE
SPLIT BD
EN
ON
GROUP - BORDER menu
COLOR
RED1
1
2
3
4
5
6
7
8
9
10
11
12
13
14
15
16
GRP1
GRP2
GRP3
WINDOW1 setting
GRP1 window setting
CAMERA1
(
WINDOW 1
)
SUB1
(
WINDOW 1
)
Summary of Contents for MV-160HS Multi Viewer
Page 1: ...MV 160HS Multi Viewer 2nd Edition OPERATION MANUAL...
Page 2: ......
Page 6: ......
Page 45: ...MV 160HS Multi Viewer 4th Edition RS 232C COMMAND...
Page 46: ......
Page 48: ......
Page 64: ......


