11
4-5. Setting Window Display
This section explains how to set window display with examples.
Firstly, let's set a title "CAMERA1" for window 1. Then add a frame marker and an audio level
meter. Lastly, set a title for window 2 the same as window 1 and change the title for window 2 to
"CAMERA2".
IMPORTANT
Window title and frame marker can be selected from standard type, which has 16 color
options, and tally relay type, which has RED, GREEN and UMBER color options.
When selecting tally relay type, select TALLY for the menu item EN in TITLE or
FRAME of WINDOW menu. For tally input, see section 7-1. "Tally Input (TALLY IN)".
4-5-1. Adding Title
The followings are the procedure to set a title "CAMERA1" to window 1 in red.
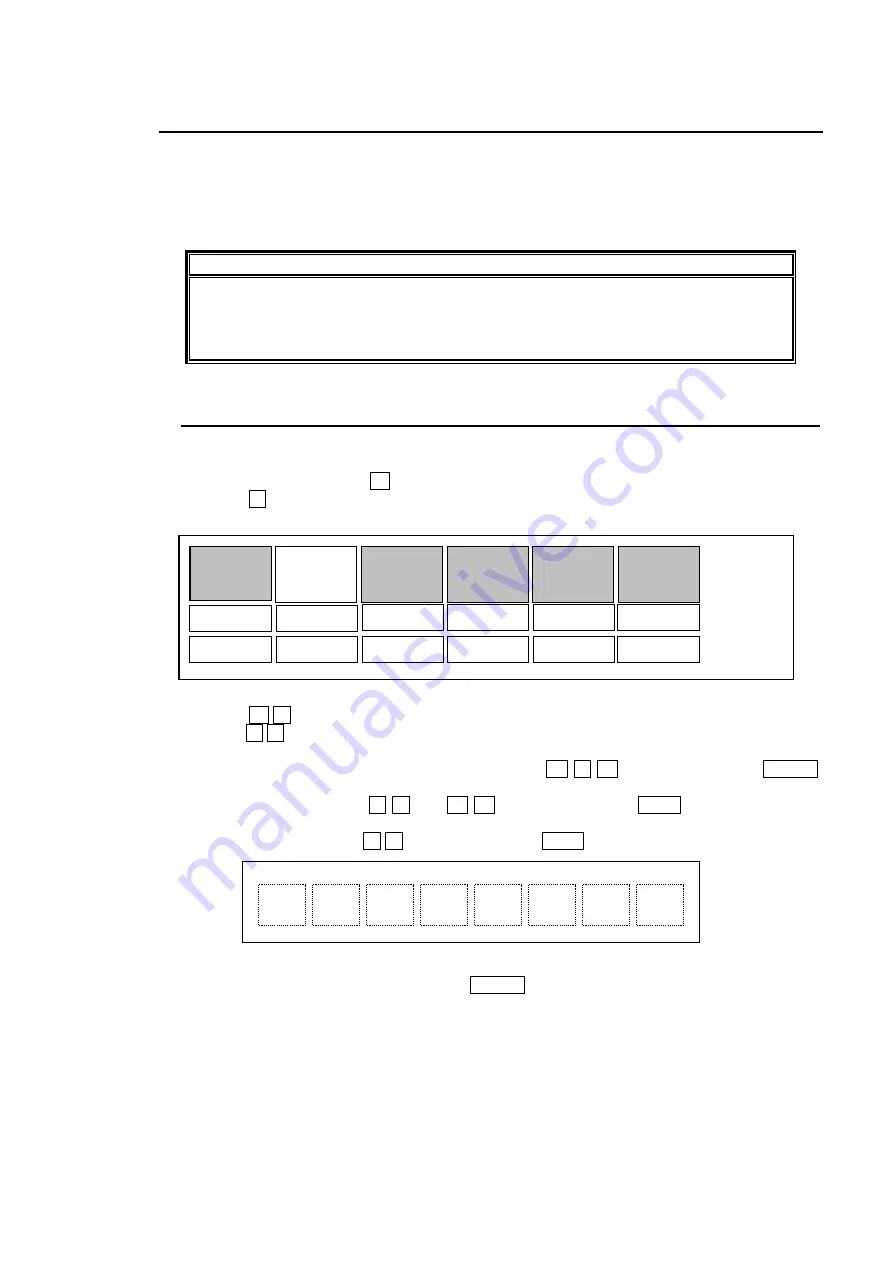
1) Press WINDOW button 1 to enter WINDOW menu.
2) Press
→
button and move the cursor to TITLE. The menu as below will be displayed.
3) Press
↓
←
button and move the cursor to OFF below EN. Change the value to ON by
using
→
←
buttons. (To link with tally input, change the value to TALLY. See section 4-6.
4) Move the cursor to SET below NAME by using
↑
→
↓
buttons, and press ENTER
button. The title character window will be displayed.
a) Select "C" by using
←
→
and
↑
↓
buttons, and press STEP button. The cursor
automatically moves to the right.
b) Select "A" by using
↑
↓
buttons, and press STEP button.
c) Select other characters in the same way to complete "CAMERA1".
d) After entering all characters, press ENTER button to confirm the setting.
INPUT
TITLE SIGN
EN
NAME
OFF
SET
[WINDOW menu (No.1)]
FRAME
AUDIO COPY
COLOR
SIZE
POS-X
-----
-----
-----
POS-Y
-----
C
A
Summary of Contents for MV-160HS Multi Viewer
Page 1: ...MV 160HS Multi Viewer 2nd Edition OPERATION MANUAL...
Page 2: ......
Page 6: ......
Page 45: ...MV 160HS Multi Viewer 4th Edition RS 232C COMMAND...
Page 46: ......
Page 48: ......
Page 64: ......


