


194
24. GPI IN/OUT and Tally Outputs
24-1. GPI Control
The switcher can control external devices or can be controlled by external devices via the GPI
interface. The GPI input and output functions are freely assignable to each pin of the GPI IN and
GPI/TALLY OUT connectors on the HVS-390HS and the GPI/TALLY OUT connector on the
HVS-392OU/ROU/WOU. The pin assignments are made in the [SETUP - GPI/TLY] menu as
shown below.
Displaying the [SETUP-GPI/TLY] Menu
(1) Press MENU in the CONTROL block, then press SETUP to display the SETUP top menu.
(2) Turn F1 to select GPI/TLY, then press F1 or the page down button to open the [SETUP -
GPI/TLY] menu.
SETUP :>SYSTEM >INPUT >OUTPUT >PANEL
MENU :>
GPI/TLY
>FUNCTION>EXT I/F >STATUS
SETUP :>TLY COL >GPI IN >GPI OUT >OU GPI/O
GPI/TLY :>TALLY1 >TALLY2 >TALLY3 >30TALR
24-1-1. GPI IN
The GPI IN connector on the HVS-390HS provides GPI inputs. See section 2-4-3. "GPI IN
Connector" and 2-4-4. "TALLY OUT Connector" and 2-4-5 "GPI/TALLY OUT connector" for
the default pin assignment.
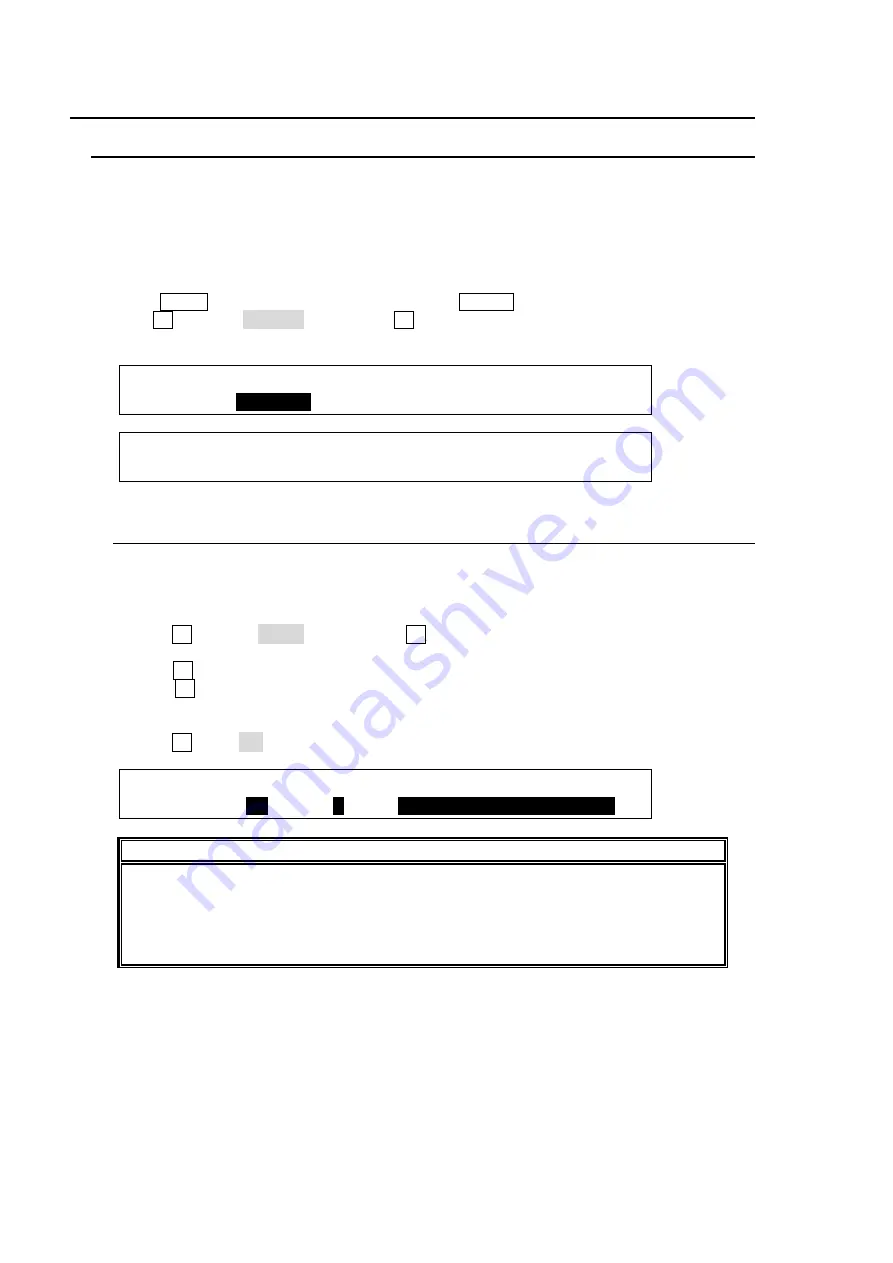
(1) Turn F1 to select GPI IN and press the F1 or the page down button to display the [SETUP
- GPI/TLY - GPI IN] menu.
(2) Turn F2 to select the pin number at
P NO
.
(3) Turn F3 to select the function to be assigned. (See the table "GPI IN function" in the
following page for available functions.)
(4) Set other pin assignments in the same way.
(5) Turn F1 to set ON to activate all GPI inputs in the connector.
GPI/TLY :ENABLE :P NO : FUNCTION : 1/1
GPI IN : =
ON
: =
1
: =
In:ME1 BKGD AUTO TRS
NOTE
The GPI IN ENABLE function can be assigned to a USER button. Once this function is
assigned, pressing the USER button repeatedly toggles between GPI IN ON (button
lit) and GPI IN OFF (button unlit). Pressing the USER button twice quickly opens the
GPI I/O menu. See section 22. "USER Button" for how to assign the function to the
USER button.


