5
GETTING STARTED
With the Third Generation, Scarlett interfaces introduce a new, faster way of getting up and running,
using the Scarlett Quick Start tool. All you need to do is connect your Scarlett Solo to your computer.
Once connected, you will see that the device is recognised by your PC or Mac and the Quick Start tool
will guide you through the process from there.
IMPORTANT: The Scarlett Solo has a single USB 2.0 Type C port (on the rear panel): connect
it to your computer using the USB cable provided. Note that Scarlett Solo is a USB 2.0
device, and thus the USB connection requires a USB 2.0+ compliant port on your computer.
Scarlett Solo gets its power from your computer via the USB connection: there is no need
for a separate power supply. However, we do recommend that when using it with a laptop,
the laptop should be powered using its AC adaptor, as otherwise the battery will run down
faster than when powering the laptop alone.
Your computer will initially treat your Scarlett as a Mass Storage Device (MSD), and during its fi rst
connection, the Scarlett will be in “MSD Mode”.
Quick Start Tool
We have tried to make registering your Scarlett Solo as simple as possible. The procedure is designed
to be self explanatory, but we have described each step below, so you can see how they should
appear on either a PC or a Mac.
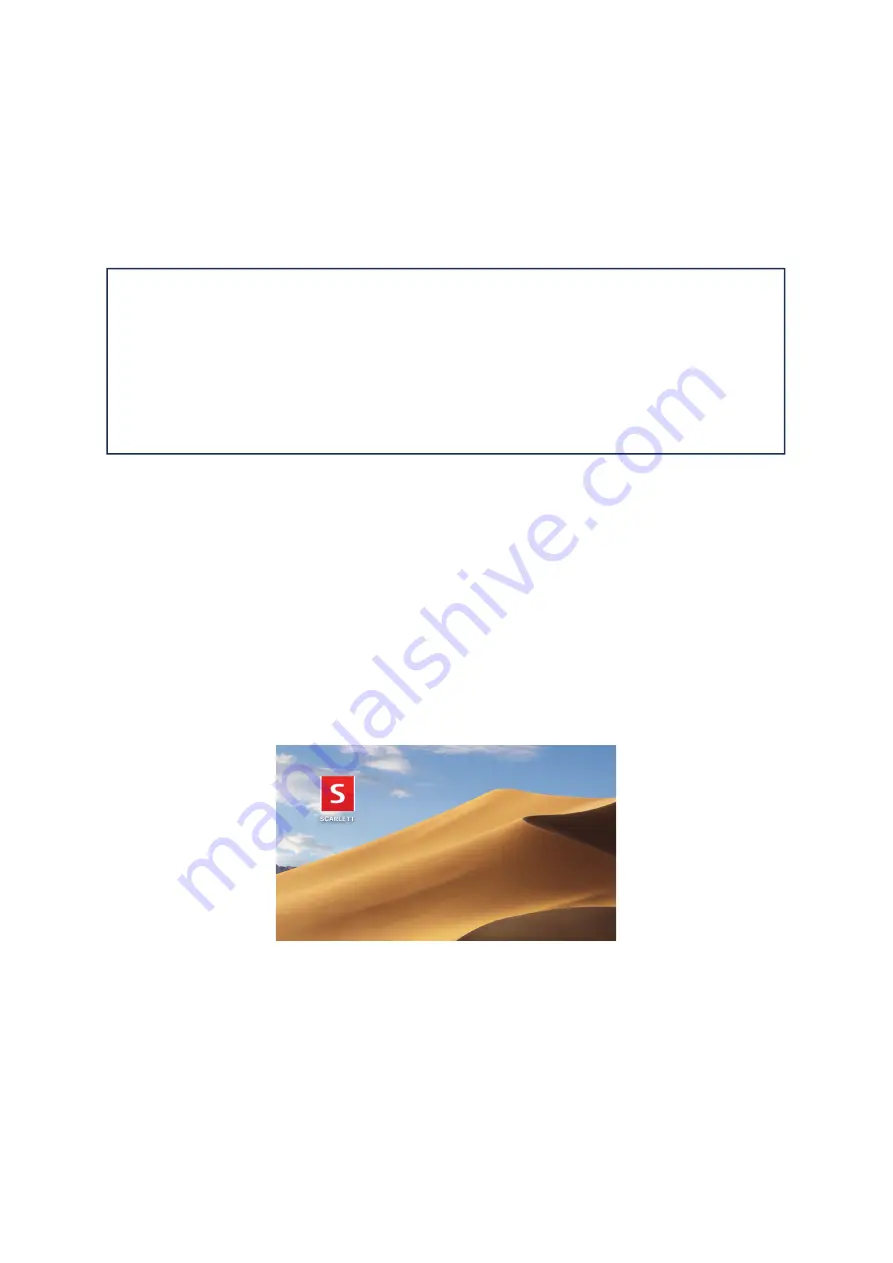
Mac users only:
On connecting your Scarlett Solo to your Mac, a Scarlett icon will appear on the desktop:


